Compaq Portable II
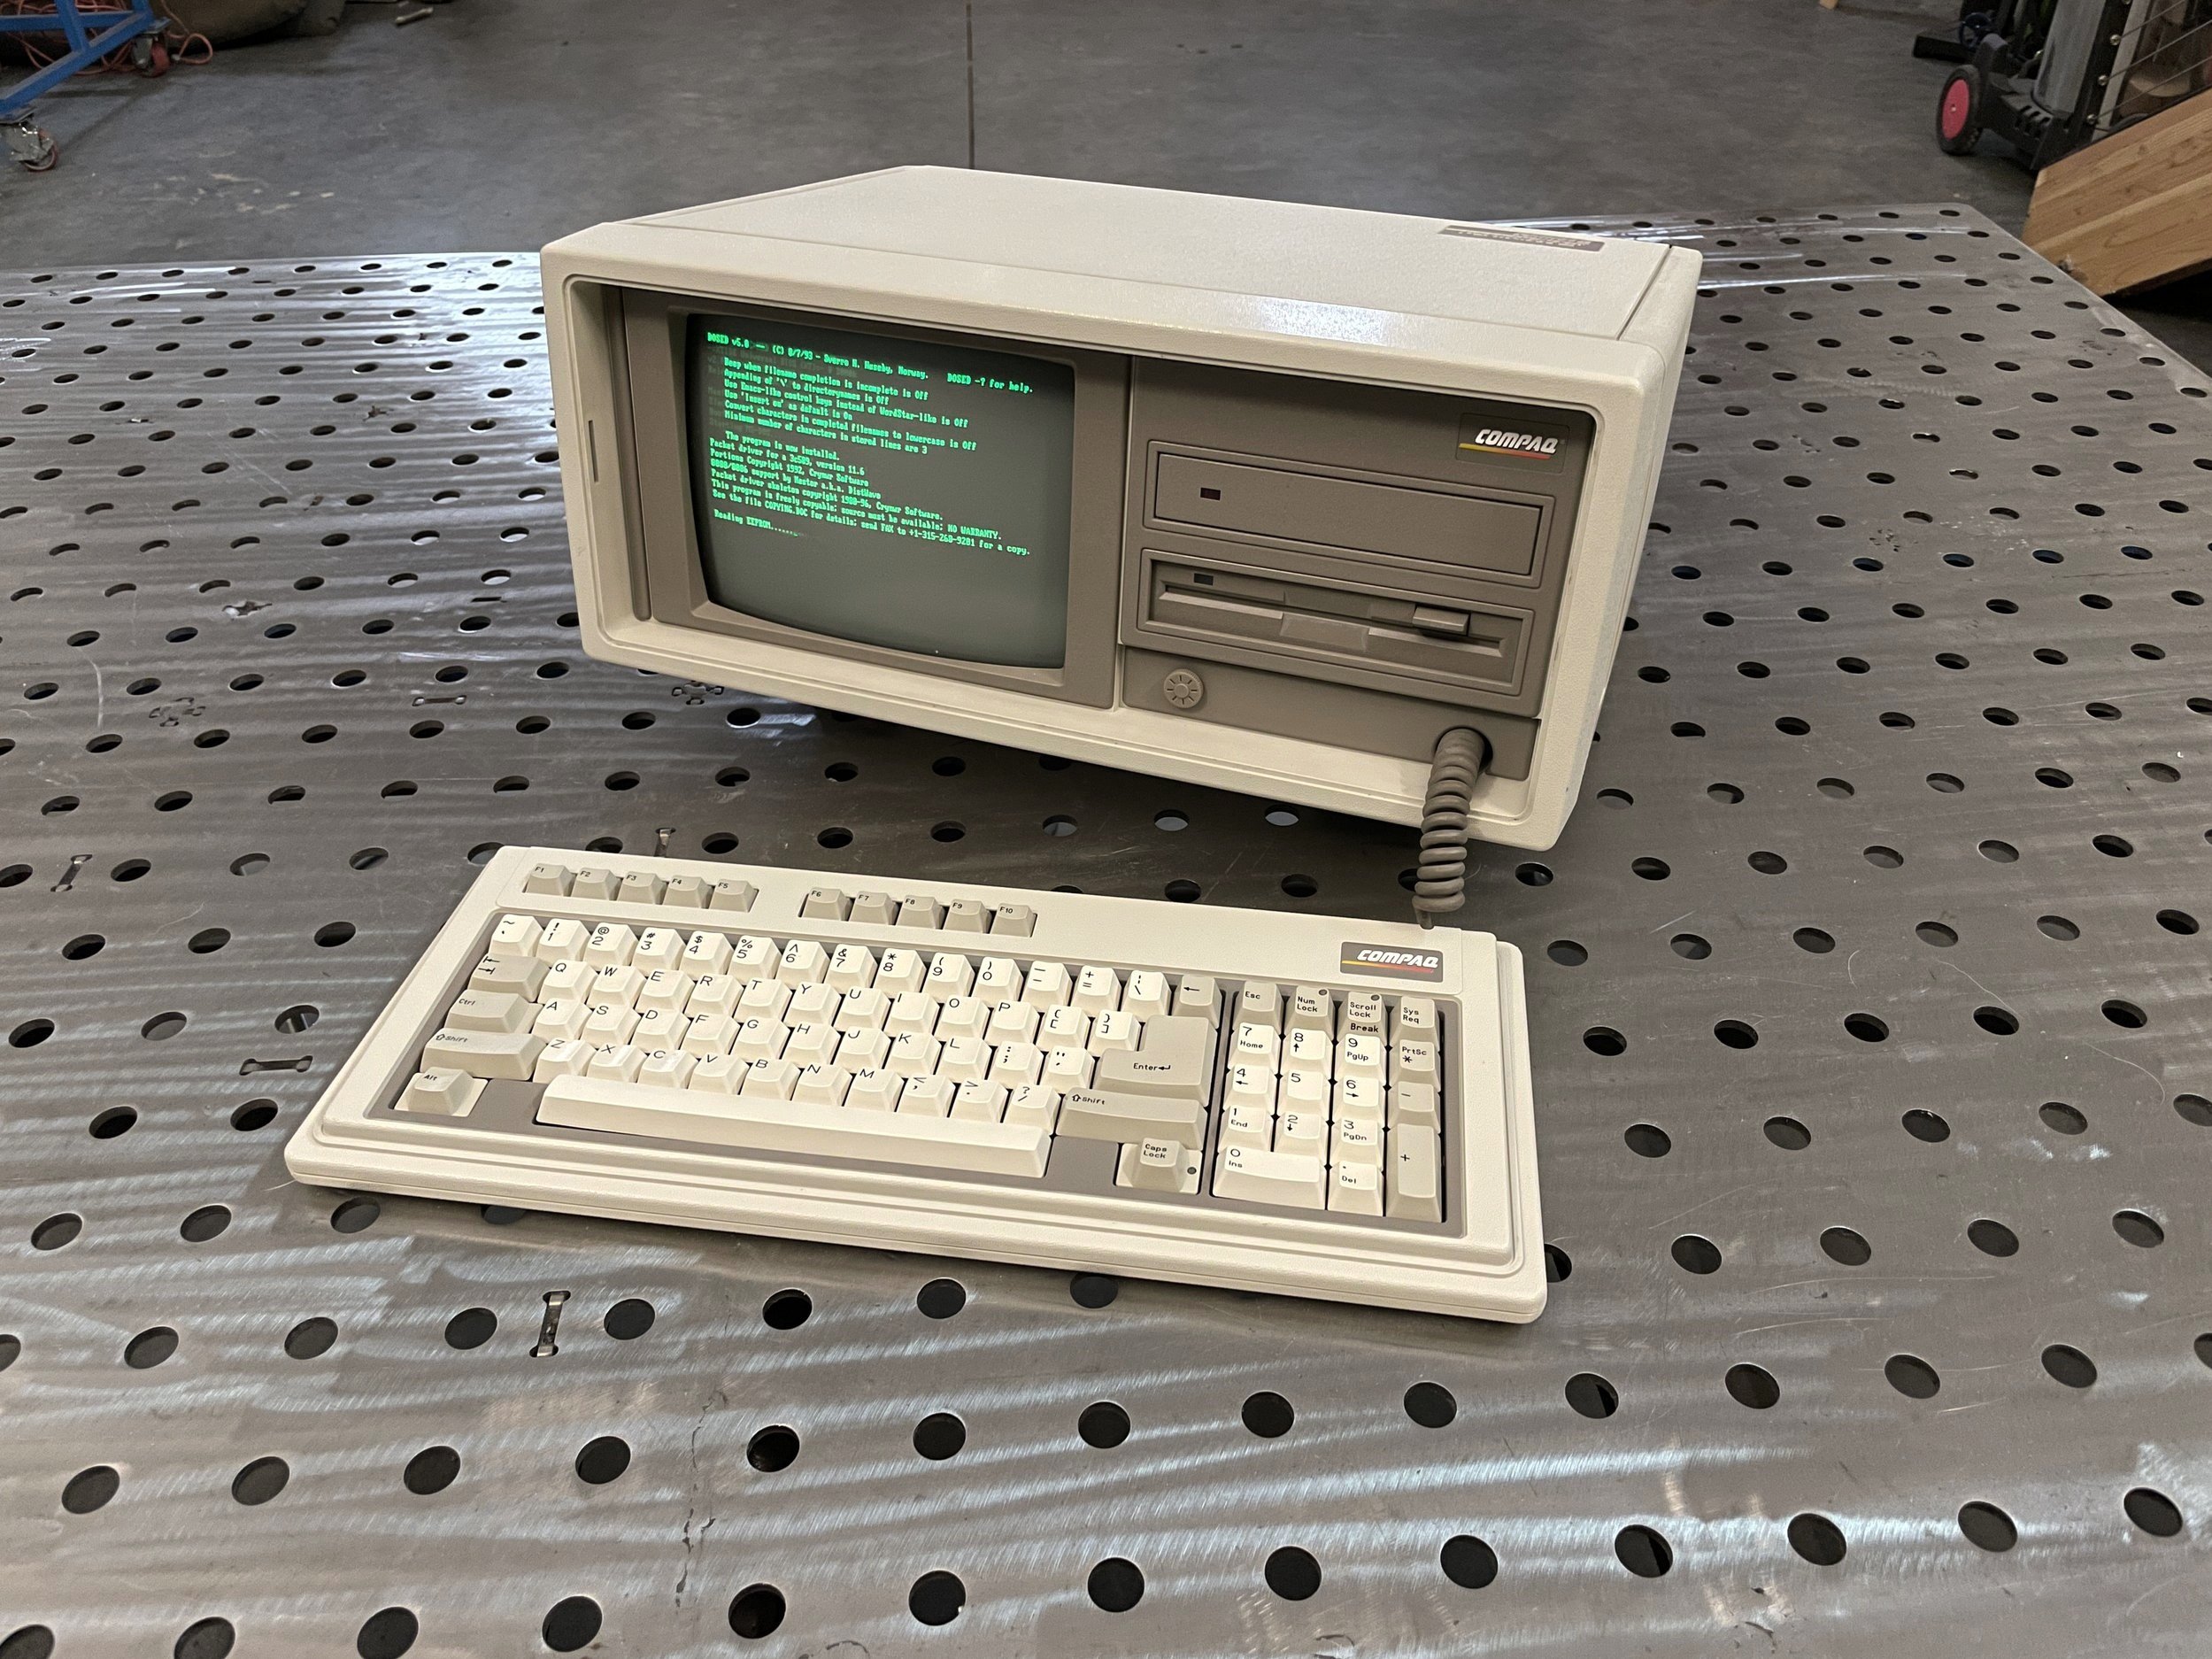
The Compaq Portable II was the fourth computer produced by Compaq and was released in 1986. It has an 80286 processor and a socket for an 80287 math co-processor. This Compaq Portable II (I’ll call it CP2 for short) is the Model 4 that came with a 360K floppy drive, a 20MB hard disk, and 640KB on the motherboard. This model weighed around 26 pounds and was considerably more portable than the Portable I or the Portable 286, sold in the original Portable I chassis. Its retail price was $4,499; it's unclear how many were produced.

Acquisition
After looking for a CP2 for quite a while online, I finally found one in reasonably good shape. I believe I paid around $200-$250. I like the design aesthetics of the CP2, and I remember it on the showroom floor when I was graduating from college. The CP2 is one of the first DOS machines that looked “designed” to me rather than a purely functional collection of parts. I think the design language of the CP2 has also stood the test of time.
The size of the machine, while still large, is much smaller and lighter than the CP1 or the IBM 5155 while still retaining the 9” screen. The front bezel looks cool, the one-third-height floppy drive is nice looking, and everything looks balanced.
This level of design, which was unusual for the time, does present a problem when wanting to restore the computer, however. If you want the machine to look correct, you really have to use the proper floppy drive. This limits your options. Trying to find the correct floppy drive can be difficult for any computer, but this computer had to be the one-third-height drive in the correct color, only sold by Compaq. Finding the right working floppy drive can be tough, as I documented in my IBM 5155 post.
For this reason, I decided I needed to find one that had a working floppy drive.
Fortunately, I think these drives were pretty reliable. I had the same challenge with the CP3, but most of the CP2s and CP3s I looked at appeared to have working floppy drives.

Process
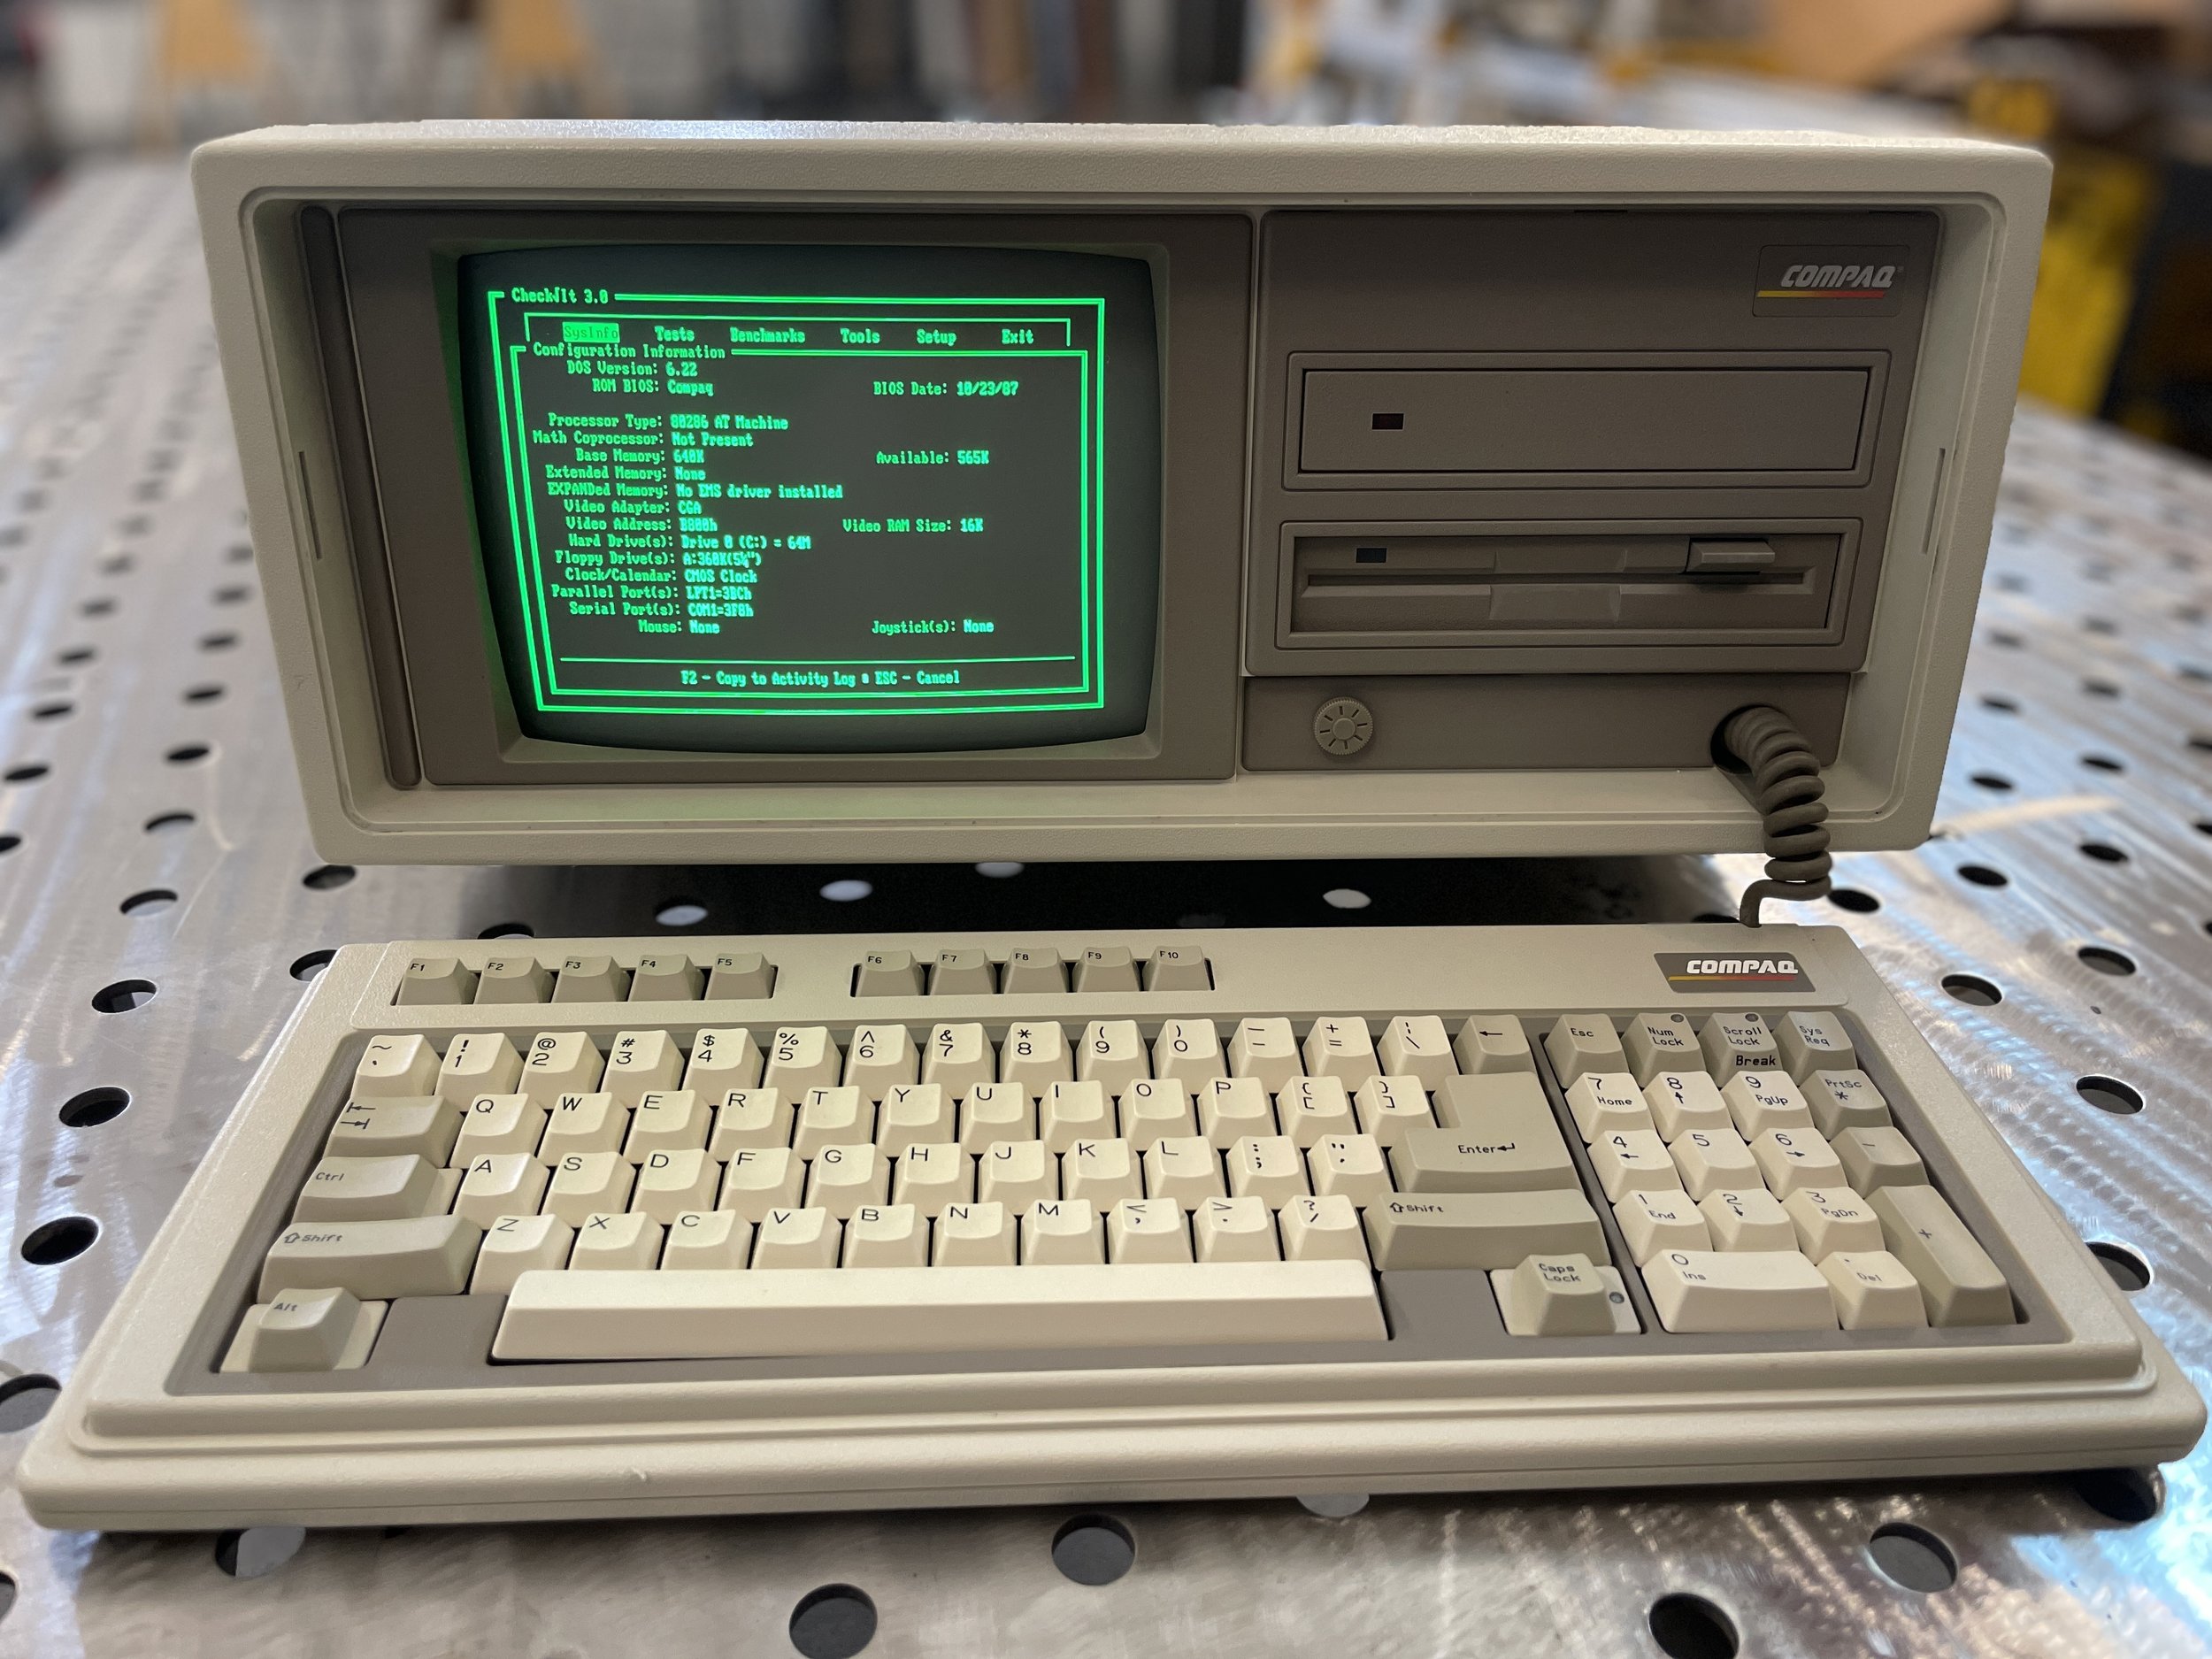
When I received the CP2, I powered it on straight away.
This CP2 was represented as working with photos of the screen, and it arrived in the condition I expected. The machine booted off its original 20Mb Connor Hard Disk, and before long, the screen was displaying the Compaq DOS 3.1 C: prompt.
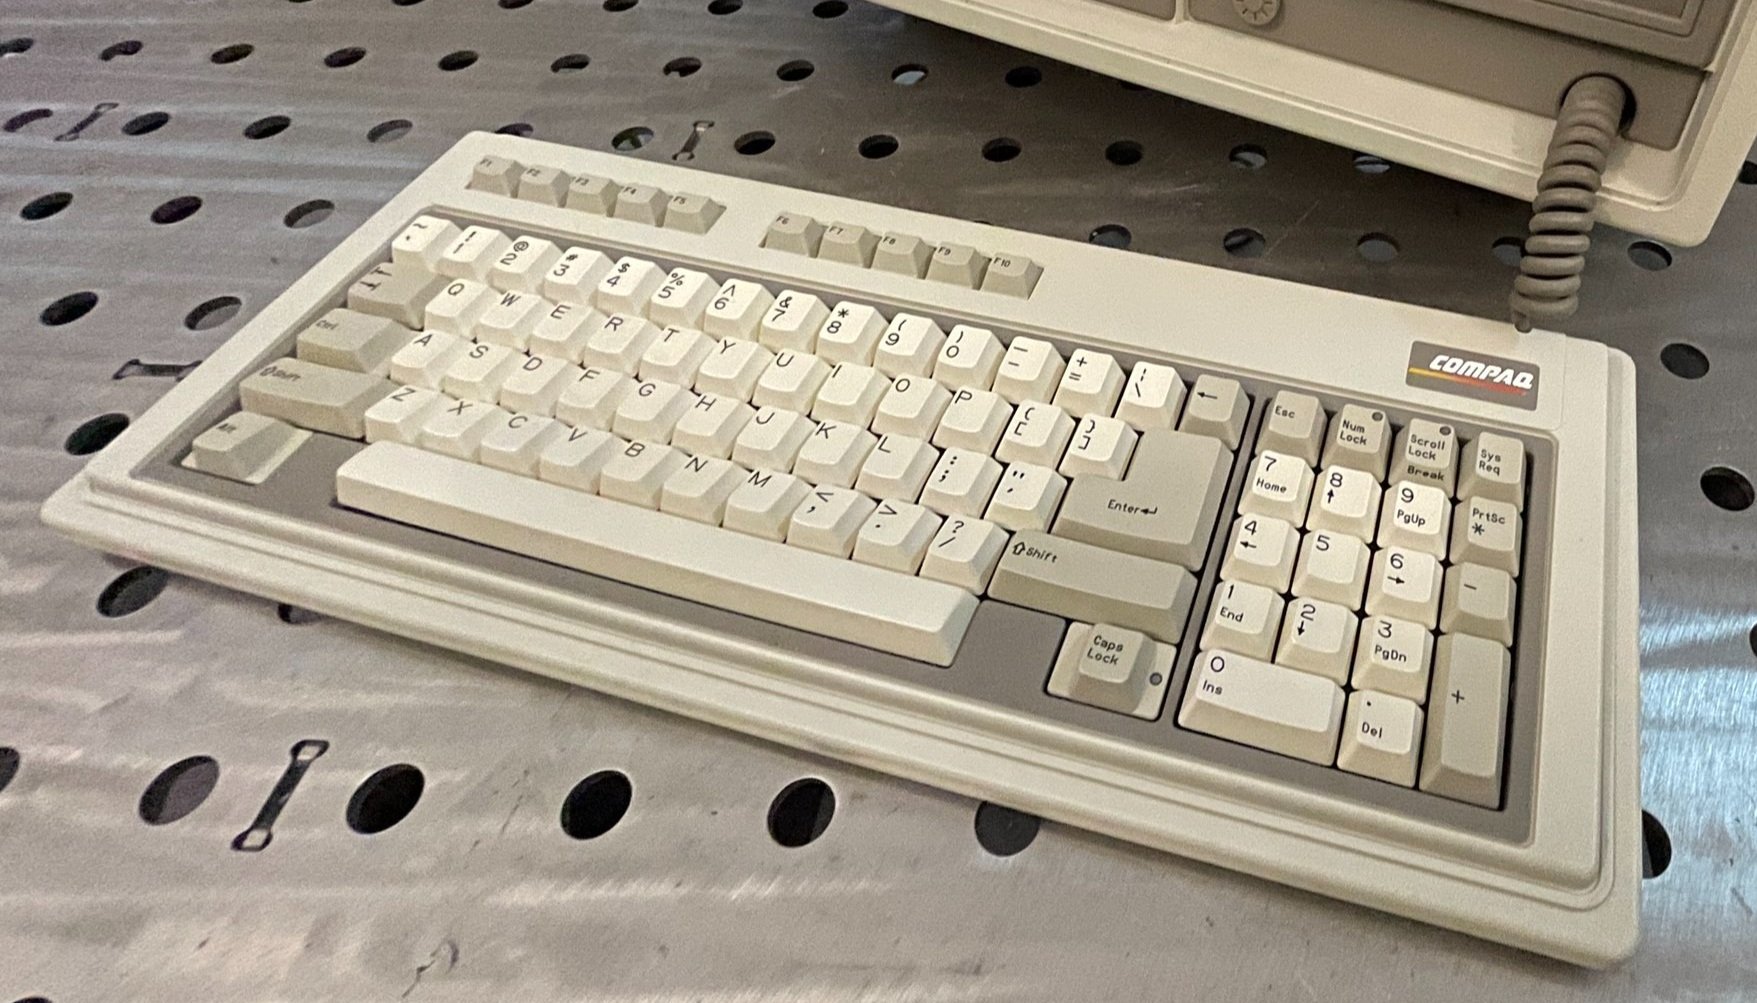
I found that while the keyboard technically worked, it didn’t work very well. Often you had to mash keys hard to get them to register, and in some situations, the key would register twice. The alt key didn’t seem to have any support under it, and it was obvious the keyboard was a foam-and-foil style made for Compaq by Keytronic. It was clear to me the keyboard would need to be completely rebuilt, which is not unusual for this style of keyboard.
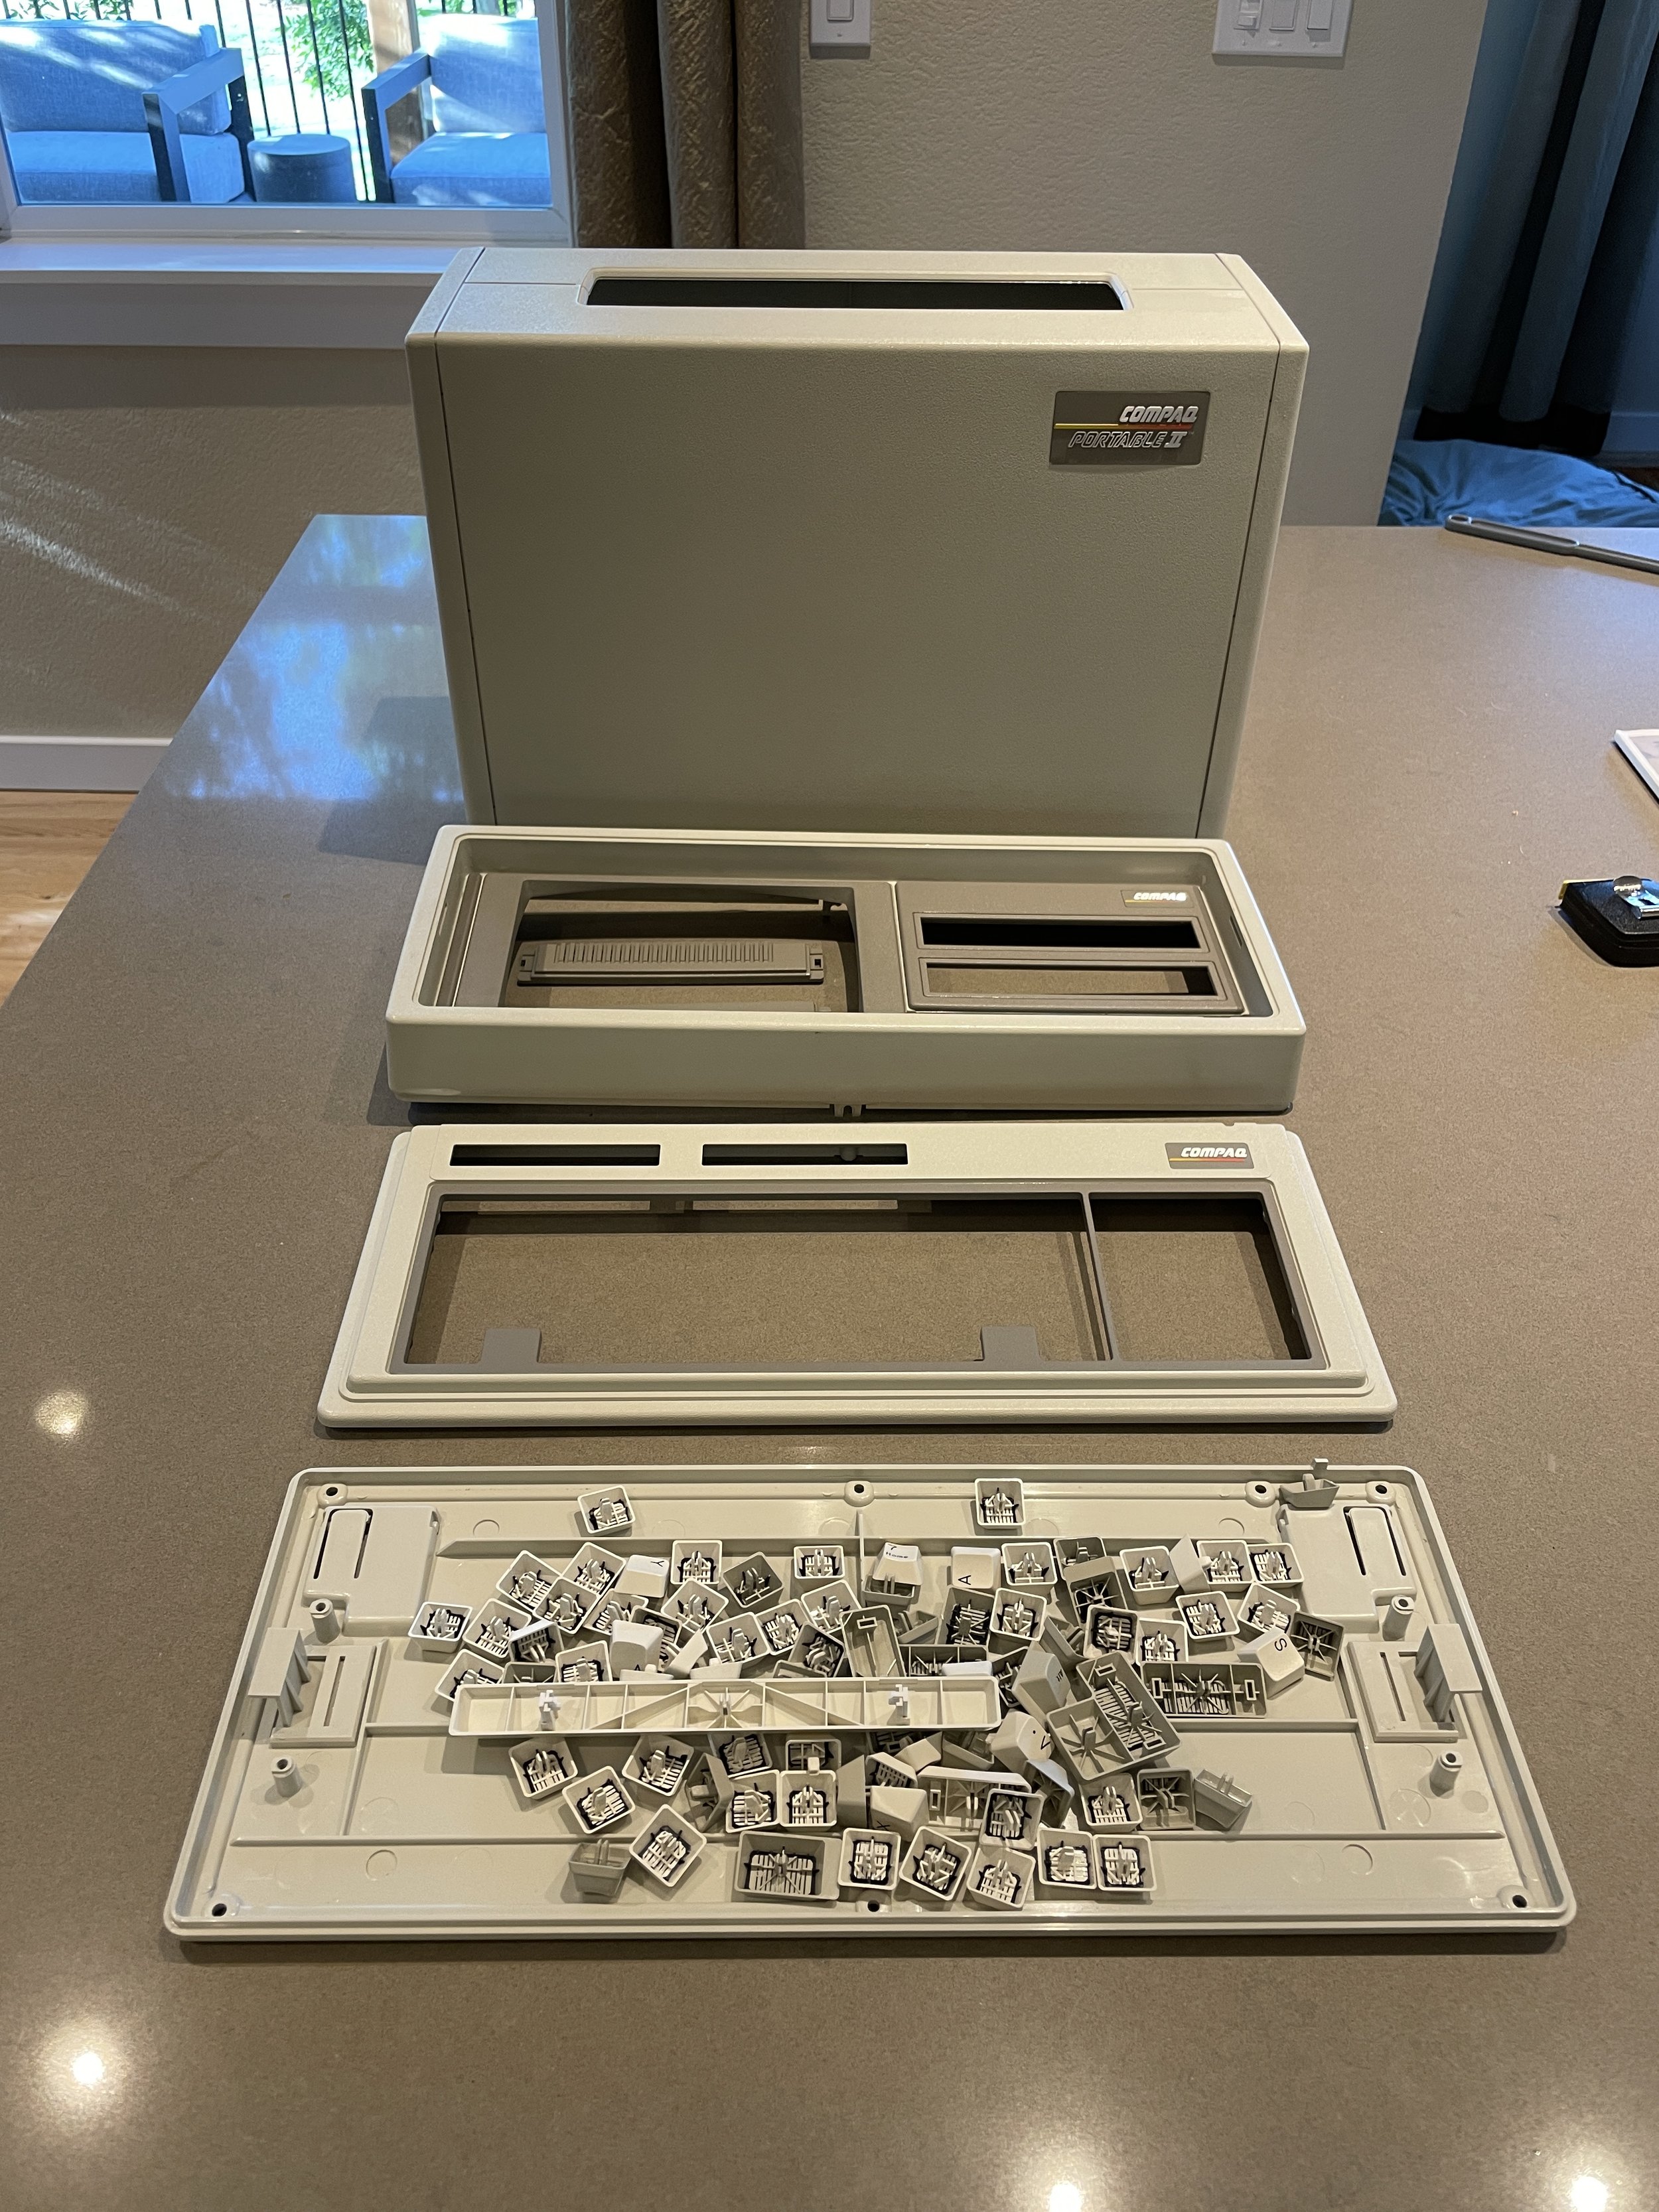
The Compaq portables are all an endoskeleton design of lightweight steel with a plastic panel on the outside to give them their appearance. The CP2 plastic case is a nice design that slides off the body easily, and, mostly, in one piece. The CP2 departs from the CP1 by almost exclusively using Torx screws, and mostly, the same size for all the major parts.
The plastic case connects to the endoskeleton chassis with four screws. The computer's bezel (front face) is connected to the endoskeleton with six screws. Four of the six plastic mounts, however, were broken off in all four corners of the bezel. I think this is common for this computer. I felt confident I could fix these based on other computers I’ve encountered with similar issues.

Compaq BIOS Settings
Compaq computers of this era did not have BIOS modification screens built into ROM as became the standard in the industry. With most machines, you can hold some combinations of keys on the keyboard while the machine is booting up and get to a configuration screen before DOS loads. Compaq machines, however, use a different strategy. The only way to change BIOS variables is to boot the Compaq Diagnostics Diskette, which then provides the user interface to make changes to the BIOS. If you don’t have that diskette, you aren’t going to be successful with a CP2 or CP3.
After some research, I found the configuration utility. Amazingly it was still available on an anonymous HP FTP server.
There are two versions of the utility, I found that confusing at first. It turns out the utility, when executed, creates two utility floppy diskettes. One version creates 720Kb 3.5” floppy disks, and the other creates 360K floppy diskettes.
I grabbed both programs and have hosted both on this site for download, as it’s getting harder to find these files. You don’t need to run these executables on the Compaq as they simply unpack and create floppy diskettes that you then boot on the Compaq. I ran the utility on my Bench 286 and created 2, 360K floppy diskettes.
I then booted the CP2 on the first floppy diskette and was into the BIOS setup. I knew I had BIOS changes to make, but I had some things to do first. So, I created labels for them and put the diskettes aside until I had sorted out the hard disk setup and changed the battery.
Compaq Diagnostics floppy creation utility for 360K floppy diskettes
Compaq Diagnostics floppy creation utility for 720K floppy diskettes

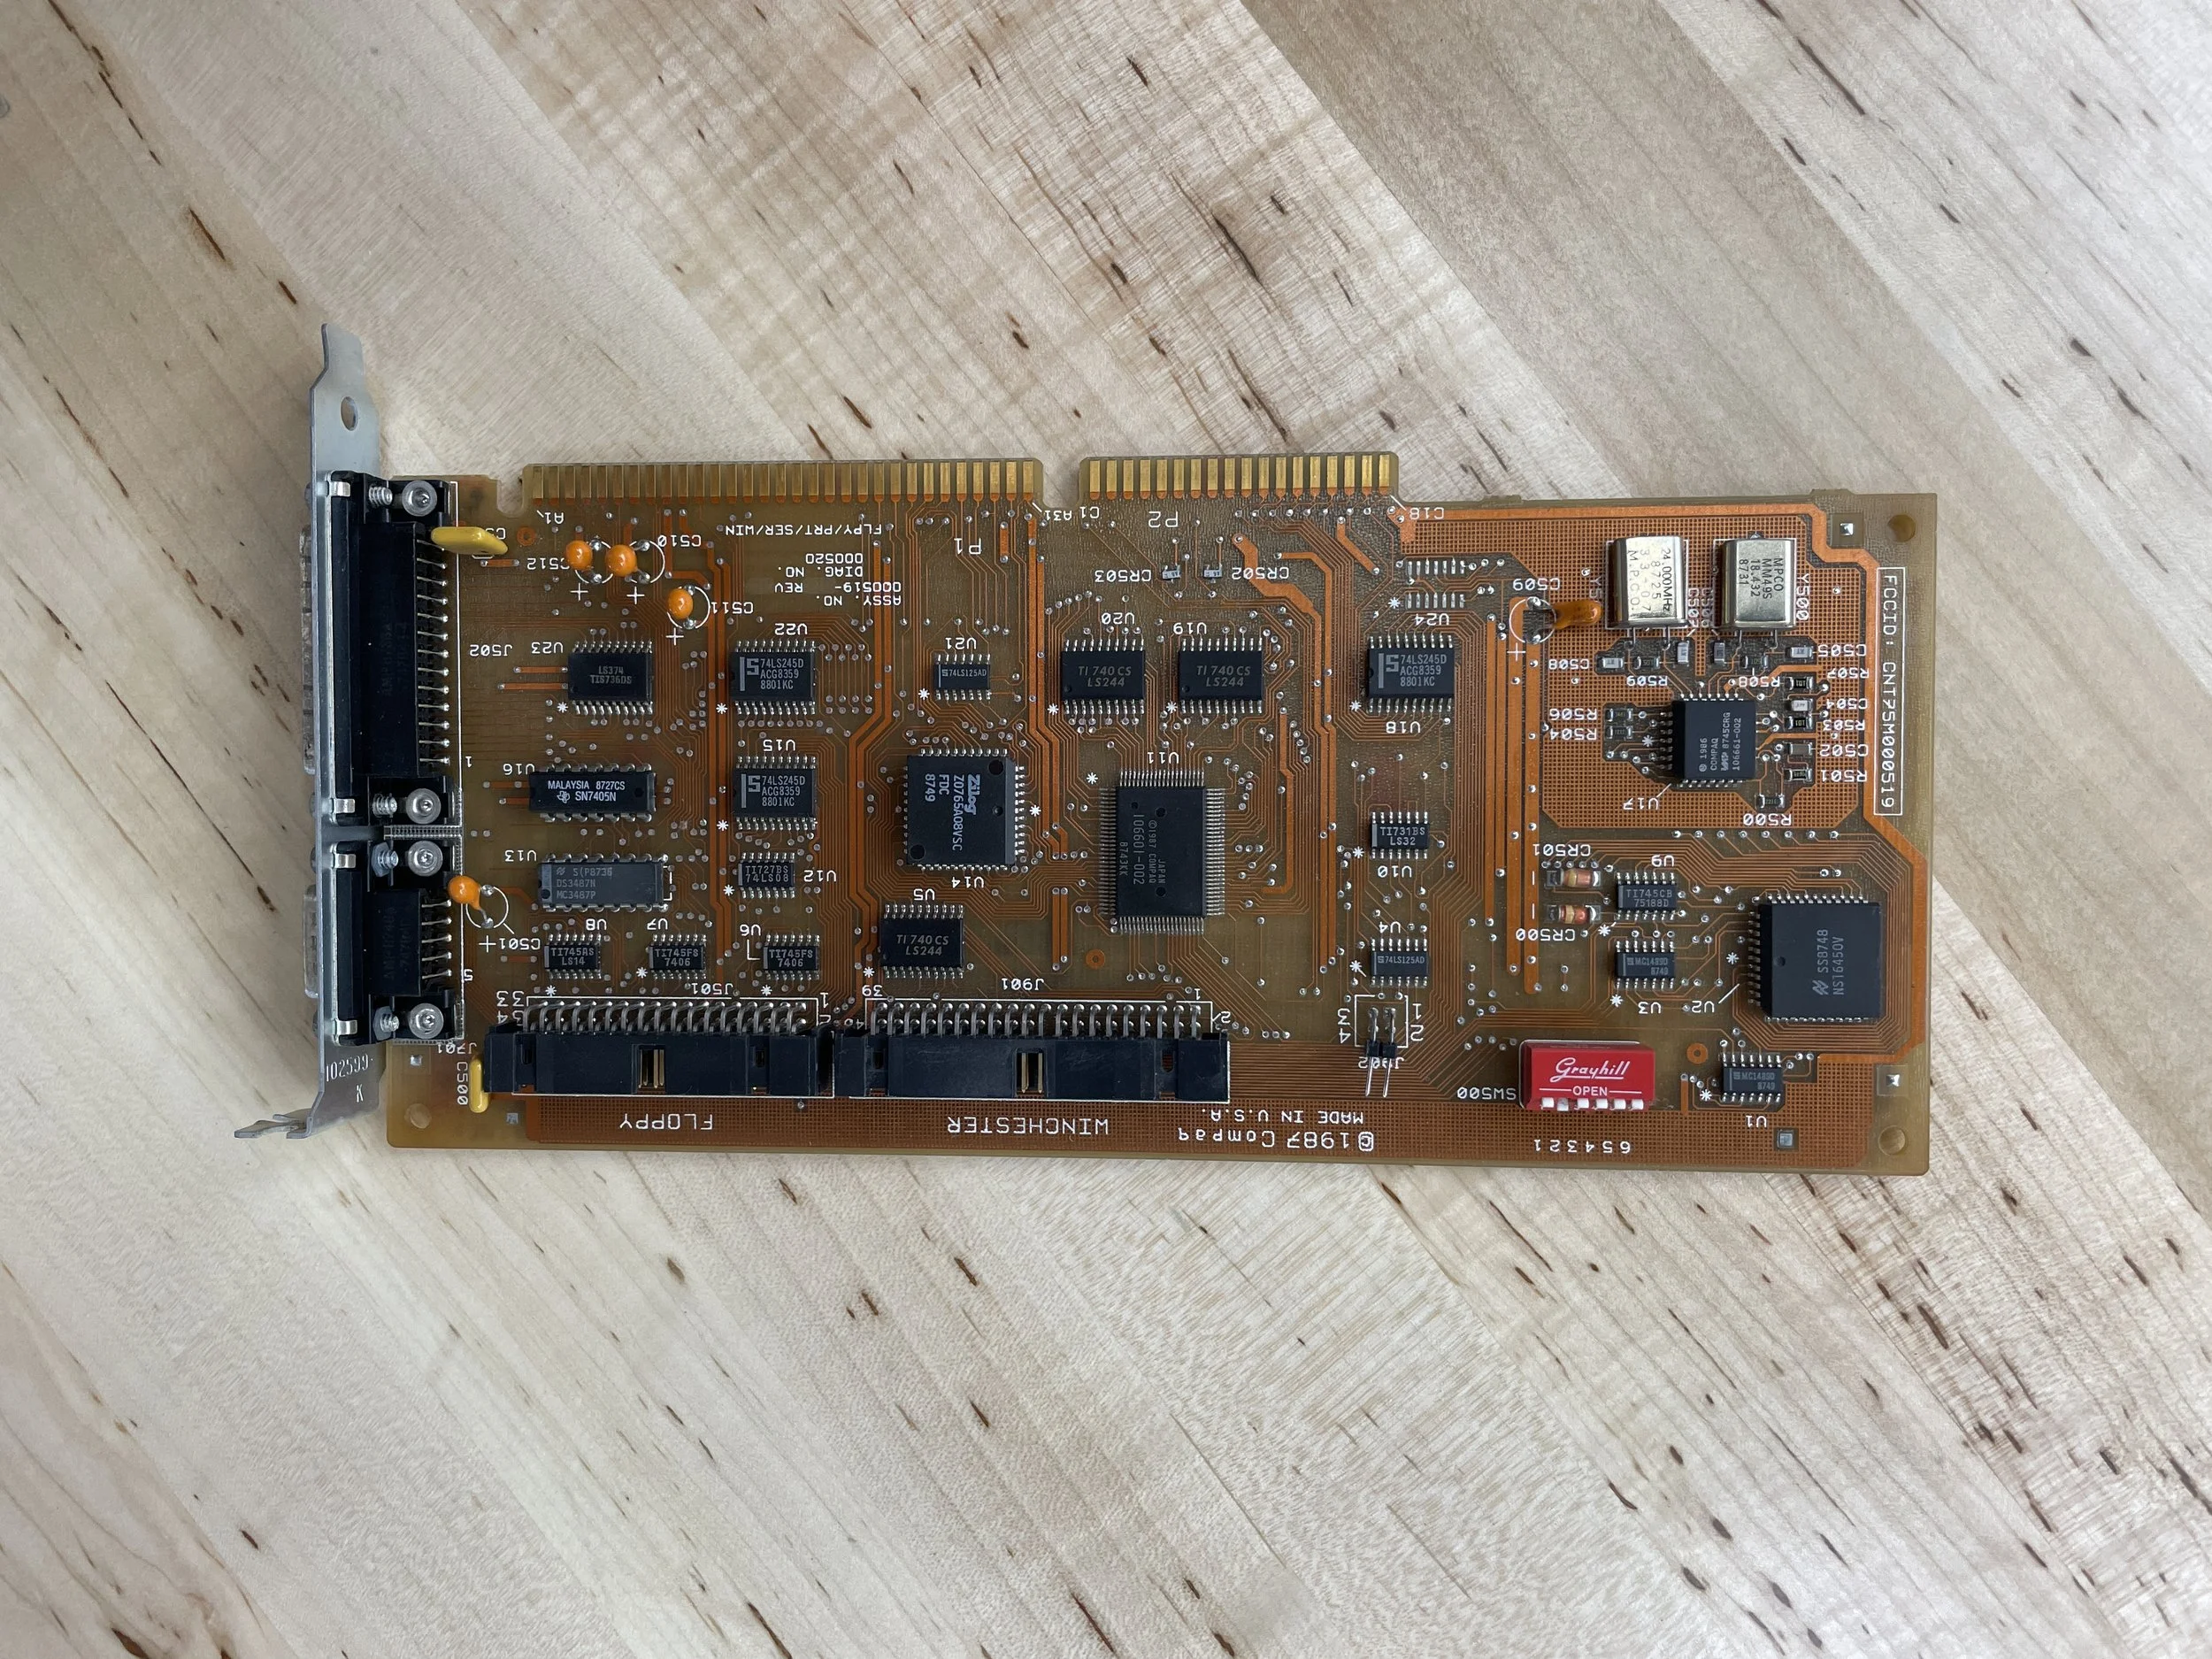
Hard Disks and early Compaq Computers
The Compaq Portable II and Portable III BIOS only understand a select set of hard disks. These are referred to as “Disk Types” by Compaq. Each type has settings like heads, cylinders, etc., but you can’t edit (or even see) those things.
All Compaq machines from this era had a sticker on the front bezel telling you what drive type it had installed; this machine was a “Type 2” or a 20M Conner Hard Disk.
The largest disk the BIOS understands is a type 42 drive that is about 500MB.
Ultimately, I decided to disable the IDE controller in the CP2 and use the IDE controller on the modern XT-IDE ISA Card. The XT-IDE has its own BIOS extension code that installs at boot time, removing this limitation and allowing nearly any size compact flash card to be used as the hard disk.
This is, by far, my go-to for adding modern flash card support to a retro DOS machine.
This, however, does not work on the CP3 that I restored simultaneously with the CP2. More on that in the upcoming CP3 page.
Like my CP1, the CP2 had major keyboard issues when I got it. These problems all stem from the early Keytronics foil-and-foam + rubber dome design.
I won’t cover the general keyboard restoration here as it's nearly the same procedure as the CP1. You can read about that here. The process is time-consuming and a bit expensive, but if you want the keyboard to work, you gotta do it.
More interesting, the keyboard restoration in the CP2 did have a bit of a mystery to it.
When I initially took the keyboard apart and removed the existing foam-and-foil pads, I didn’t pay a lot of attention to the design. When I reassembled the keyboard, I noticed the return key had two plungers, each with its own rubber dome, and the circuit board had two contacts, also one for each Plunger. This suggested that the return key actually had two ways that it could be registered with the keyboard controller rather than one Plunger like every other key on the keyboard.
The Mysterious Keyboard
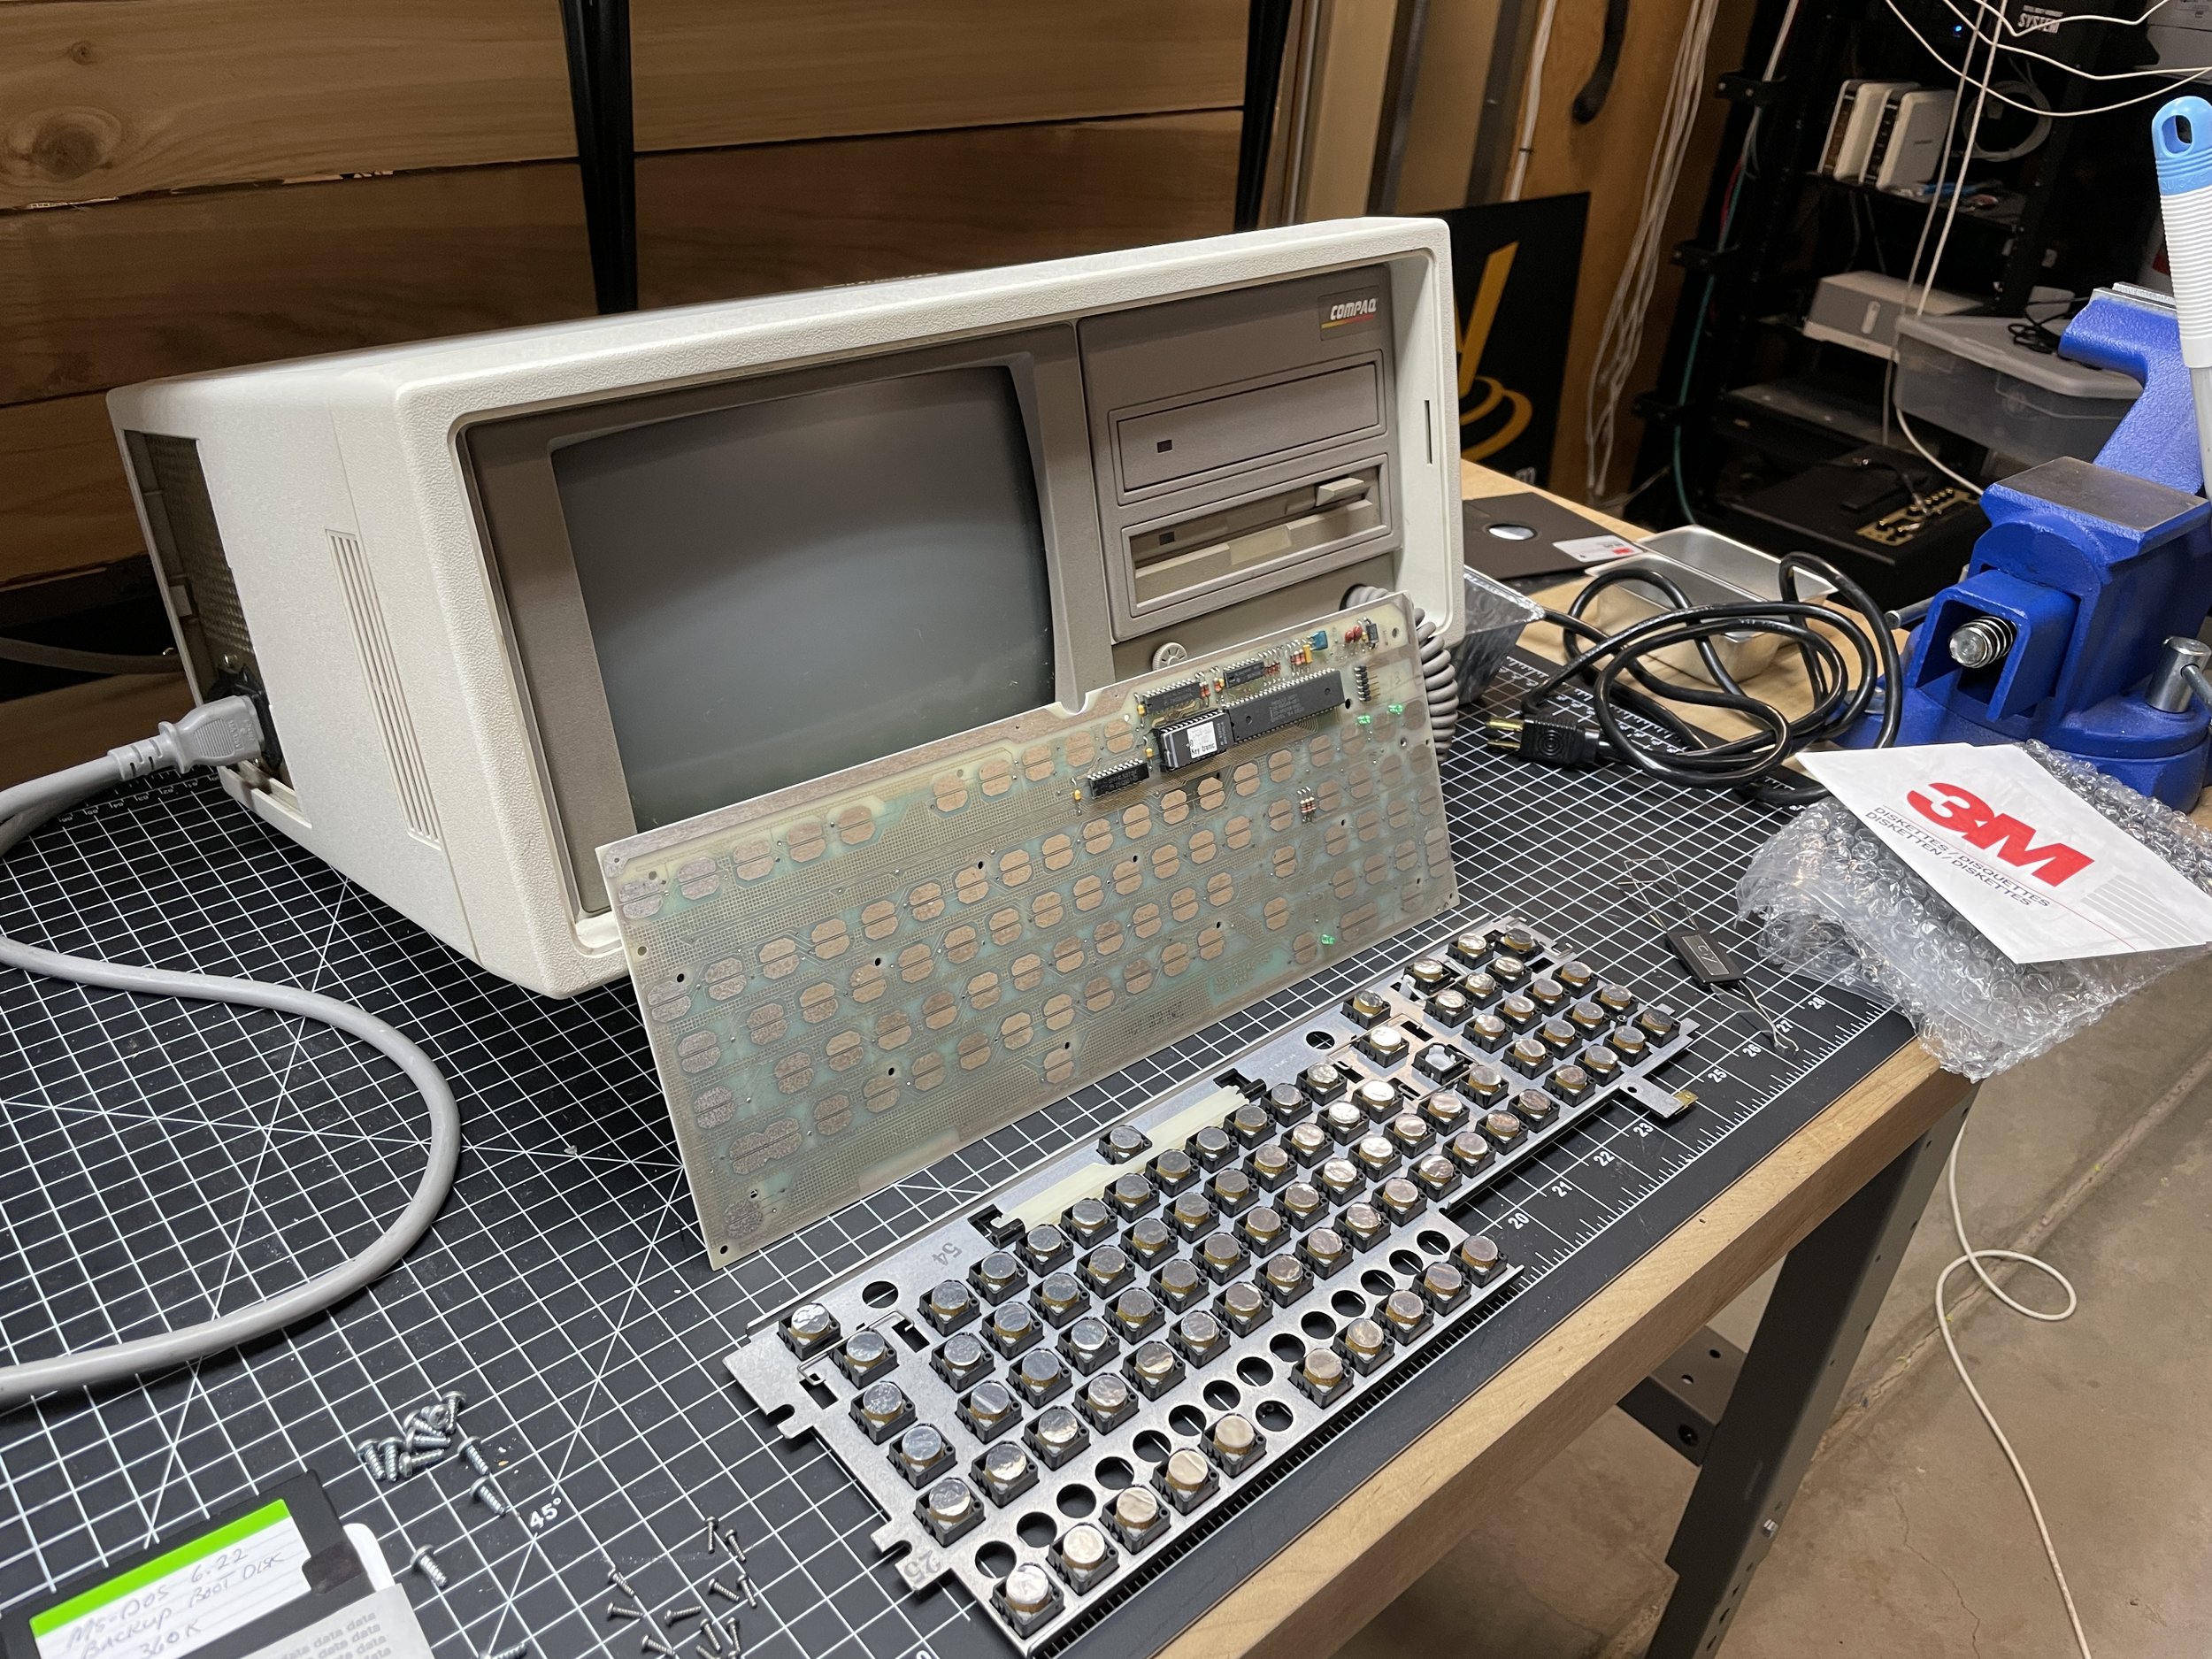
These early Keytronic keyboards are a capacitive design. The keys, when pushed, bring two conductors sandwiched by foam into proximity of each other, creating a capacitor that the keyboard processor detects. Each key has a plunger that freely moves up and down with the key, a rubber dome that gives the key a ’breaking feel’ and holds the key up, and a foam-and-foil insert that holds the foil conductor off the circuit board until you squish it with your finger. These keyboards fail mainly due to the foam becoming brittle and breaking, requiring you to change all the round foil-and-foam inserts out with new ones.
After installing all the new foam-and-foil inserts, I reassembled the keyboard and tested it. However, much to my surprise, I encountered a new, odd problem with its functionality.

Whenever the Enter key was pressed, the Enter ‘action’ would work as expected, but the computer would also make a beep sound.
Debugging, I disassembled the keyboard and noticed that the Enter key had an unusual feature. It had two plungers, two foam-and-foil pads, and two rubber domes. When I was reassembling, I installed all these parts in every key that I encountered. Obviously, the keyboard was designed to have all these parts installed, so I installed them. I didn’t have any extra parts, nor was I missing any, although all the new foam-and-foil pads were new.
I debugged the keyboard (disassembled) with the computer connected and quickly determined that the upper Plunger of the Enter key (nearest the top edge of the computer) was the Plunger being recognized as the ‘Enter” key. The lower Plunger seems to make the ‘Beep’ sound, not contributing to anything but annoyance.
This was curious. Keytronics clearly designed the keyboard this way, assuming both plungers would be active. It also makes sense because the Enter key is large and can be pressed at different locations and different angles. I would assume the thinking was that the keyboard processor firmware would differentiate between the two plungers taking the first signal and discarding the second key. Yet, that is not the case. Imagining the history of this design, I would assume that some firmware issue was encountered, and they ditched the design. Instead, leaving the Plunger without the foam-and-foil insert so the lower Plunger would never register. I first just removed the foil from the foam insert on the lower Plunger and tried the keyboard that way. That worked, getting rid of the errant ‘beep’ sound. But, after testing, I found the keypress to be rather resistive. Once again, I took everything apart and removed the foam from the lower Plunger but still left the rubber dome to keep the key flat upon its two plungers. That seemed to be the best feel for the key, although still now what I would call normal. It’s a strange situation. If anyone knows the history of this, please shoot me a message.
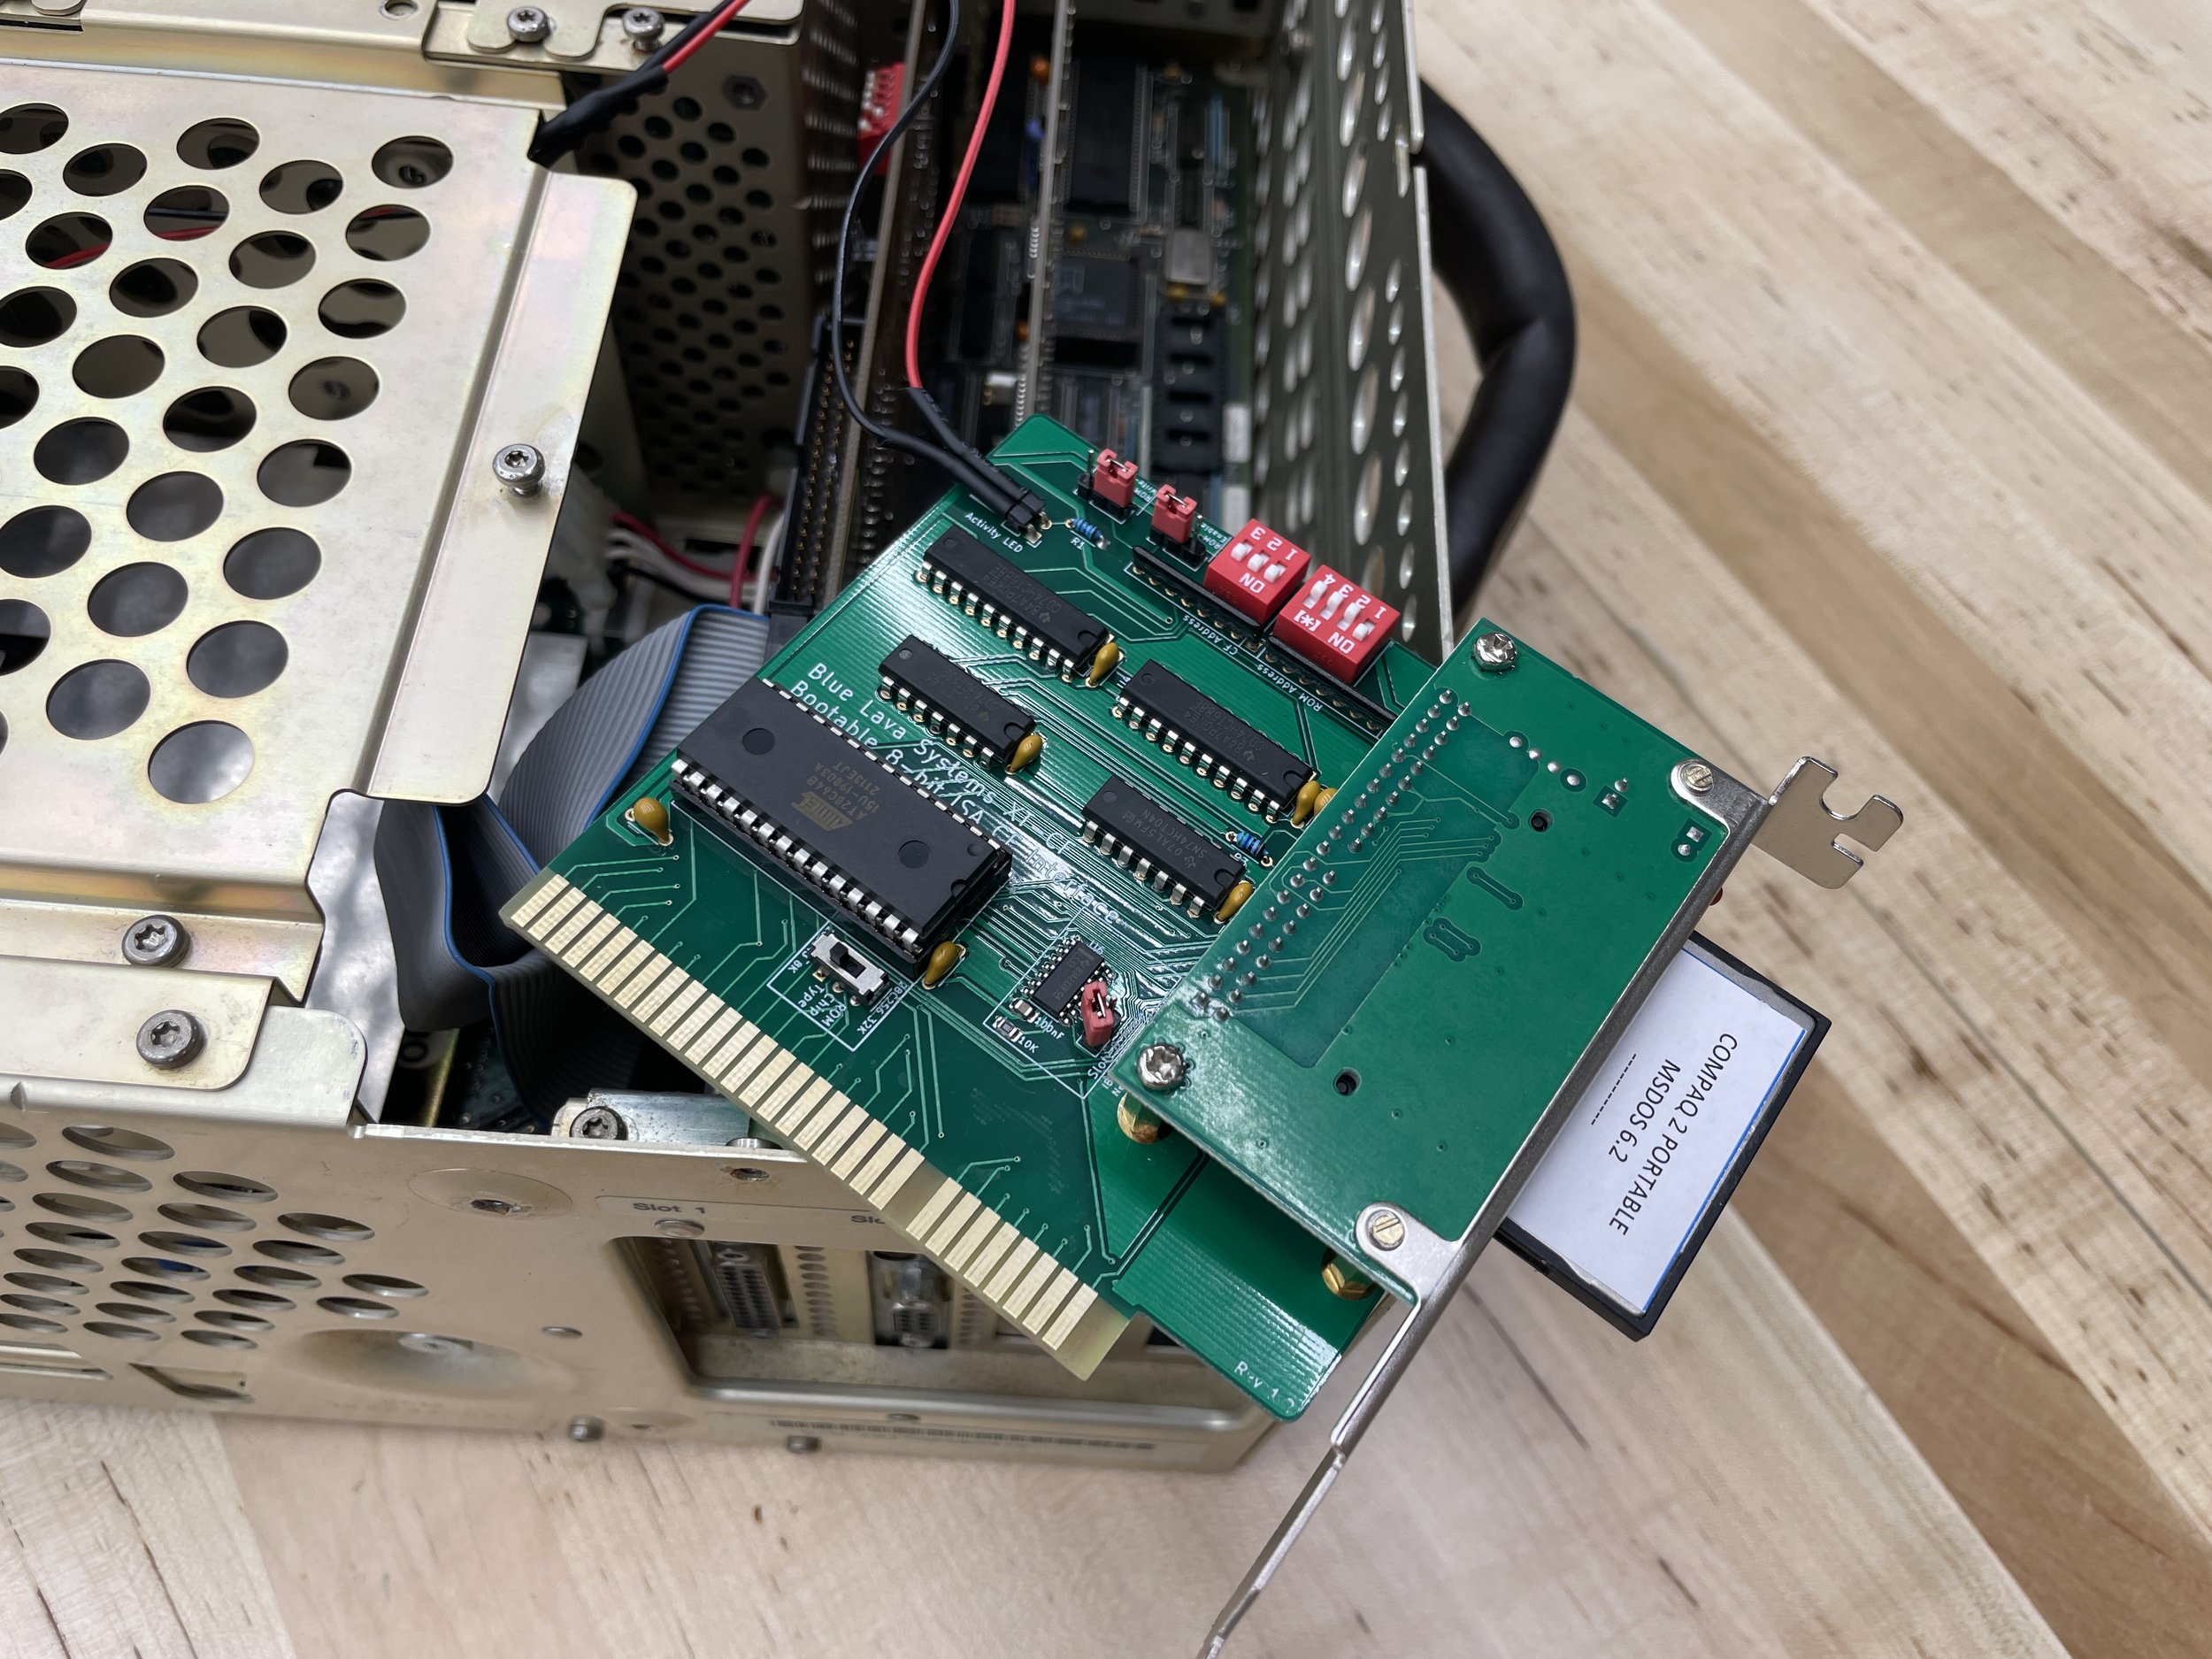
Installing the XT-IDE Hard Drive
Like most of my older DOS machines, I run a Blue Lava XT-IDE card in my CP2.
They are a breeze to install and work great. I won’t go into any more detail here, as you can read about it in my IBM 5155 post.

3C509 Network Card
The two additions I generally make to my DOS machines are the XTIDE Flash drive and a network card. The network card is strictly unnecessary as you can install software easily by moving the Flash Card back and forth via sneakernet. Still, networking is nice as I have an FTP server setup on my local network, and it makes it easy to move files around between computers.
The process of adding the network card to the CP1 was virtually identical to the process of adding the card to the IBM 5155.
How I added the 3C503 to the IBM 5155
More on Packet Drivers with DOS.
More info on getting a 3C509 card to work in an 8bit DOS Machine.

Front Bezel Fix
The Front Bezel looked fine on the CP2.
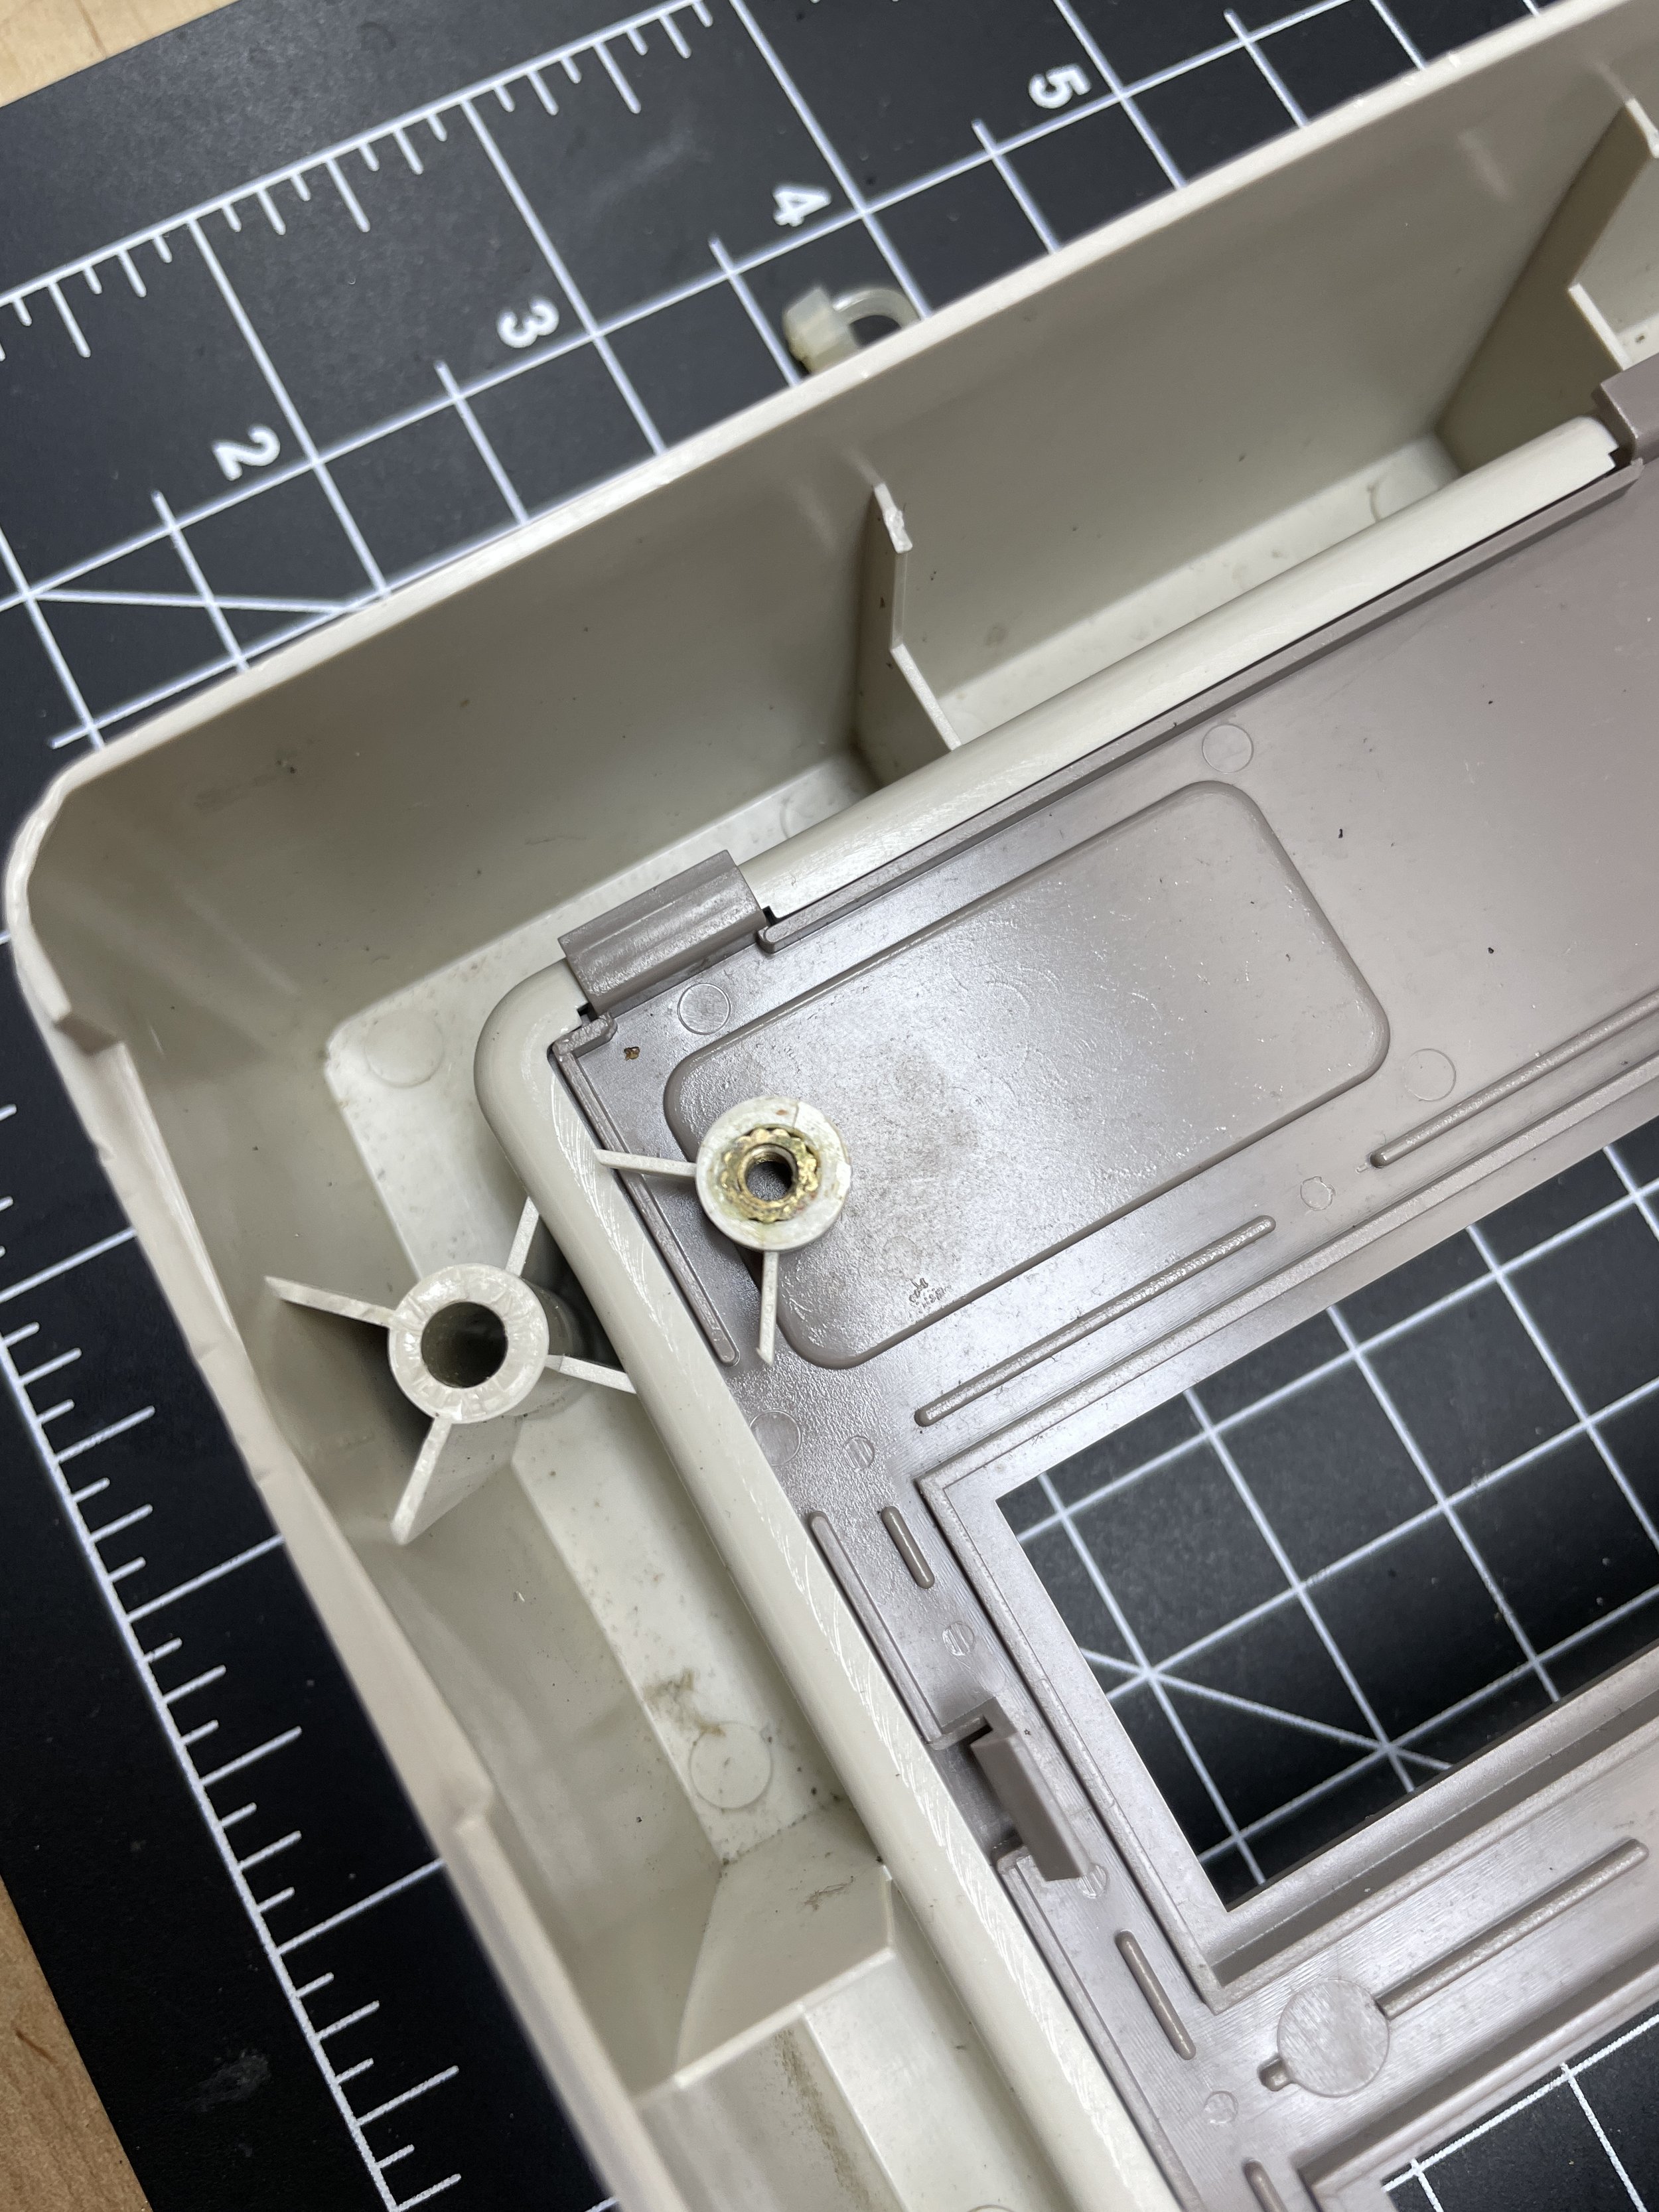
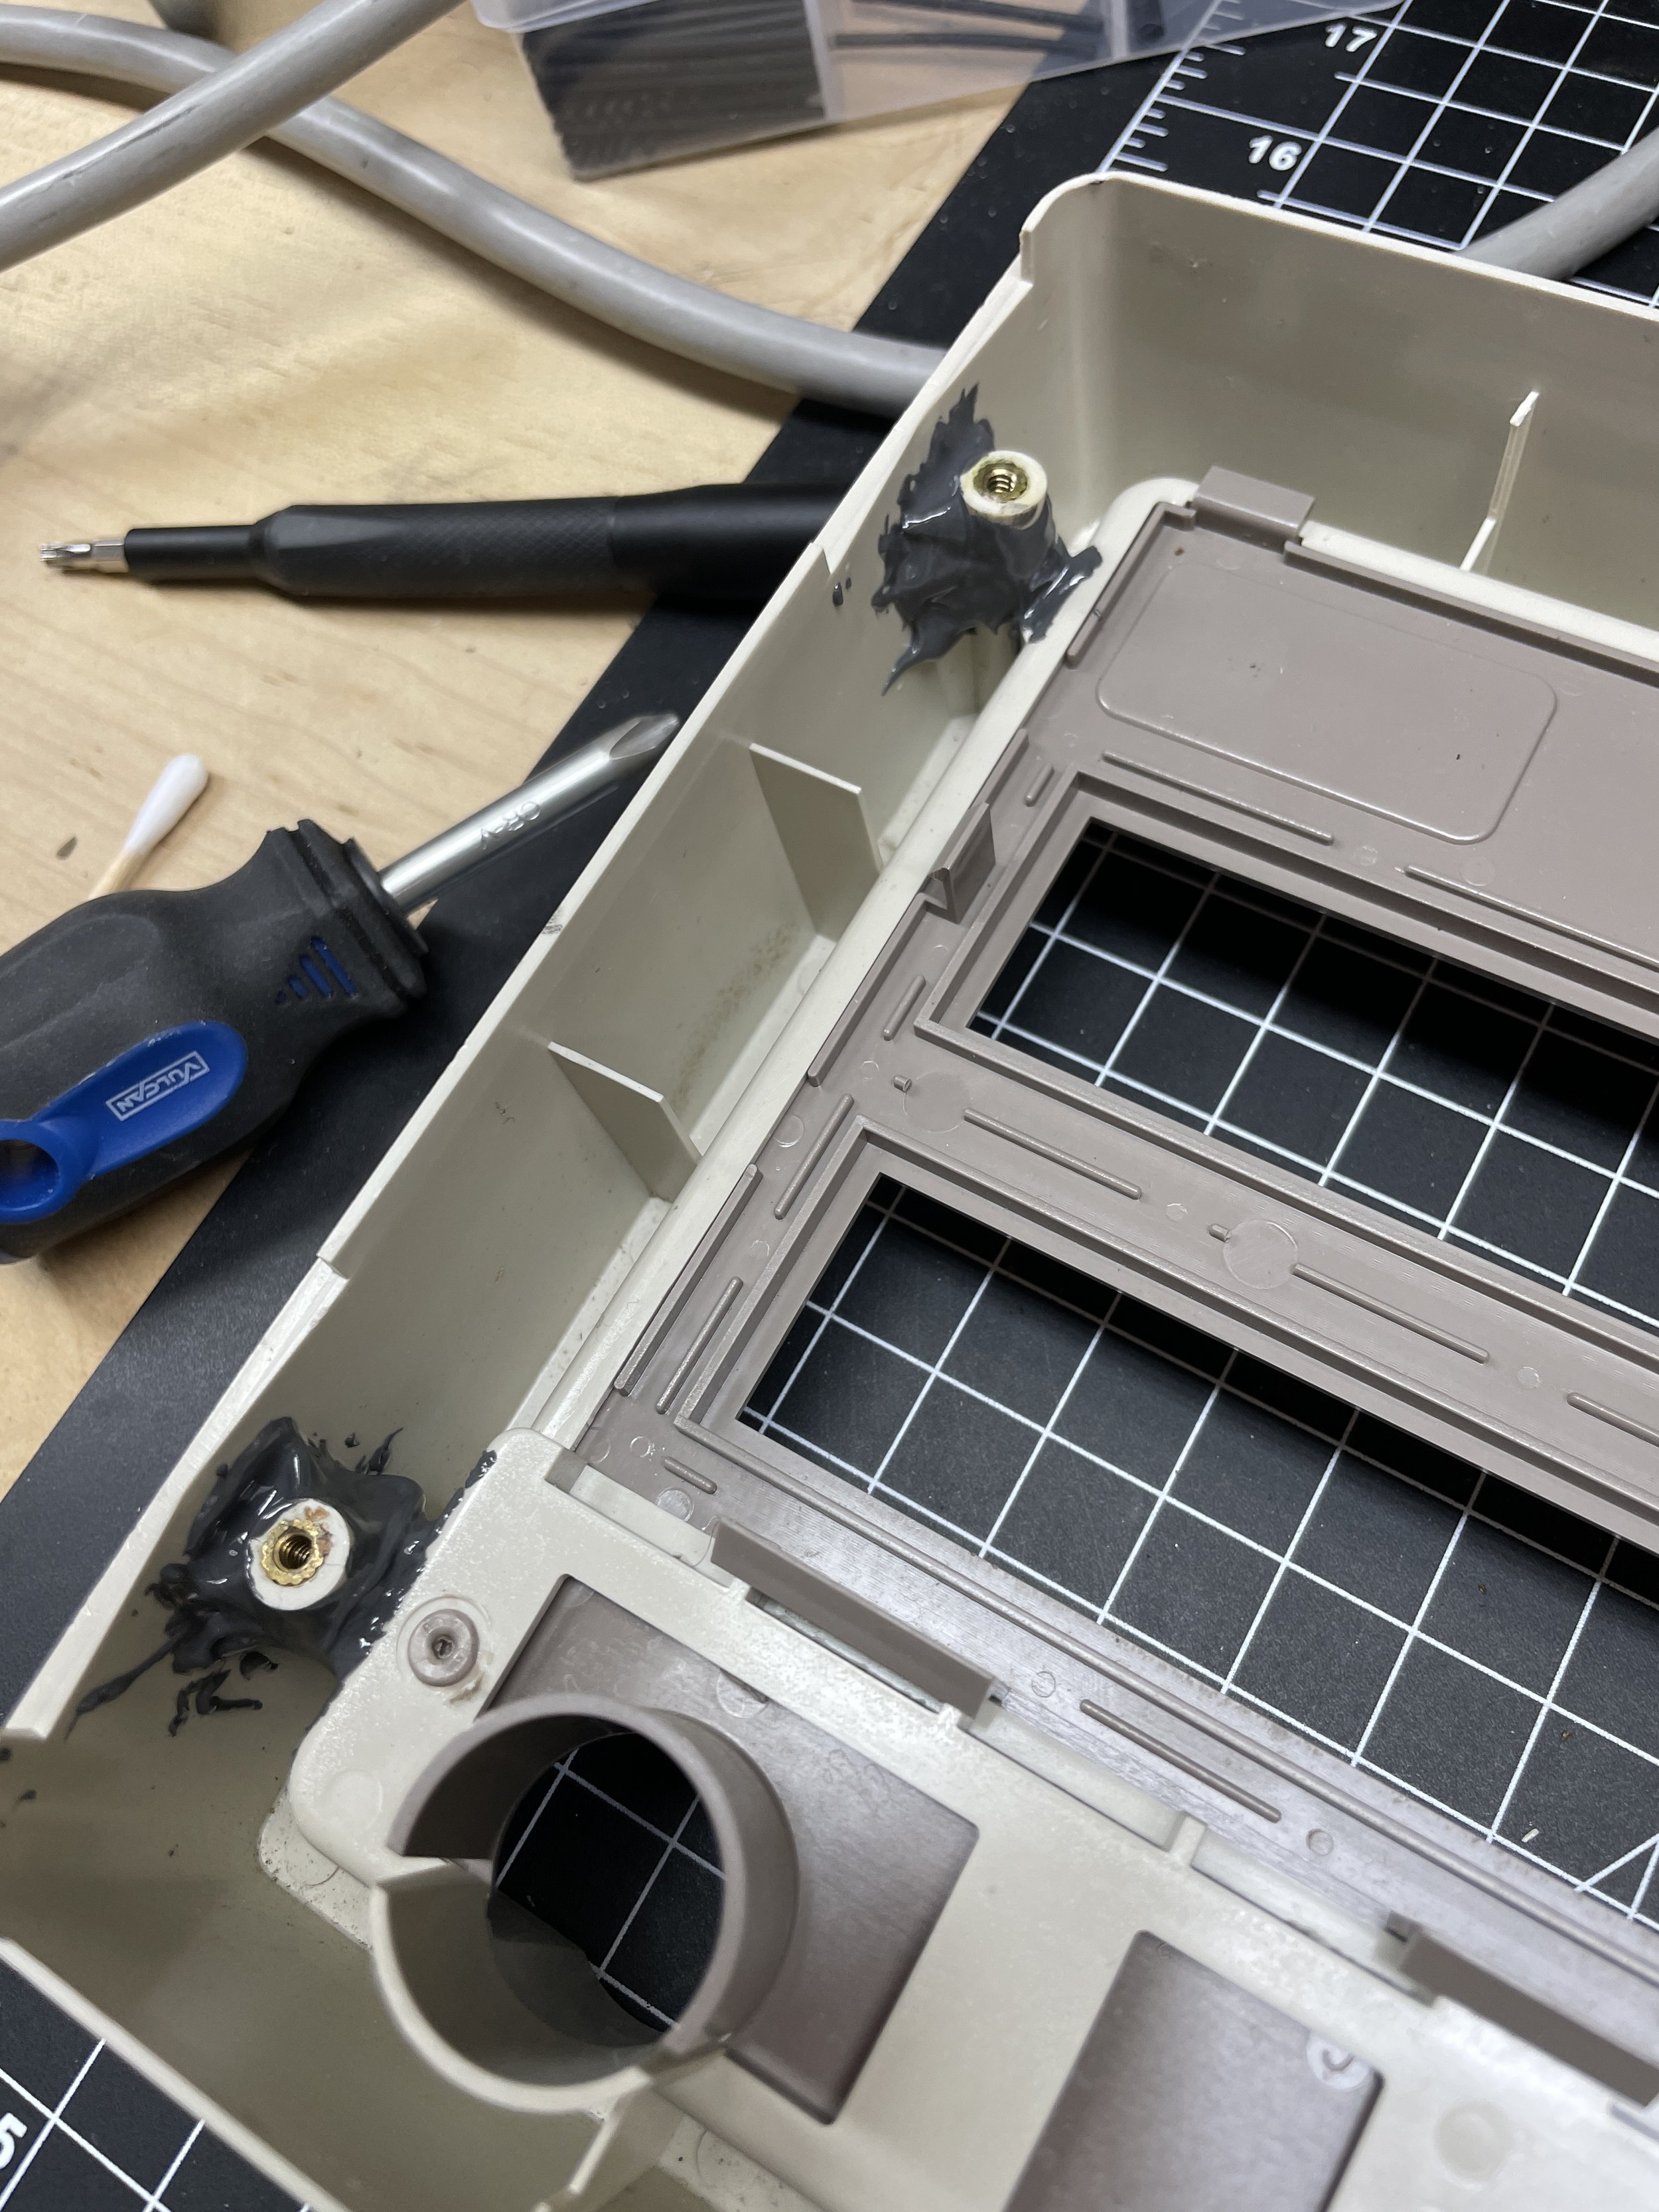
As I mentioned above, during the tear-down, I noticed that four of the six screw stays were broken off.
Fortunately, the stays were still attached to the screws, so I decided to reattach them using JBWeld.
JBWeld is a two-part epoxy that is very strong when cured. JBWeld works well for this kind of repair as the epoxy has a lot of strength itself. You can build up a thick blob around a broken part and create a much stronger part than was originally manufactured. The tradeoff is can only use this fix for areas you don’t see, as it's very noticeable. Fortunately, the machine screw stays are not visible in any way other than when the machine is apart. After the epoxied stays cured, all the front bezel screws worked great.

Battery Replacement
Most machines of the 286 era and later have some kind of battery backup device for the timekeeper chip.
Battery backup allows the machine to maintain the time when turned off.
Most of these batteries fail after 20 years or more, so they need to be replaced. Sometimes the battery and timekeeper chip are in the same chip (google: Dallas Chips). That’s not usually a good thing, as the likelihood of the chip still being in production is low. Fortunately, the CP2 uses a separate battery that is still readily available online.
Brand: Tadiran
Model: TL-5104/S Lithium
3.6 Volt 2100 mAh
Series: MBU
Shelf Life: Up to 20 years
Chemistry: Lithium Thionyl Chloride (LiSOCl2) (Primary)
Dimensions: 0.56" Diameter X 1.97" Long
Connector Type: Button Top
Description: AA cell lithium battery
Stable voltage and broad temperature range: -67°F to 185°F
(-55°C to 85°C)
Using the BIOS utility, I set the time, and everything worked fine, and the BIOS had no problem with a 2022 date.

Retrobright
I decided to Retrobrite the entire plastic case and keyboard. It was a pricy exercise as the main plastic case is one piece and reasonably large.
I use the Retrobrite immersion method exclusively. First, I obtained a large plastic bin and 30 bottles of Hydrogen Peroxide from Walmart ($30, $1 a bottle).
Over a two-day period in the summer heat, I submerged the parts in the bin in Hydrogen Peroxide and water. The case was already close to the original color before treatment, so there wasn’t a huge change in its appearance. The keyboard keys, however, were very yellow and benefited greatly from the process.

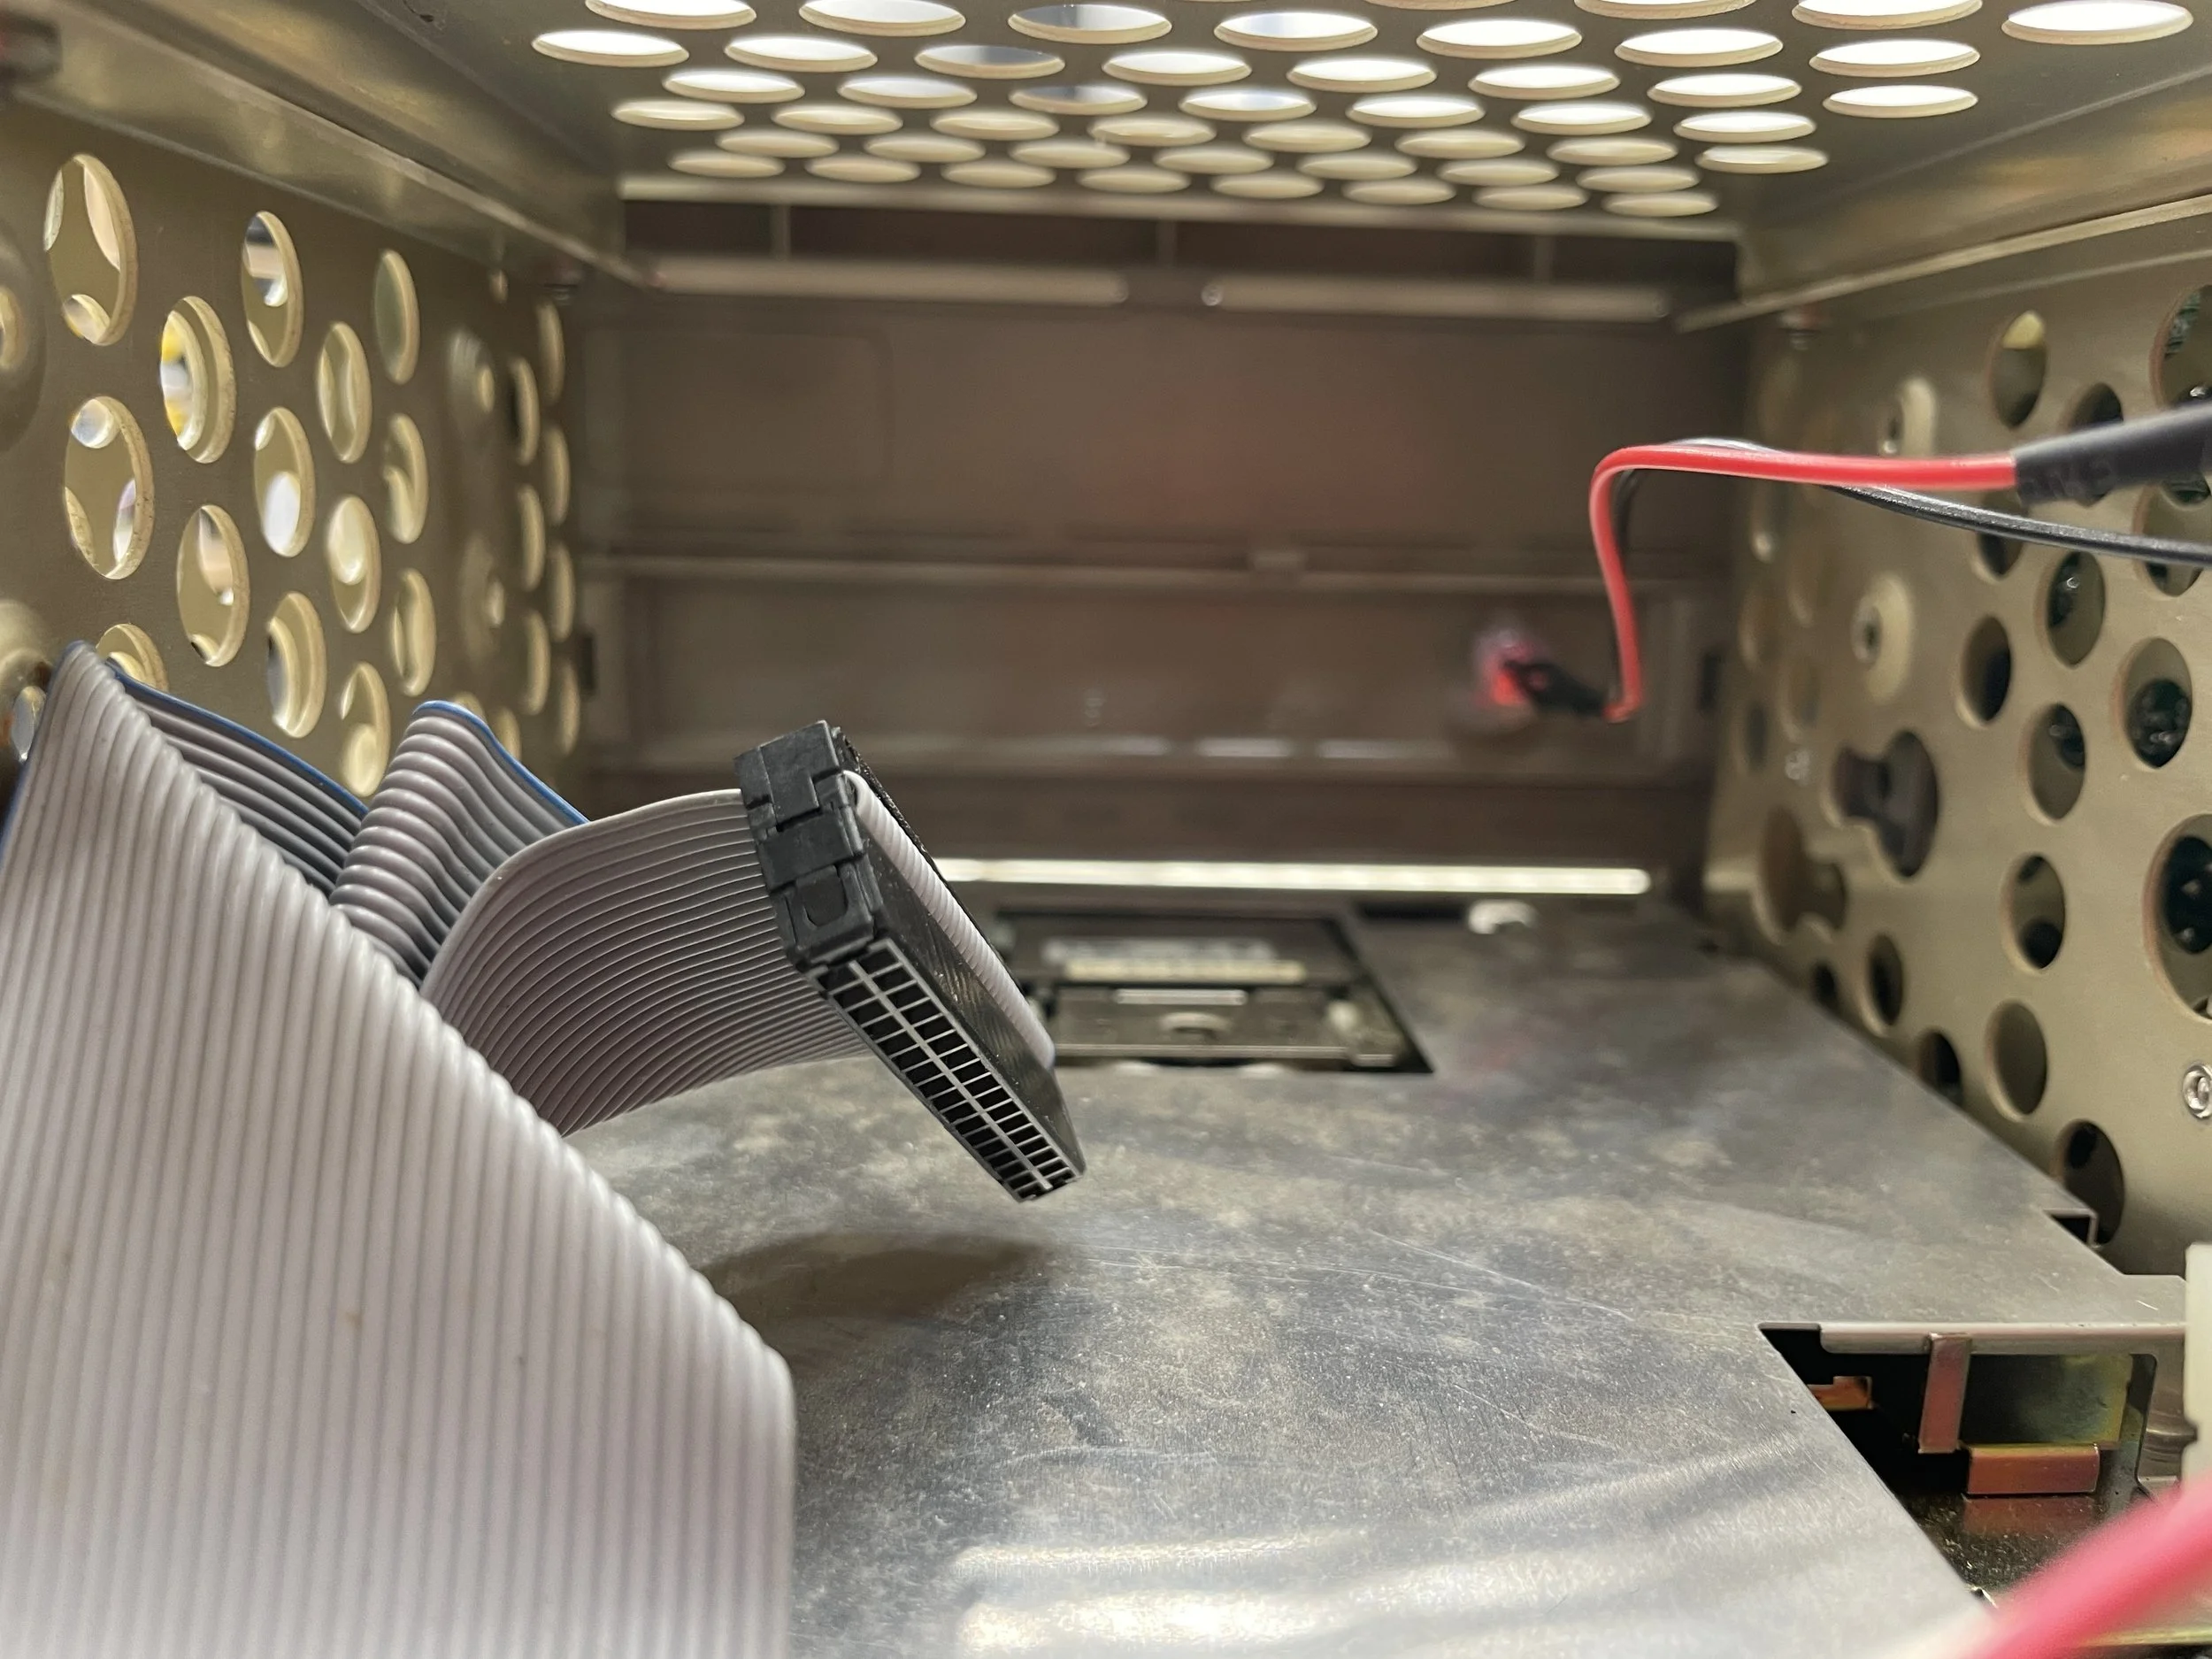
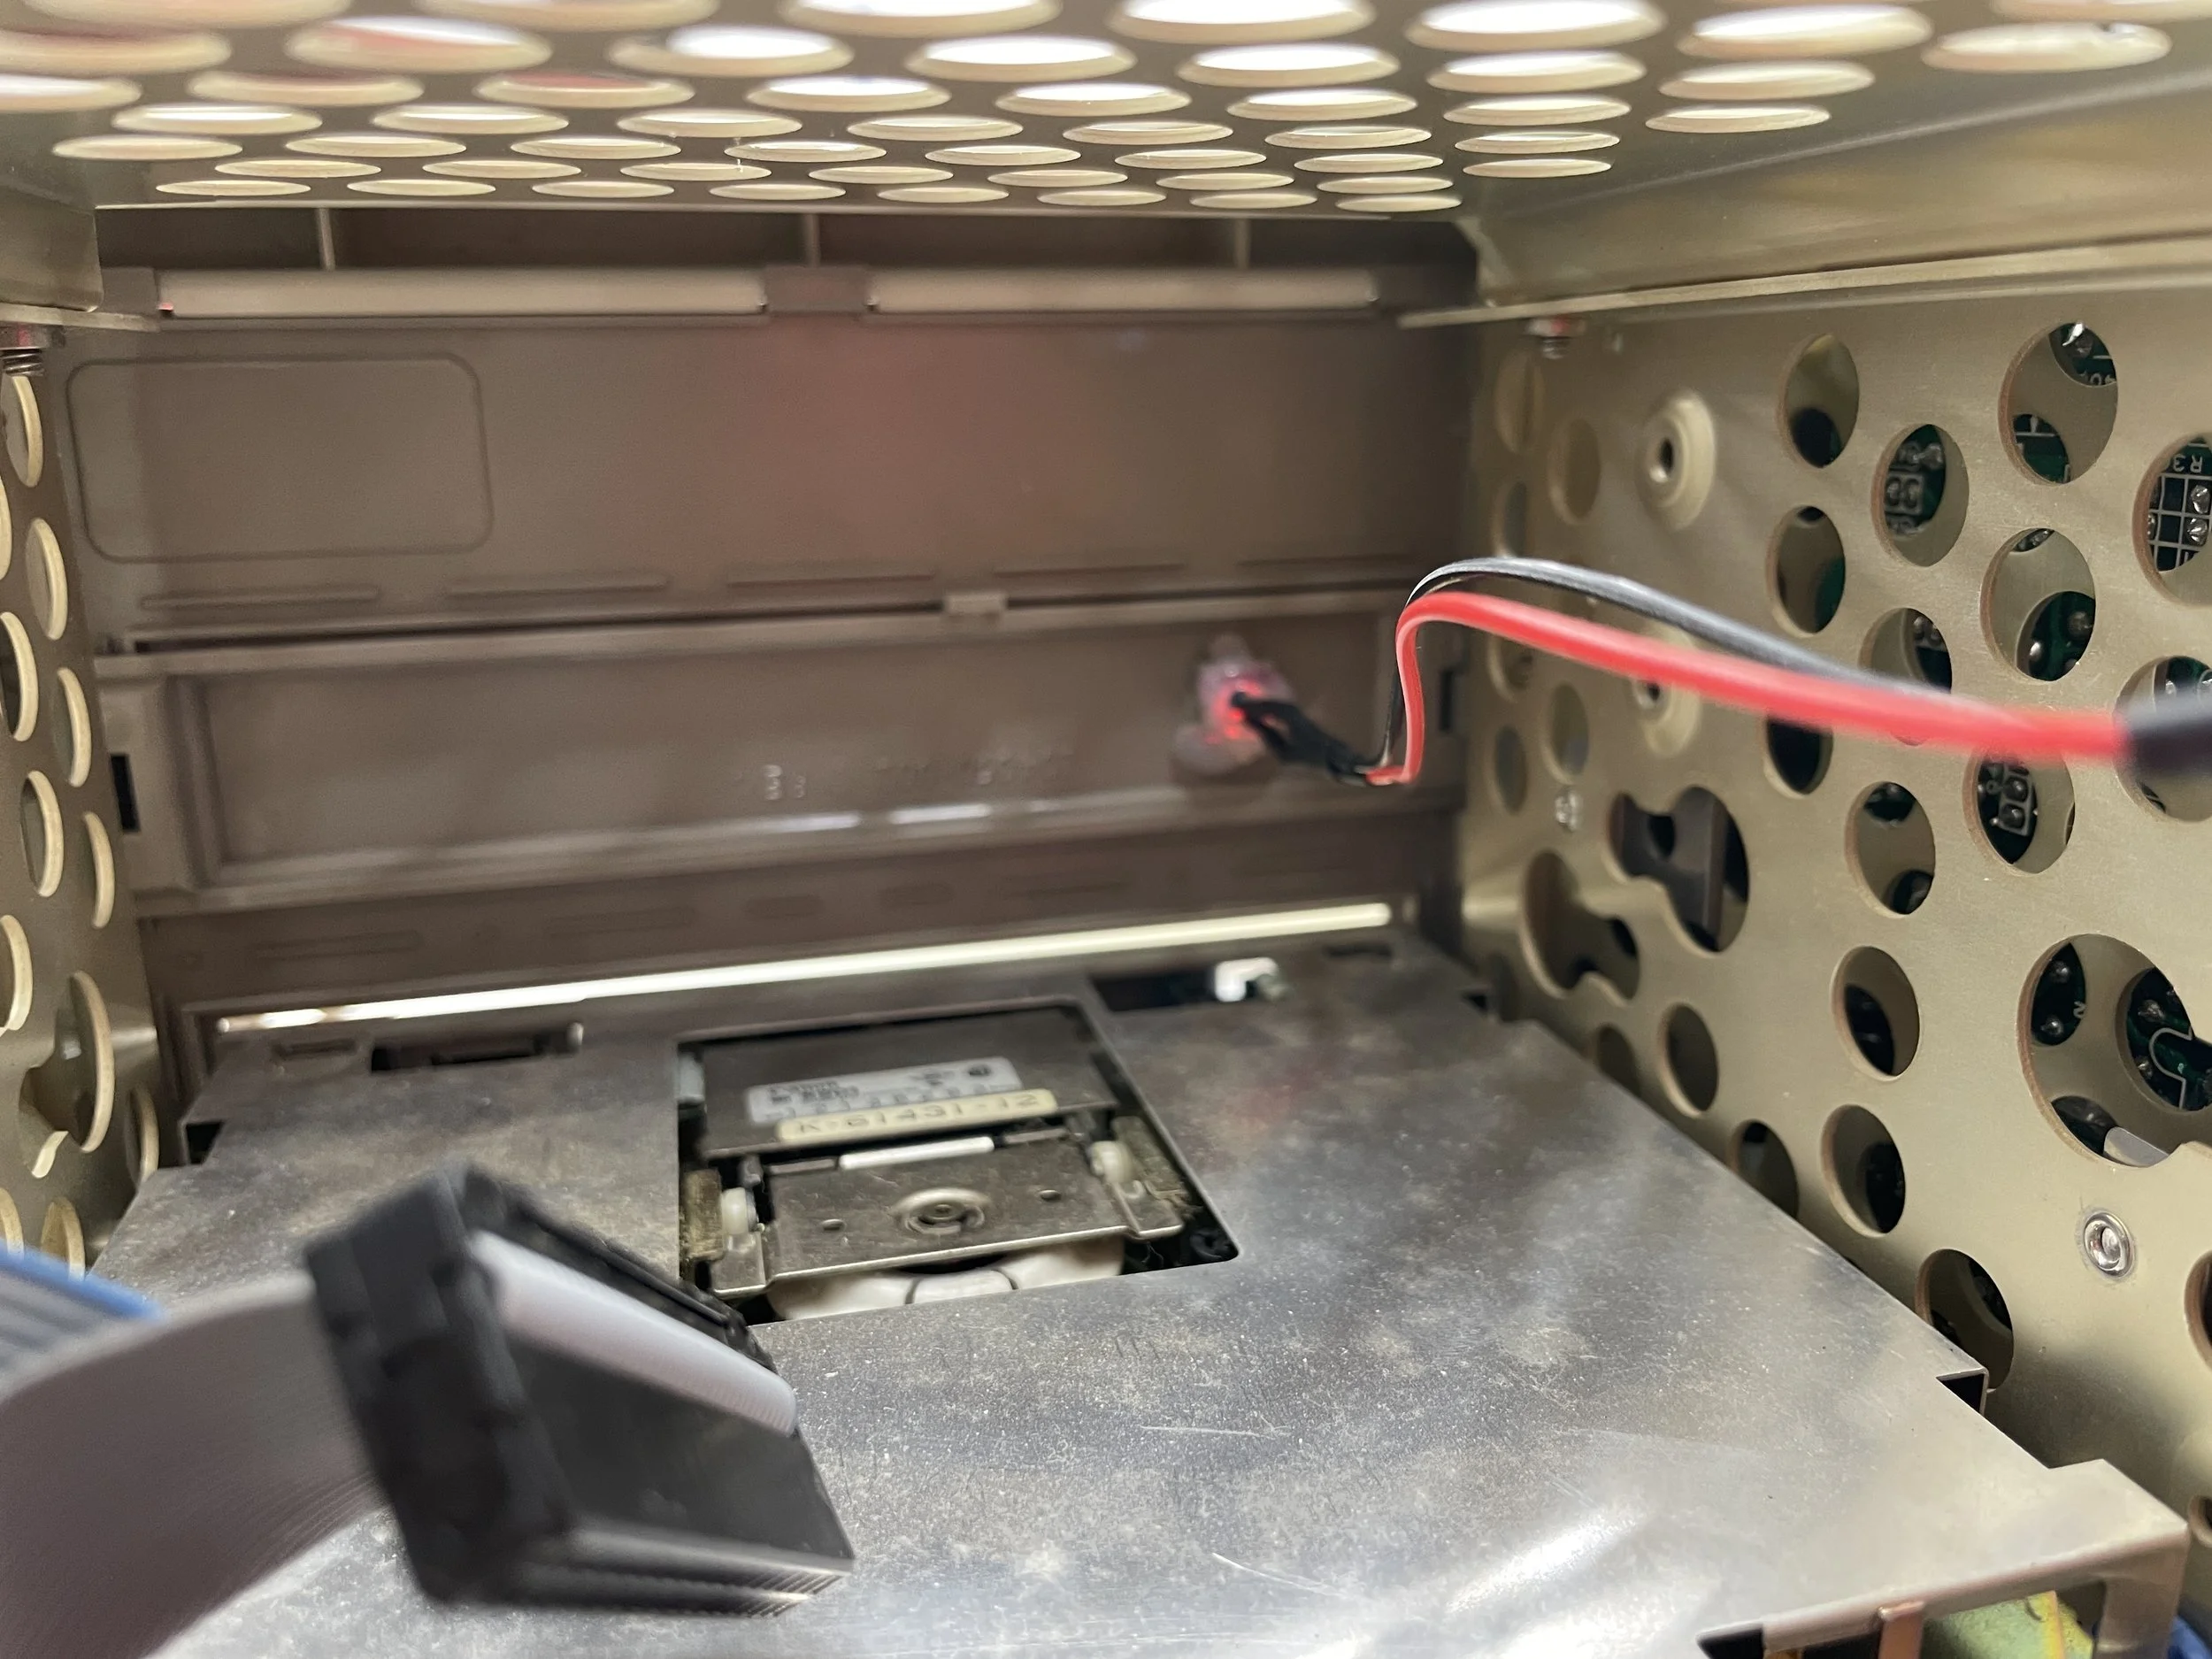
Hard Disk Access Light
Having removed the original Hard Disk from the CP2, and installing the XT-IDE, the front bezel, the hard disk LED was no longer hooked up.
I removed the old LED and replaced it with a modern 3.3V LED and connected it to the XT-IDE Card.
I experimented with different current-limiting resistors to get the brightness I wanted. I settled for something a bit brighter than the original but still period-looking.
Finally, I used hot glue to attach the LED back on the bezel lens.
I like the result.
Final Thoughts
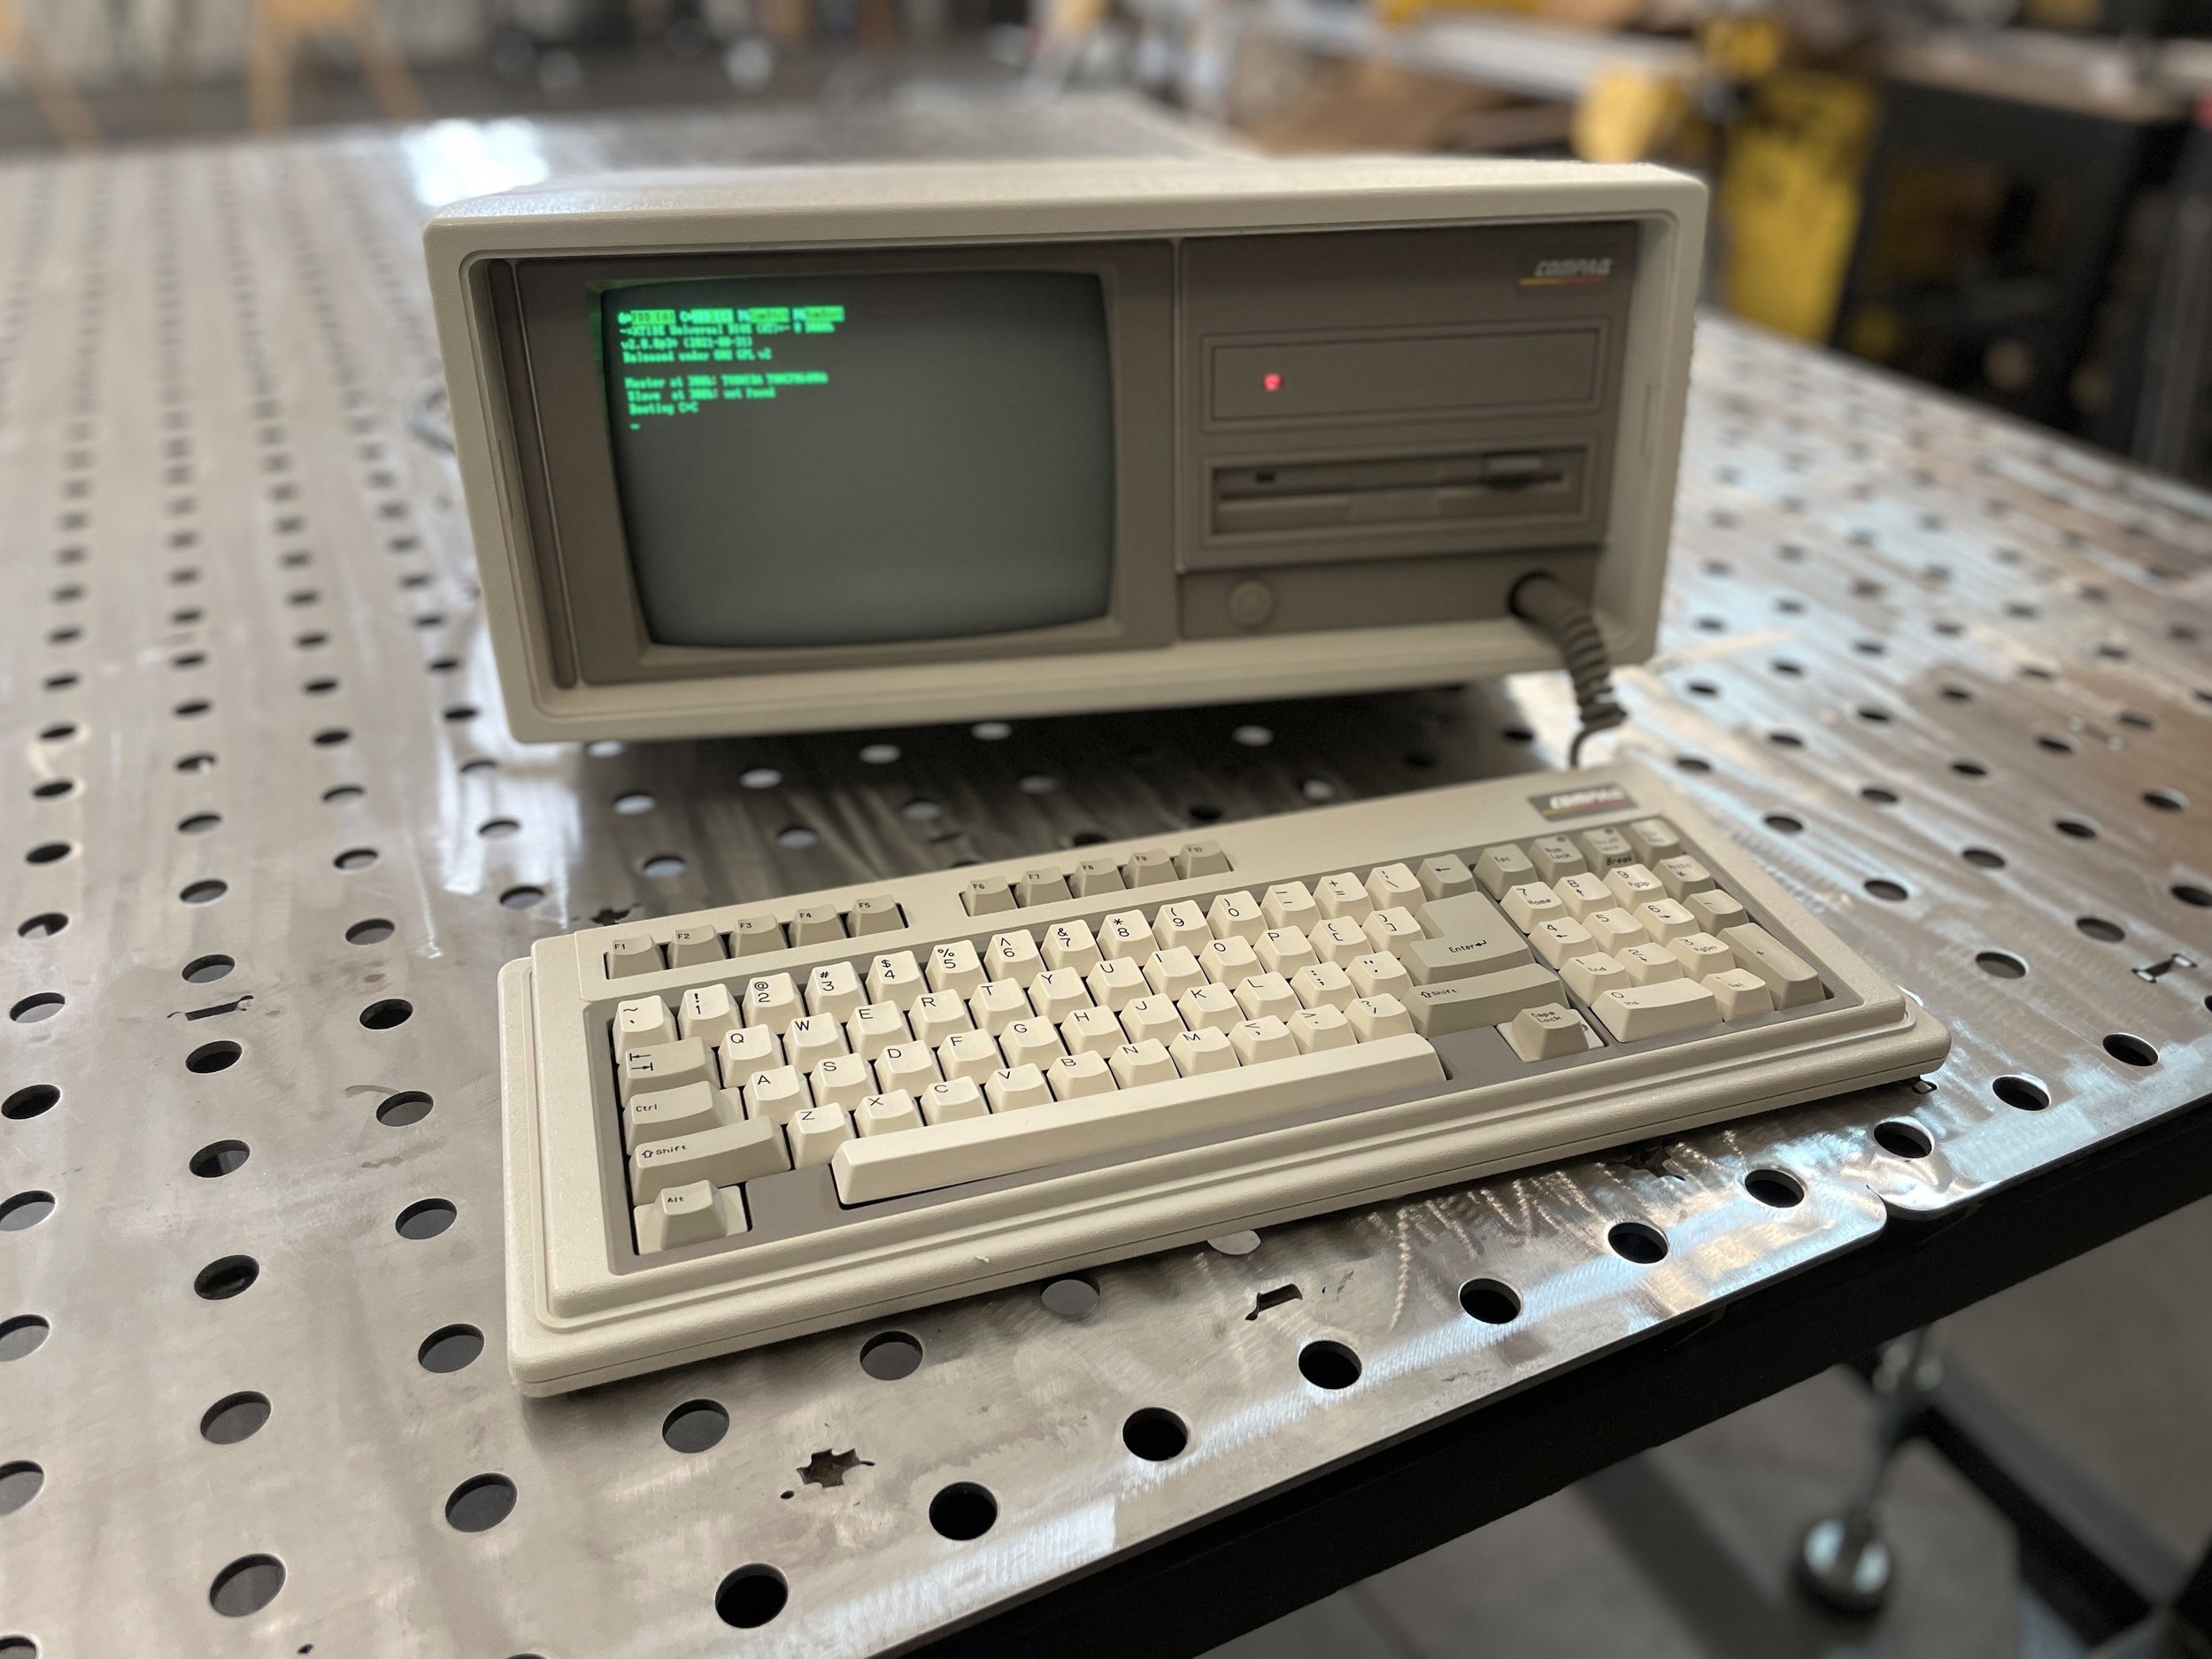
I really love the looks and size of the CP2.
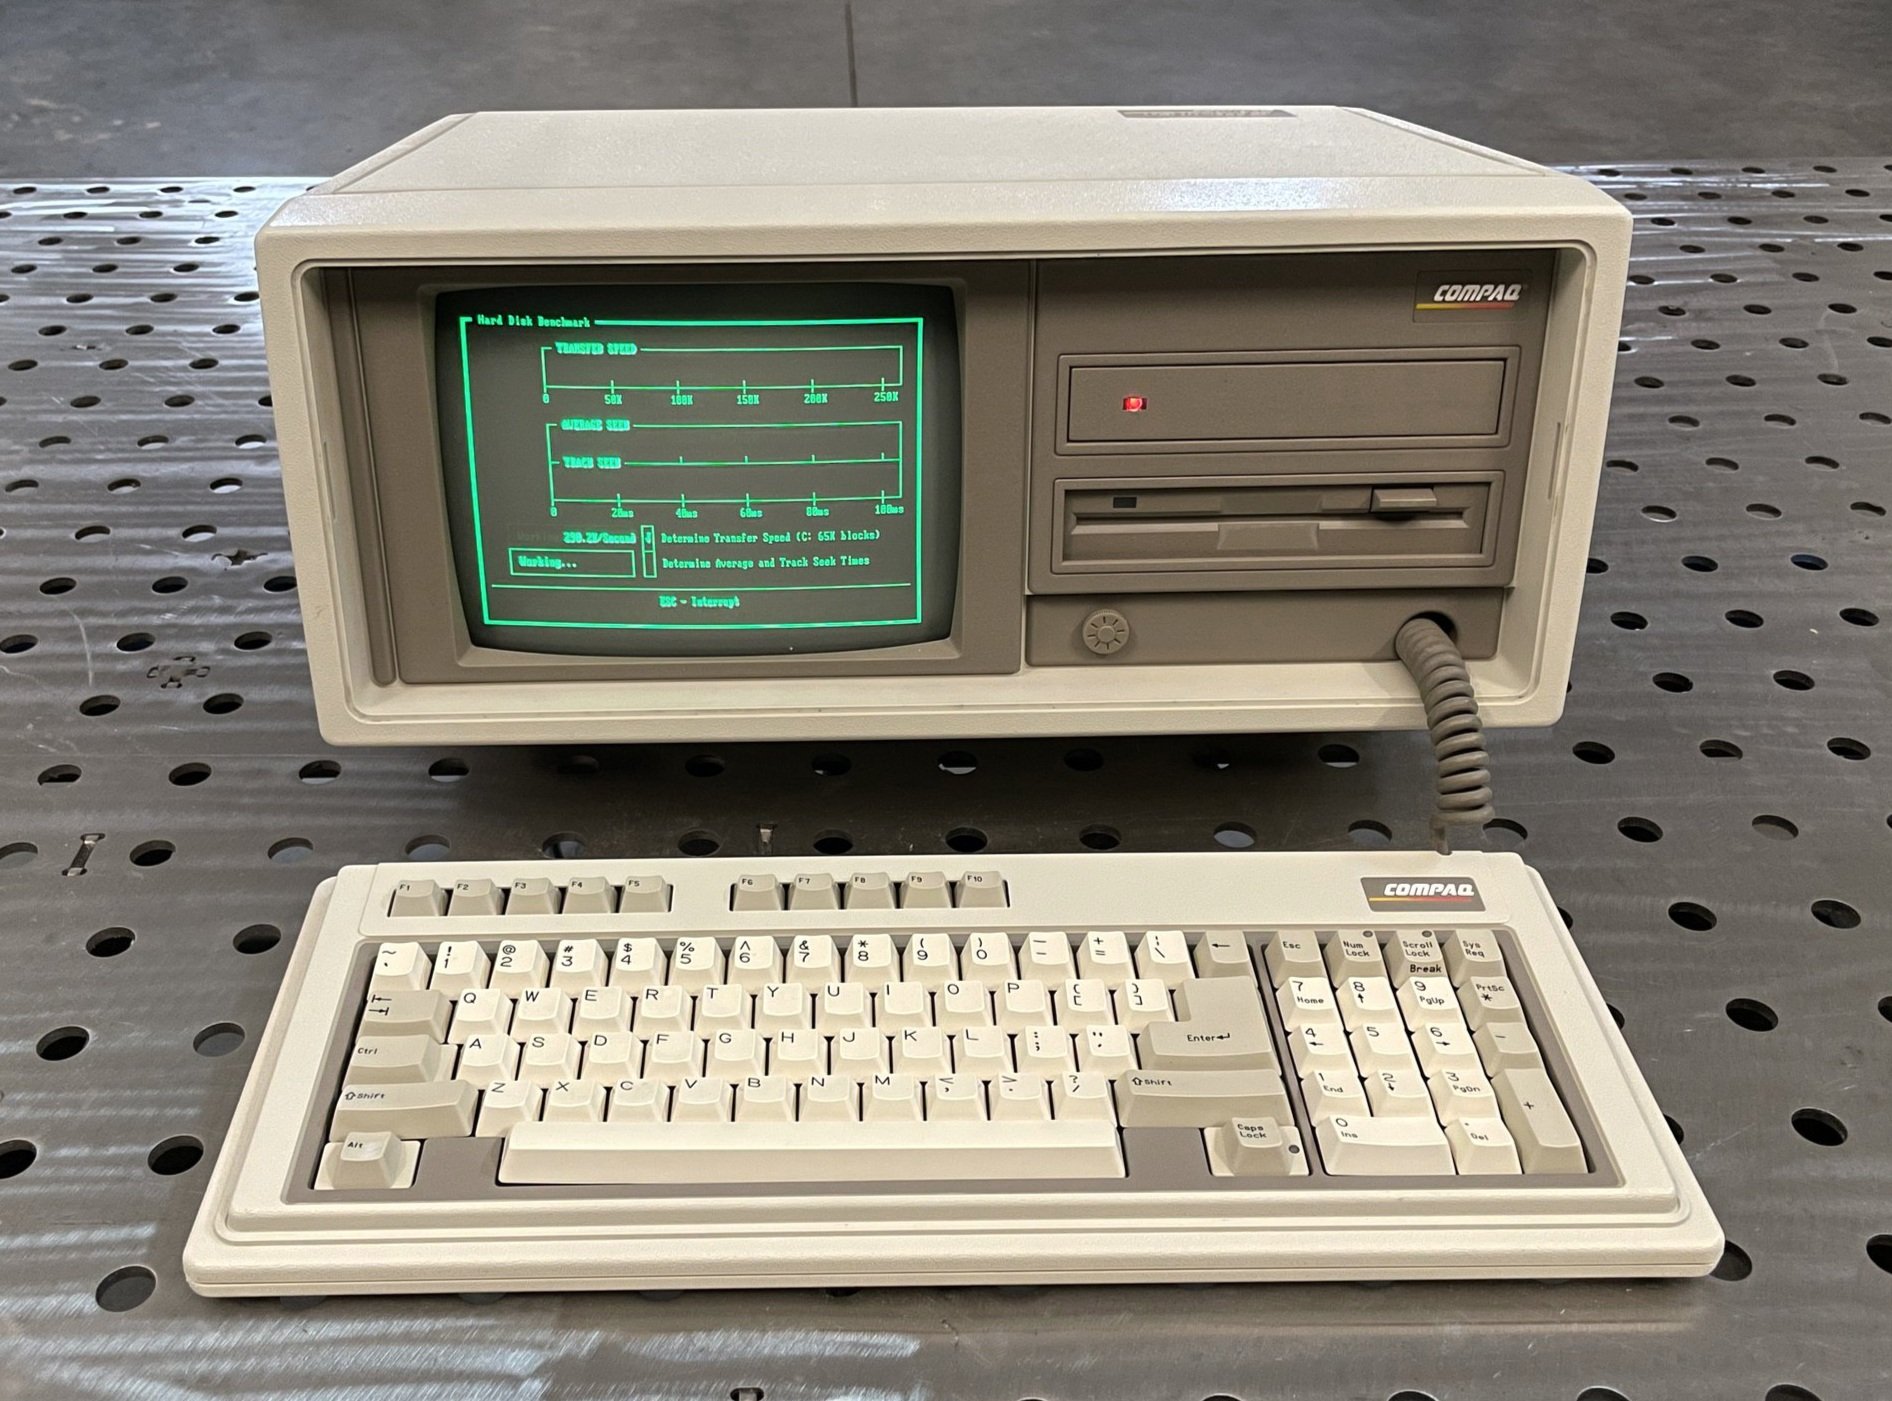
The screen is razor sharp (better than the photos), and the keyboard, while still not great, is usable. Compaq never solved their keyboard issues until the CP3, which has a great keyboard, after switching from Keytronics to Input Devices Keyboards. Don’t get me wrong, I enjoy good rubber dome keyboards like the types provided with Sun Microsystems, Sparc Workstations (also Keytronics), but at this point in time, Keytronics just didn’t have it worked out yet, IMHO.
There is something special about this computer. I would take it to a coffee shop today, plug it in and write some code, just to make a stir. The 80286 is fast enough to compile C code and pop around in DOS 6.22. You might be happy with the keyboard unless you used the CP3 keyboard, and then it would always seem like a compromise.
The size and weight are manageable in the same way the Osborne I is manageable. Would I take it everywhere? No. Would I take it to a lot of places? Sure. It’s an entire computer, of the day, in an easy-to-transport case.
This computer, with the CP3 keyboard, would be my fav DOS machine in the collection.
Gallery