If you have ever bought a used Sun workstation, or
powered one up after years in storage, there is a good
chance you have been greeted with a password prompt
instead of the familiar ok prompt. The machine is
convinced it has a firmware password set, and it will
not let you into OpenBoot PROM without it.
The frustrating part is that the machine may never have had a firmware password. When the battery inside the timekeeper chip dies or its NVRAM contents become corrupt, the security configuration bytes can end up in a state that looks like a password has been set. The firmware dutifully enforces a password that nobody knows because it never existed.
This is an extremely common scenario. Any Sun workstation with a dead or dying M48T02 or M48T08 timekeeper chip is a candidate for this problem. Machines that have been sitting unpowered for years are especially likely to exhibit it.
The Symptom
When you power on the machine, instead of the normal
boot sequence or the ok prompt, you see something
like:
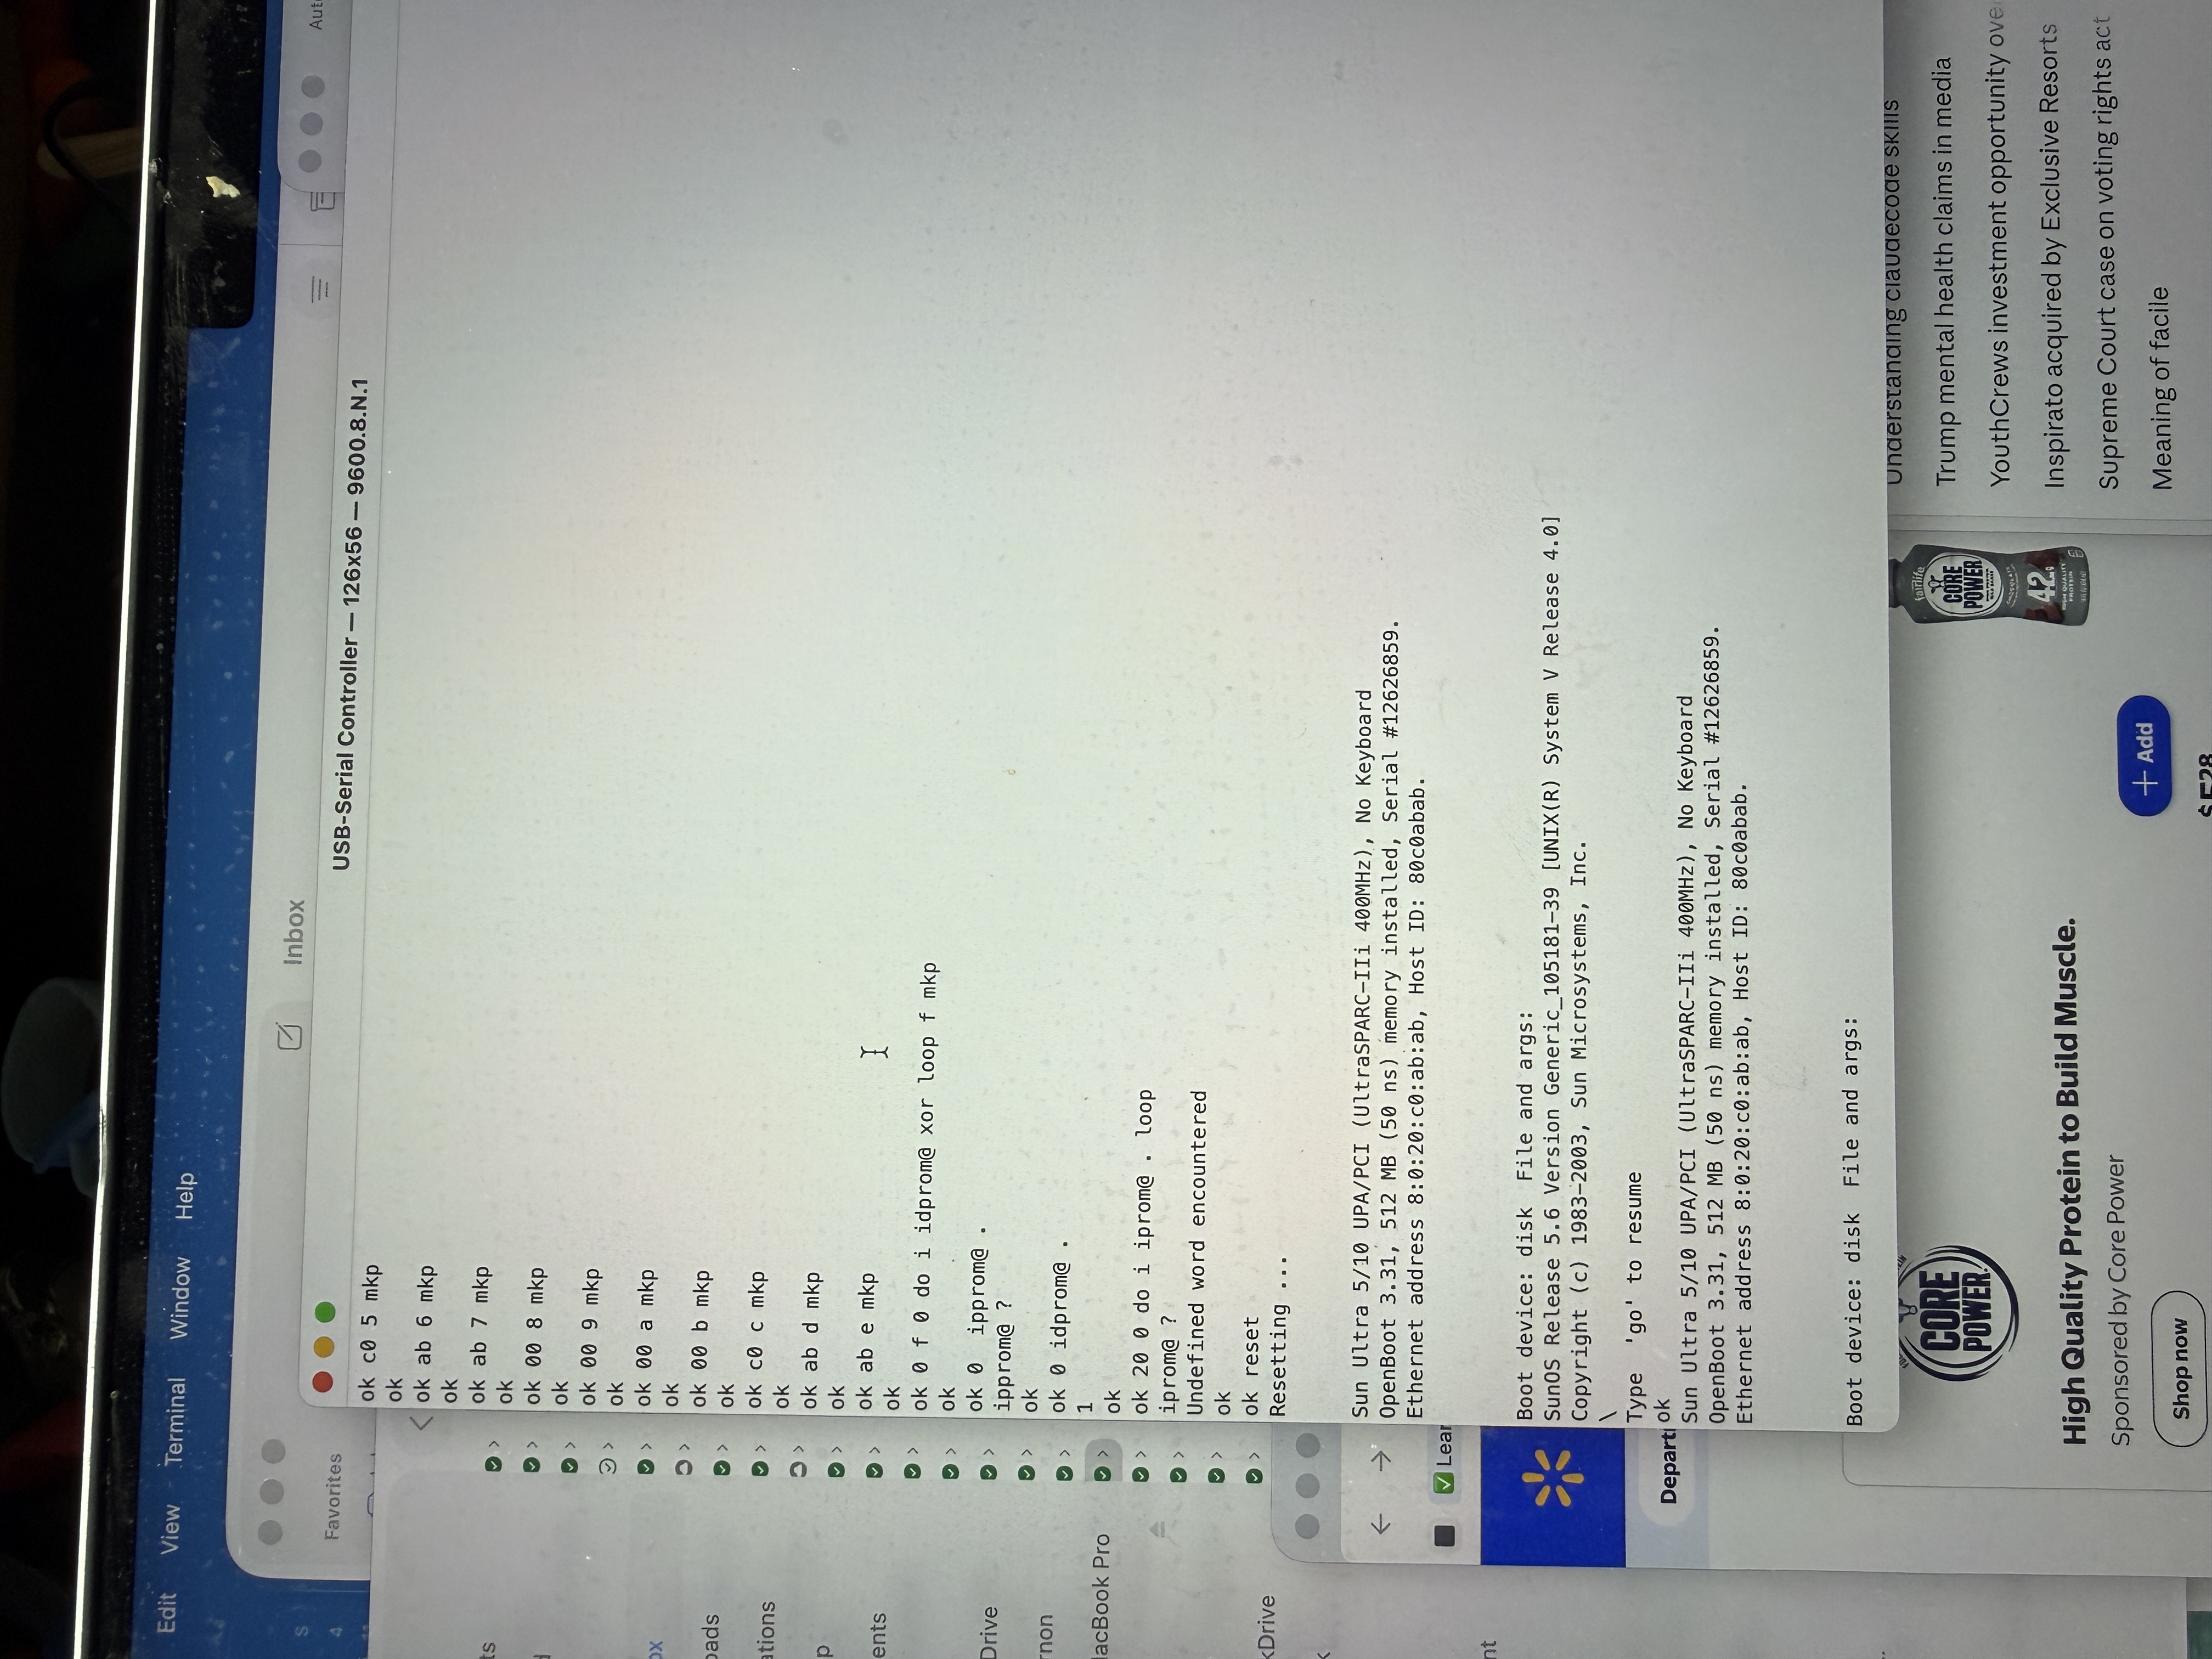
Type 'go' to resume
ok
Password:
Or on some machines:
SUNW,501-xxxx
Keyboard present
Password:
No amount of guessing will get you past this prompt because the password is random garbage from corrupt NVRAM, not a password anyone ever chose.
The Keyboard Shortcut That Might Not Work
If you search online you will find references to a key sequence that is supposed to clear the firmware password. The idea is to hold down Stop-N (or L1-N) immediately at power-on and keep it held until the machine begins its POST cycle. This is supposed to reset the NVRAM to factory defaults, clearing the password in the process.
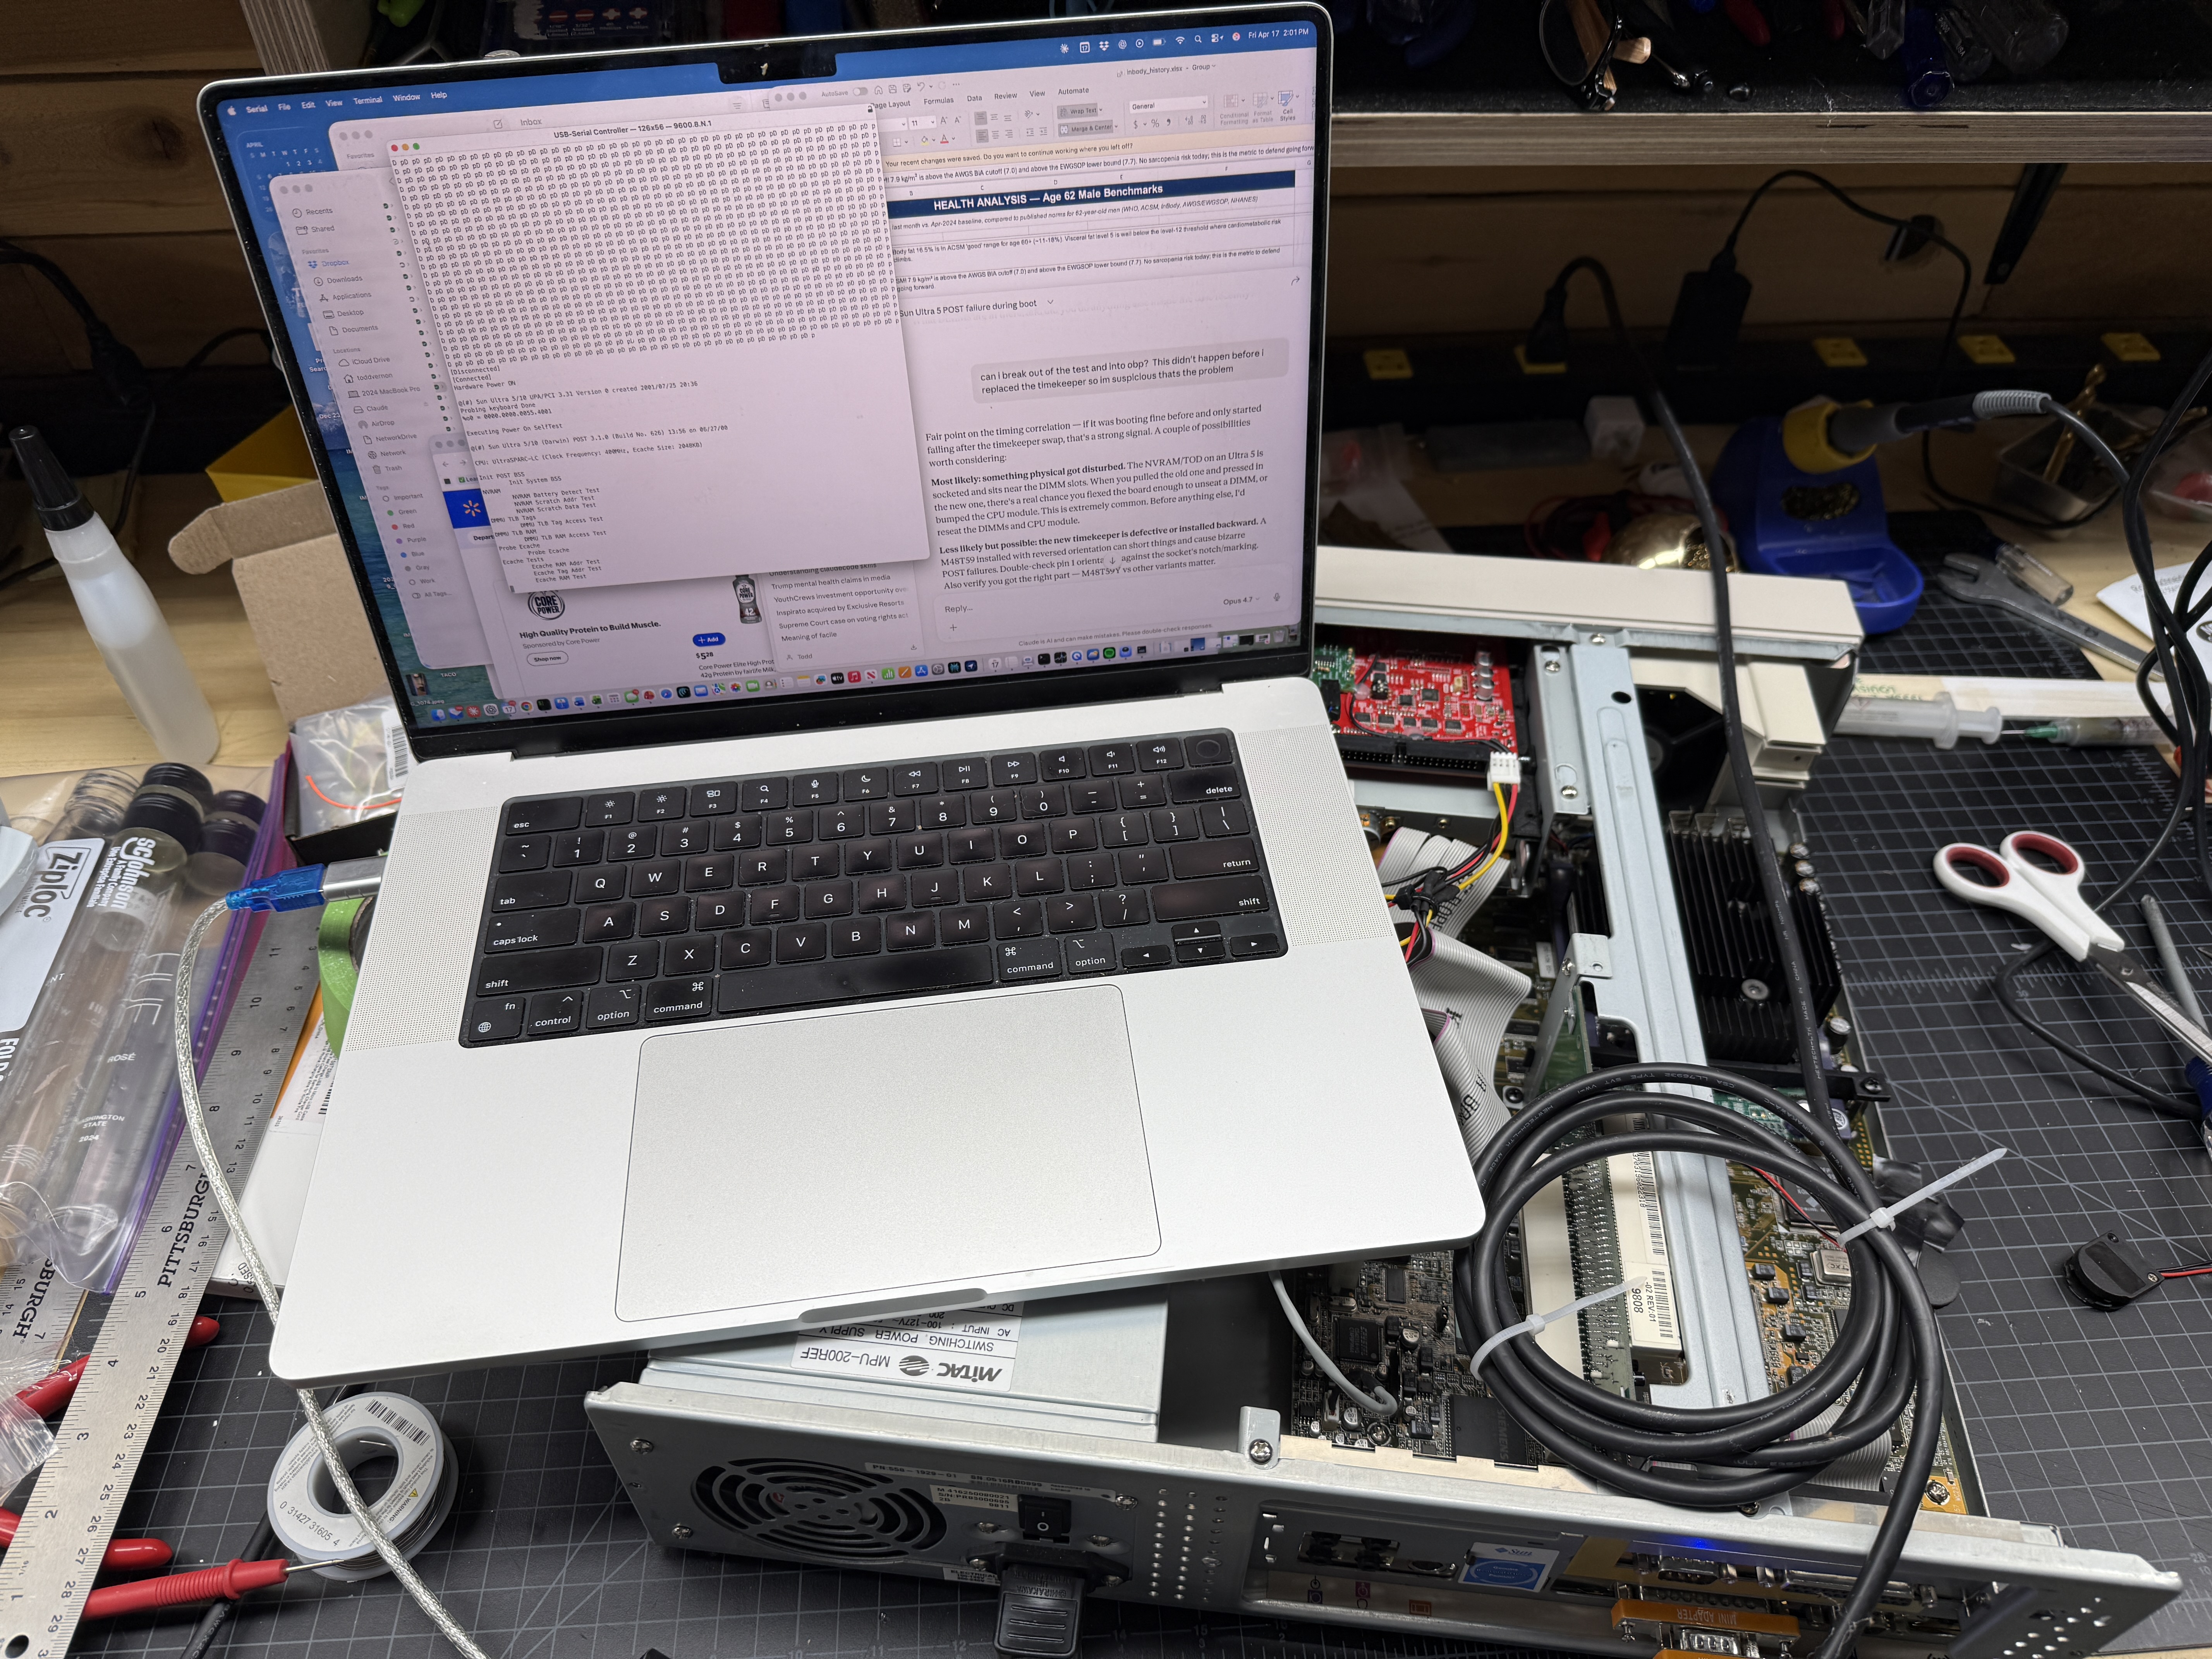
In practice, this does not always work. On machines where the timekeeper chip is severely corrupted or has been replaced with a blank chip, the Stop-N sequence may simply be ignored. I tried this on both a SPARCstation 2 and an Ultra 5 and could not get it to work on either machine.
The Chip Removal Trick
There is a more reliable method that takes advantage of how the firmware reads the security settings from the timekeeper chip. The idea is simple: if the chip is not present when the firmware tries to read the password, there is nothing to enforce.
What You Need
- The machine powered off
- Access to the timekeeper chip (M48T02 or M48T08) in its socket
- A chip puller or small flat-head screwdriver to carefully lever the chip out
- Steady hands
Step 1: Power On and Wait for the Prompt
Turn the machine on normally and let it reach the firmware password prompt. Do not try to enter anything yet. The key is that the firmware has already loaded and is now waiting for keyboard input.
Step 2: Remove the Timekeeper Chip
With the machine still powered on and sitting at the password prompt, carefully remove the timekeeper chip from its socket. This is a live removal of a socketed DIP chip, so be careful and deliberate. Grip the chip evenly and pull it straight up.
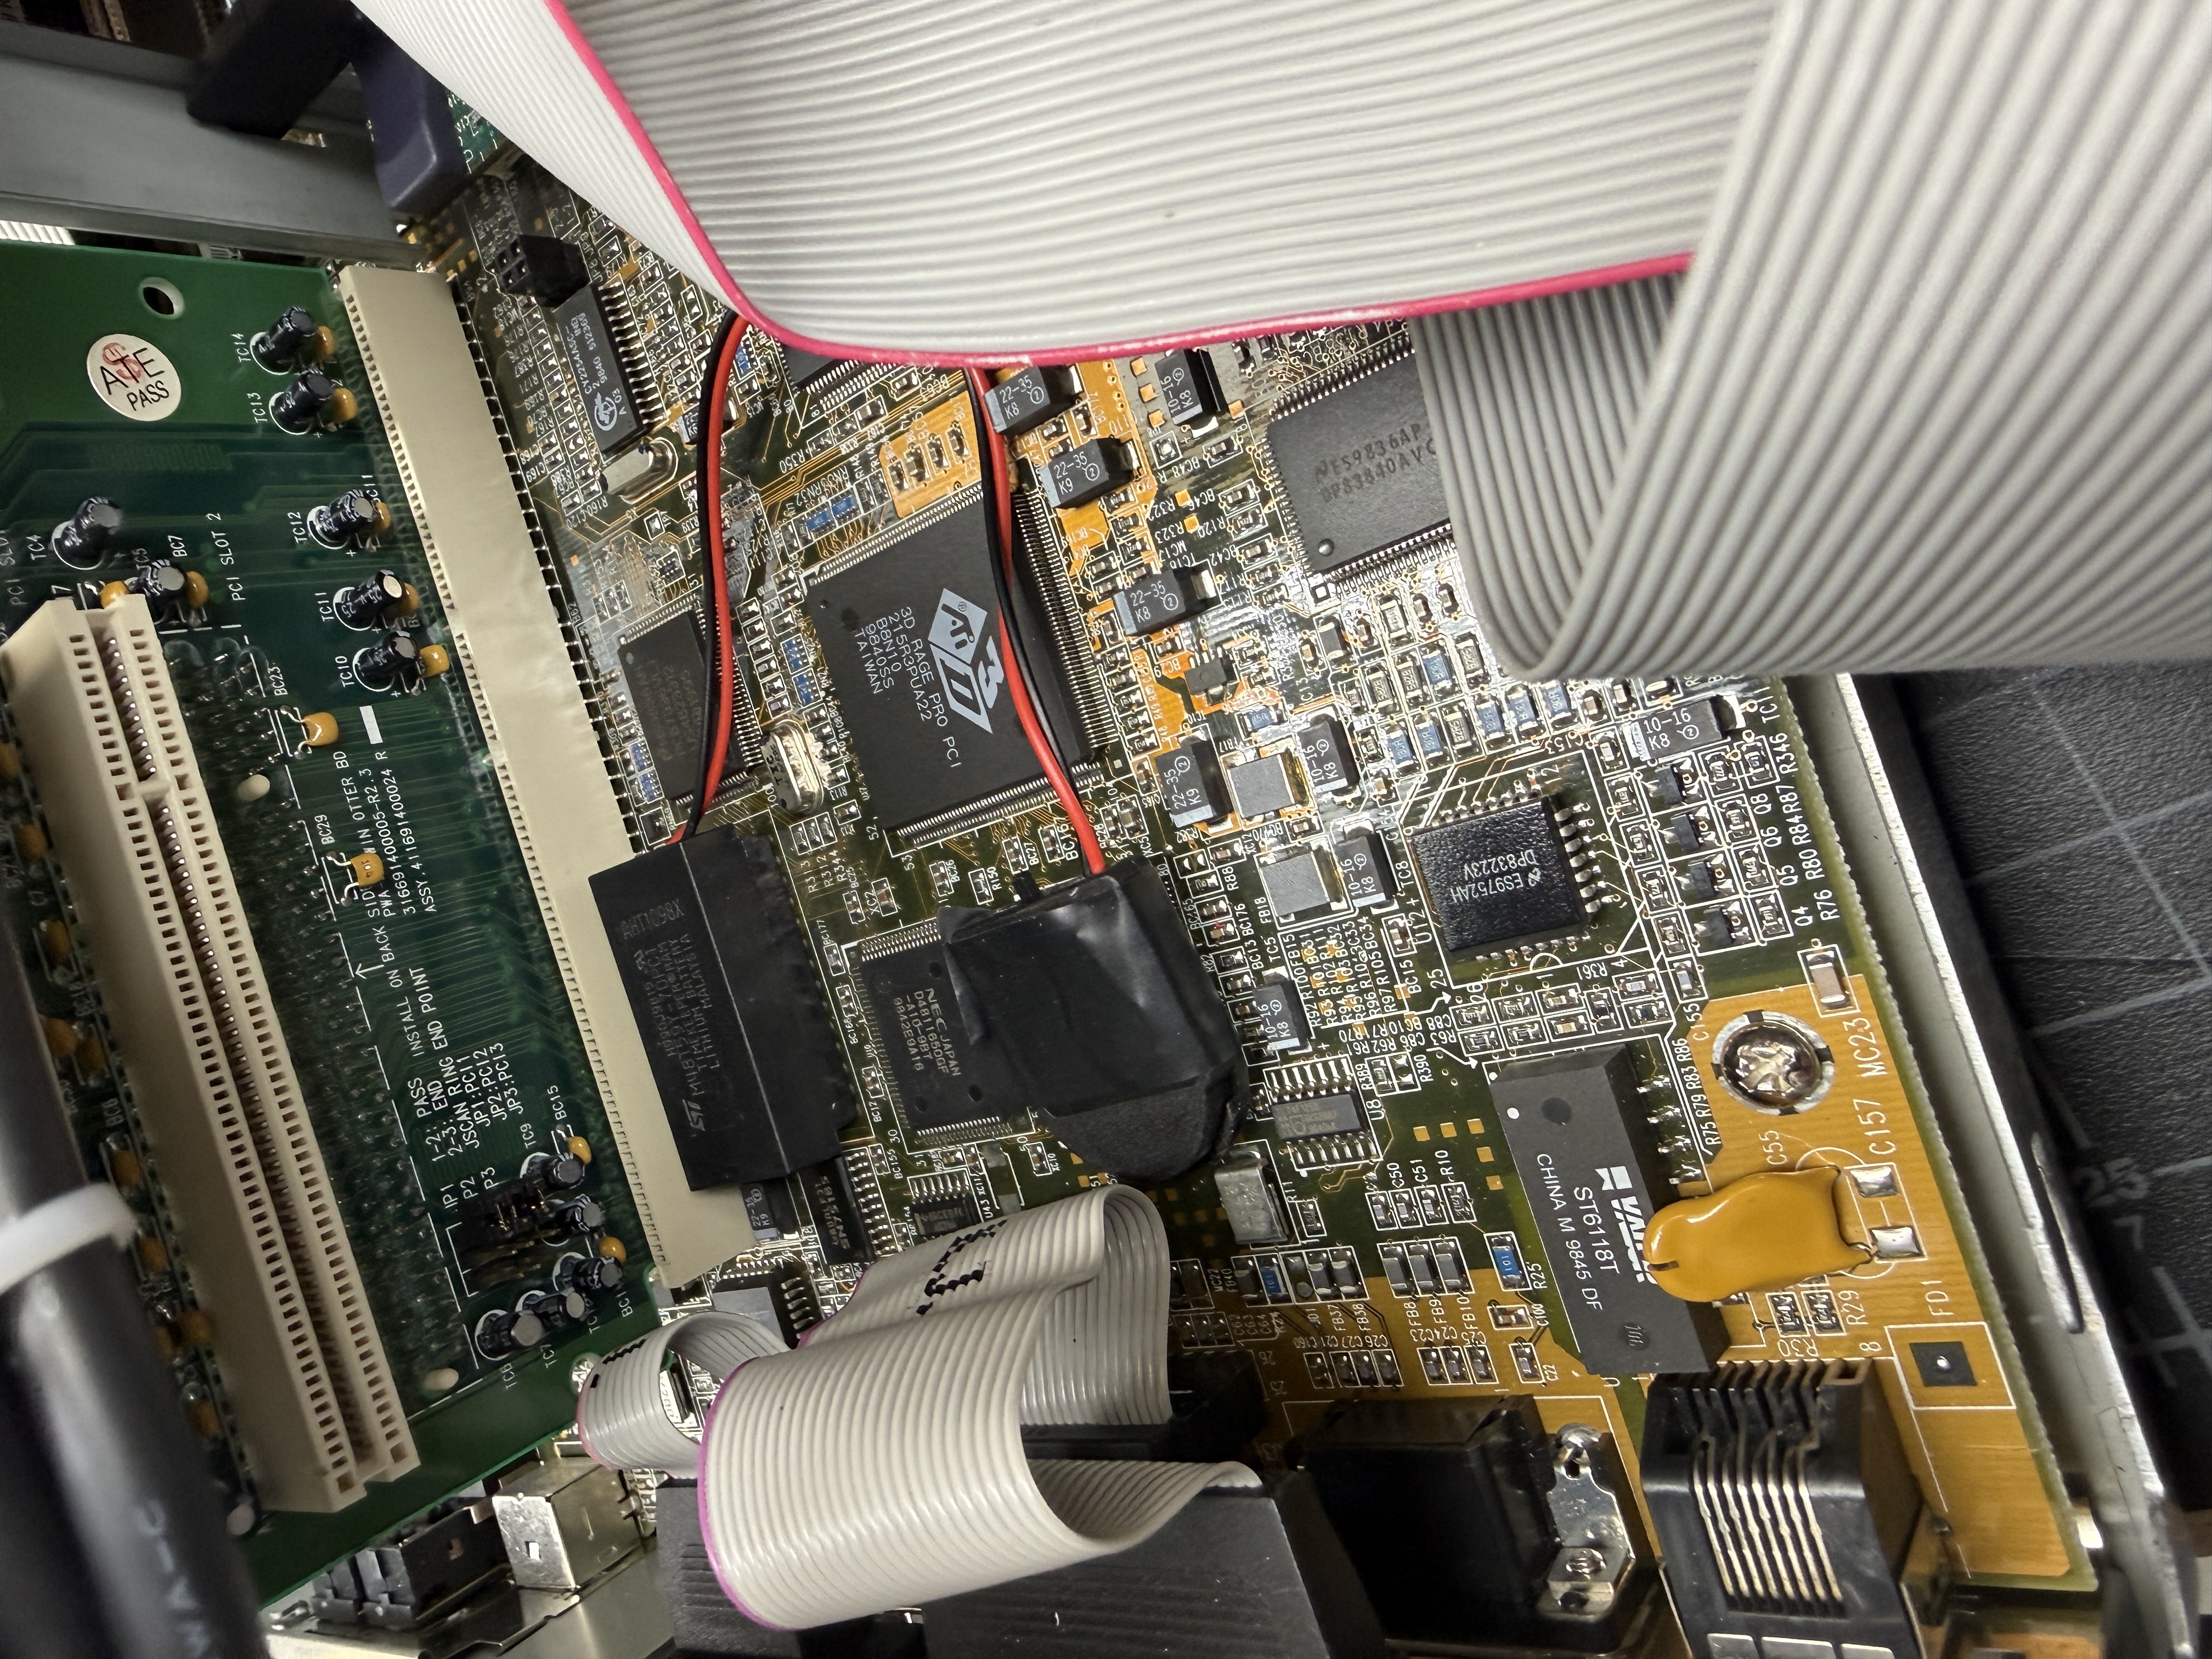
The difficulty of this step varies by machine. On a SPARCstation 2 the chip is easy to reach, but on an Ultra 5 it is right next to the ISA bus extender card, making it awkward to grip and pull. Take your time. The first time I did this on the Ultra 5 I bent a pin on the timekeeper, and when I reinserted the chip the machine thought all of its DIMMs were bad. The pins on these timekeeper chips are not very thick and bend easily. The sockets are wiper types, so if you get all the pins straight and pointing directly down the chip slides back in without much force, but a pin that is even slightly bent outward will fold over instead of entering the socket.
With the chip removed, the firmware can no longer read the security configuration from NVRAM.
Step 3: Press Enter
Now press Enter at the password prompt. With no
timekeeper chip present, the firmware cannot validate
a password against what is stored in NVRAM. It will
let you through to the ok prompt.
Step 4: Reinstall the Chip
Once you are at the ok prompt, carefully reinsert
the timekeeper chip into its socket. Make sure pin 1
is oriented correctly. The chip should seat firmly
and evenly.
Step 5: Clear the Security Settings
With the chip back in place and the ok prompt
available, clear the security configuration so this
does not happen again:
setenv security-mode none
This explicitly sets the firmware security mode to none, overwriting whatever garbage was in NVRAM.
Step 6: Reprogram the IDPROM
Since you are dealing with a corrupt timekeeper, you will almost certainly need to reprogram the IDPROM as well. See Resetting IDPROM on Sun Workstations for the complete procedure.
If your timekeeper battery is dead, consider doing the external battery modification so you do not have to go through this again.
Why This Works
Sun firmware stores its security settings in the NVRAM portion of the timekeeper chip. When the firmware reaches the password prompt, it has already finished its hardware initialization and is running from main memory. Removing the timekeeper chip at this point does not crash the system because the firmware is no longer actively reading from it.
When you press Enter at the password prompt, the
firmware tries to read the stored password hash from
NVRAM to compare against your input. With the chip
physically absent, this read fails, and the firmware
falls through to the ok prompt rather than locking
you out.
Once the chip is back in the socket, you have full access to reprogram it properly.
Machines This Applies To
This procedure works on any Sun workstation that uses a socketed timekeeper chip for NVRAM storage:
- sun4c: SPARCstation 1, 1+, 2, IPC, IPX, SLC, ELC
- sun4m: SPARCstation 5, 10, 20, LX, Classic, Voyager
- sun4u: Ultra 1, Ultra 2, Ultra 5, Ultra 10, Ultra 30, Ultra 60
I have personally performed this procedure on a SPARCstation 2 and an Ultra 5, both of which had corrupt timekeeper chips that made the machines believe a firmware password was set when one never had been.
A Word of Caution
You are removing and reinserting a chip in a live system. While this is a well-known procedure in the Sun community, it does carry some risk. Be gentle with the chip and socket, make sure you have good lighting, and do not rush. A bent pin or a chip inserted backwards can cause real damage.
If your timekeeper chip is soldered rather than socketed, this procedure will not work. Some later Sun systems moved to soldered timekeeper chips, which require desoldering to remove. In that case, you may need to explore other options.