This project documents the transformation of a Sun LCD monitor into a retro-styled display matching the iconic teal aesthetic of Silicon Graphics Indy workstations from the 1990s. The original Indy shipped with Silicon Graphics’ own CRT monitors, but those are increasingly difficult to source in working condition, and they draw a meaningful amount of power from a machine I actually want to use day-to-day. The idea here is simple: take a reliable, period-adjacent LCD and dress it in Indy clothing.
Donor Monitor
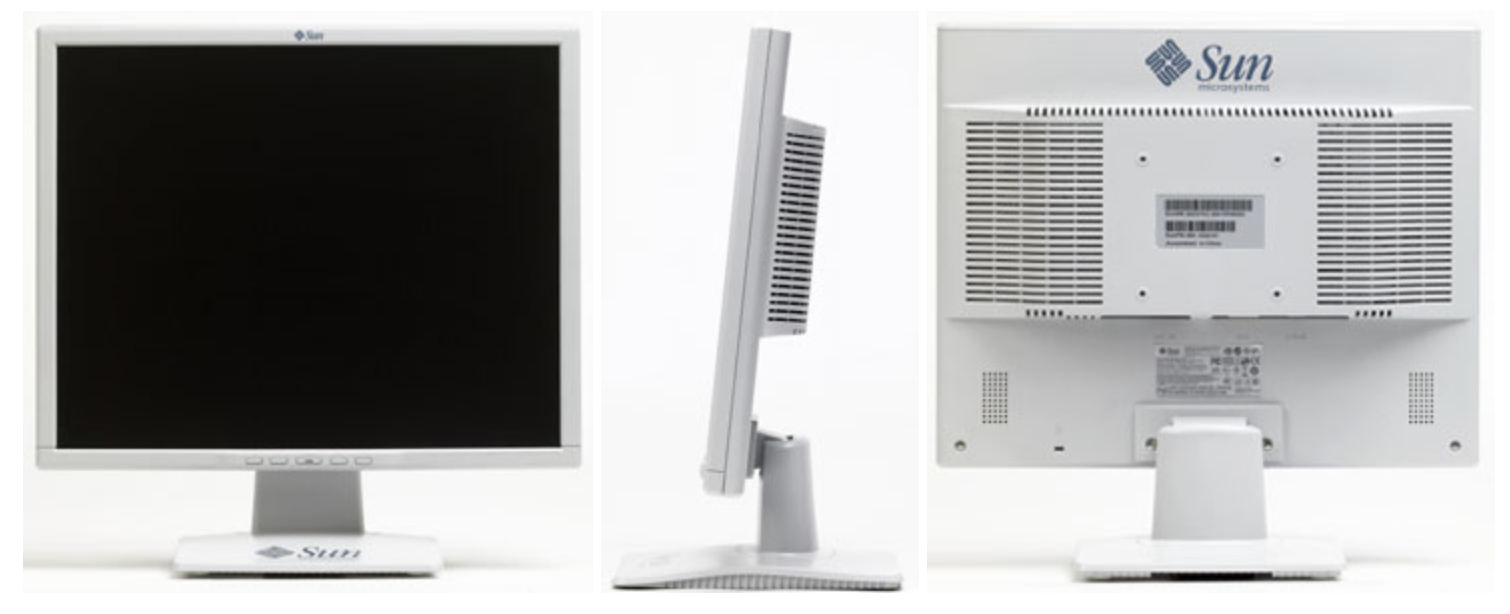
Like the NeXT display project, this build starts with a Sun LCD Monitor Model 365-1432-01 from the 2000s era. It’s a 17-inch 1280x1024 panel with a molded plastic bezel that happens to share a family resemblance with the Indy’s industrial styling — subtle vents, a handle-like top rail, and a forward-canted stand that gives the right presence on a desk. The 1280x1024 native resolution works perfectly with both Silicon Graphics and NeXT workstations. The backlight is an LED retrofit I did years ago, so it draws far less power than the original CCFL and should last longer than anything period-correct I could find.
Color Selection
The SGI Indy came in two color schemes: the iconic Teal Blue and a Stone finish that matched period-appropriate keyboards and mice. After examining paint samples against an actual Indy chassis, I decided I had a much better shot at recreating the Teal Blue rather than the Stone finish. Teal has a forgiving character — the mix of blue and green means a shade that is slightly off in one direction can be corrected with a thin pass of paint in the other. Stone, on the other hand, is a very specific warm gray that shifts noticeably under different lighting, and there are only so many ways to go wrong with it before you have to strip and start over.
Preparation
Disassembly and Surface Prep
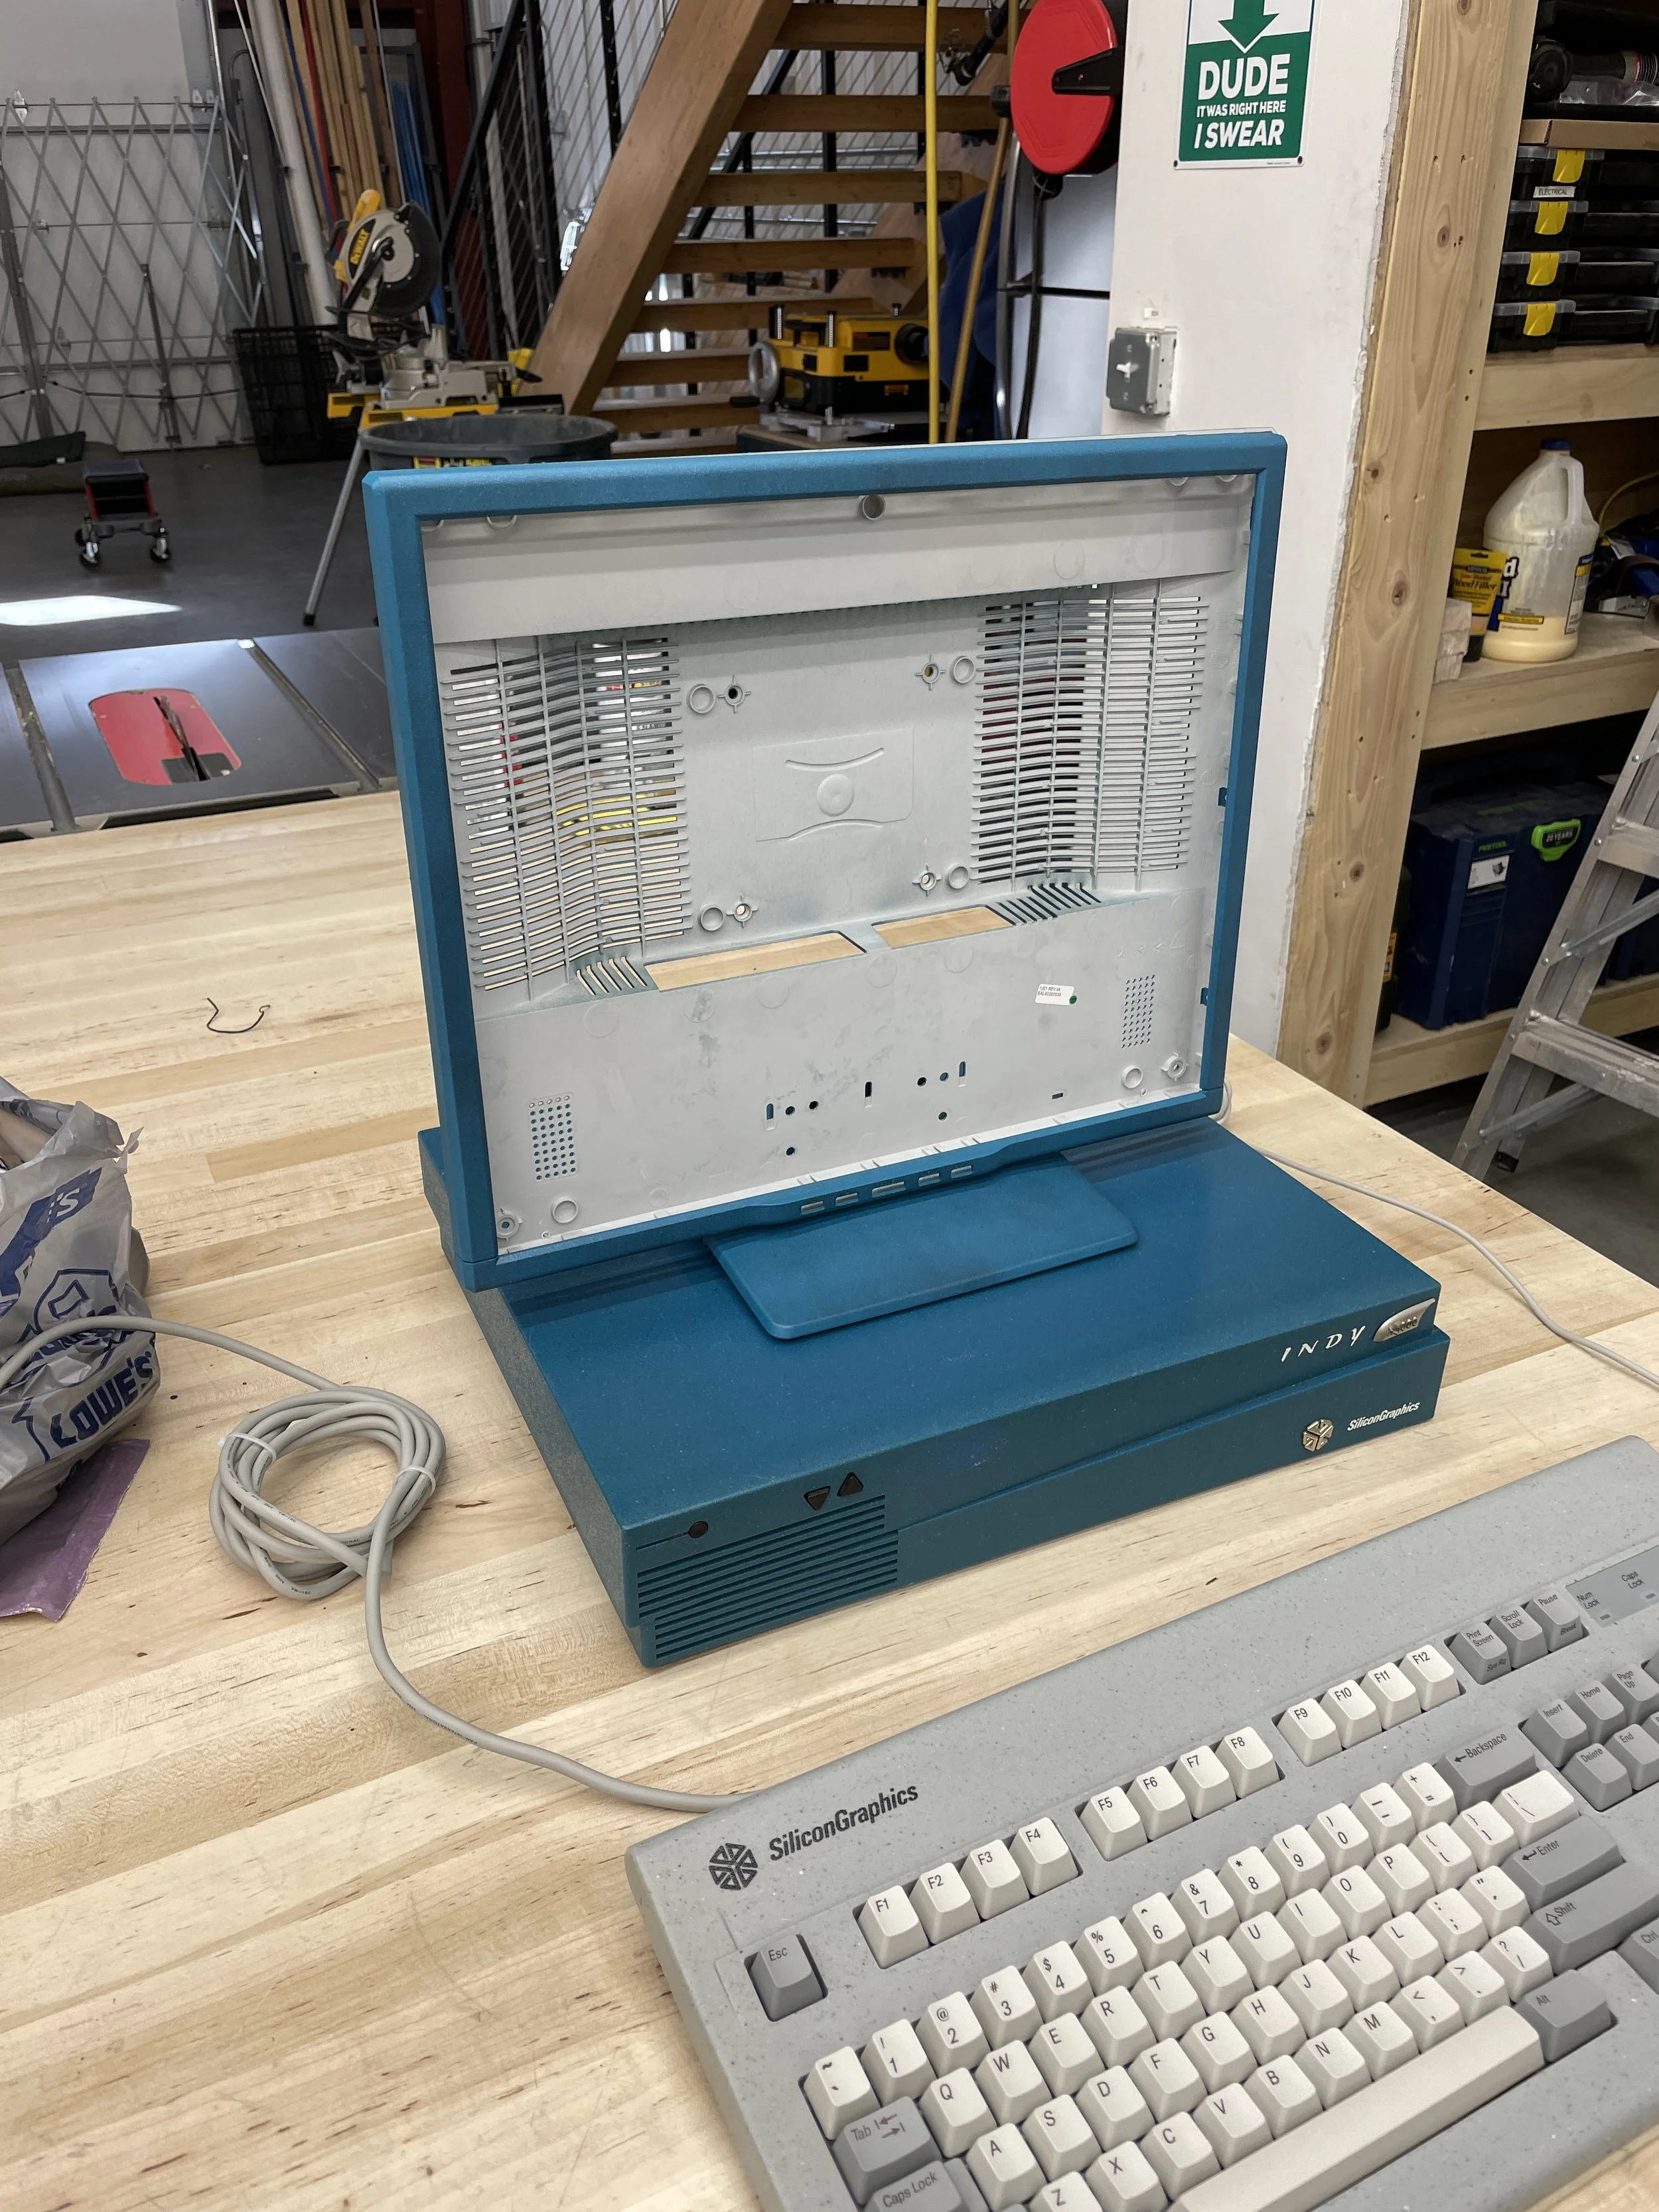
Every plastic part that would receive paint was removed from the monitor and cleaned thoroughly. The bezel, stand, and rear chassis all come apart with a handful of screws and the usual gentle flex-and-lift on the retention clips. Sun and SGI both left their logos embossed rather than as stickers, and the Sun logos were wet-sanded away using 1000-grit sandpaper. Wet sanding keeps the dust down and leaves a uniform surface that primes cleanly.
Primer
One to two coats of Rust-oleum Self-Etching Primer went on as the foundation. Self-etching primer is a must for ABS-family plastics — it chemically bonds to the surface rather than just sitting on top, which is the difference between paint that survives a bump against a desk and paint that peels off in sheets six months later.
The Painting Process
Paint Selection
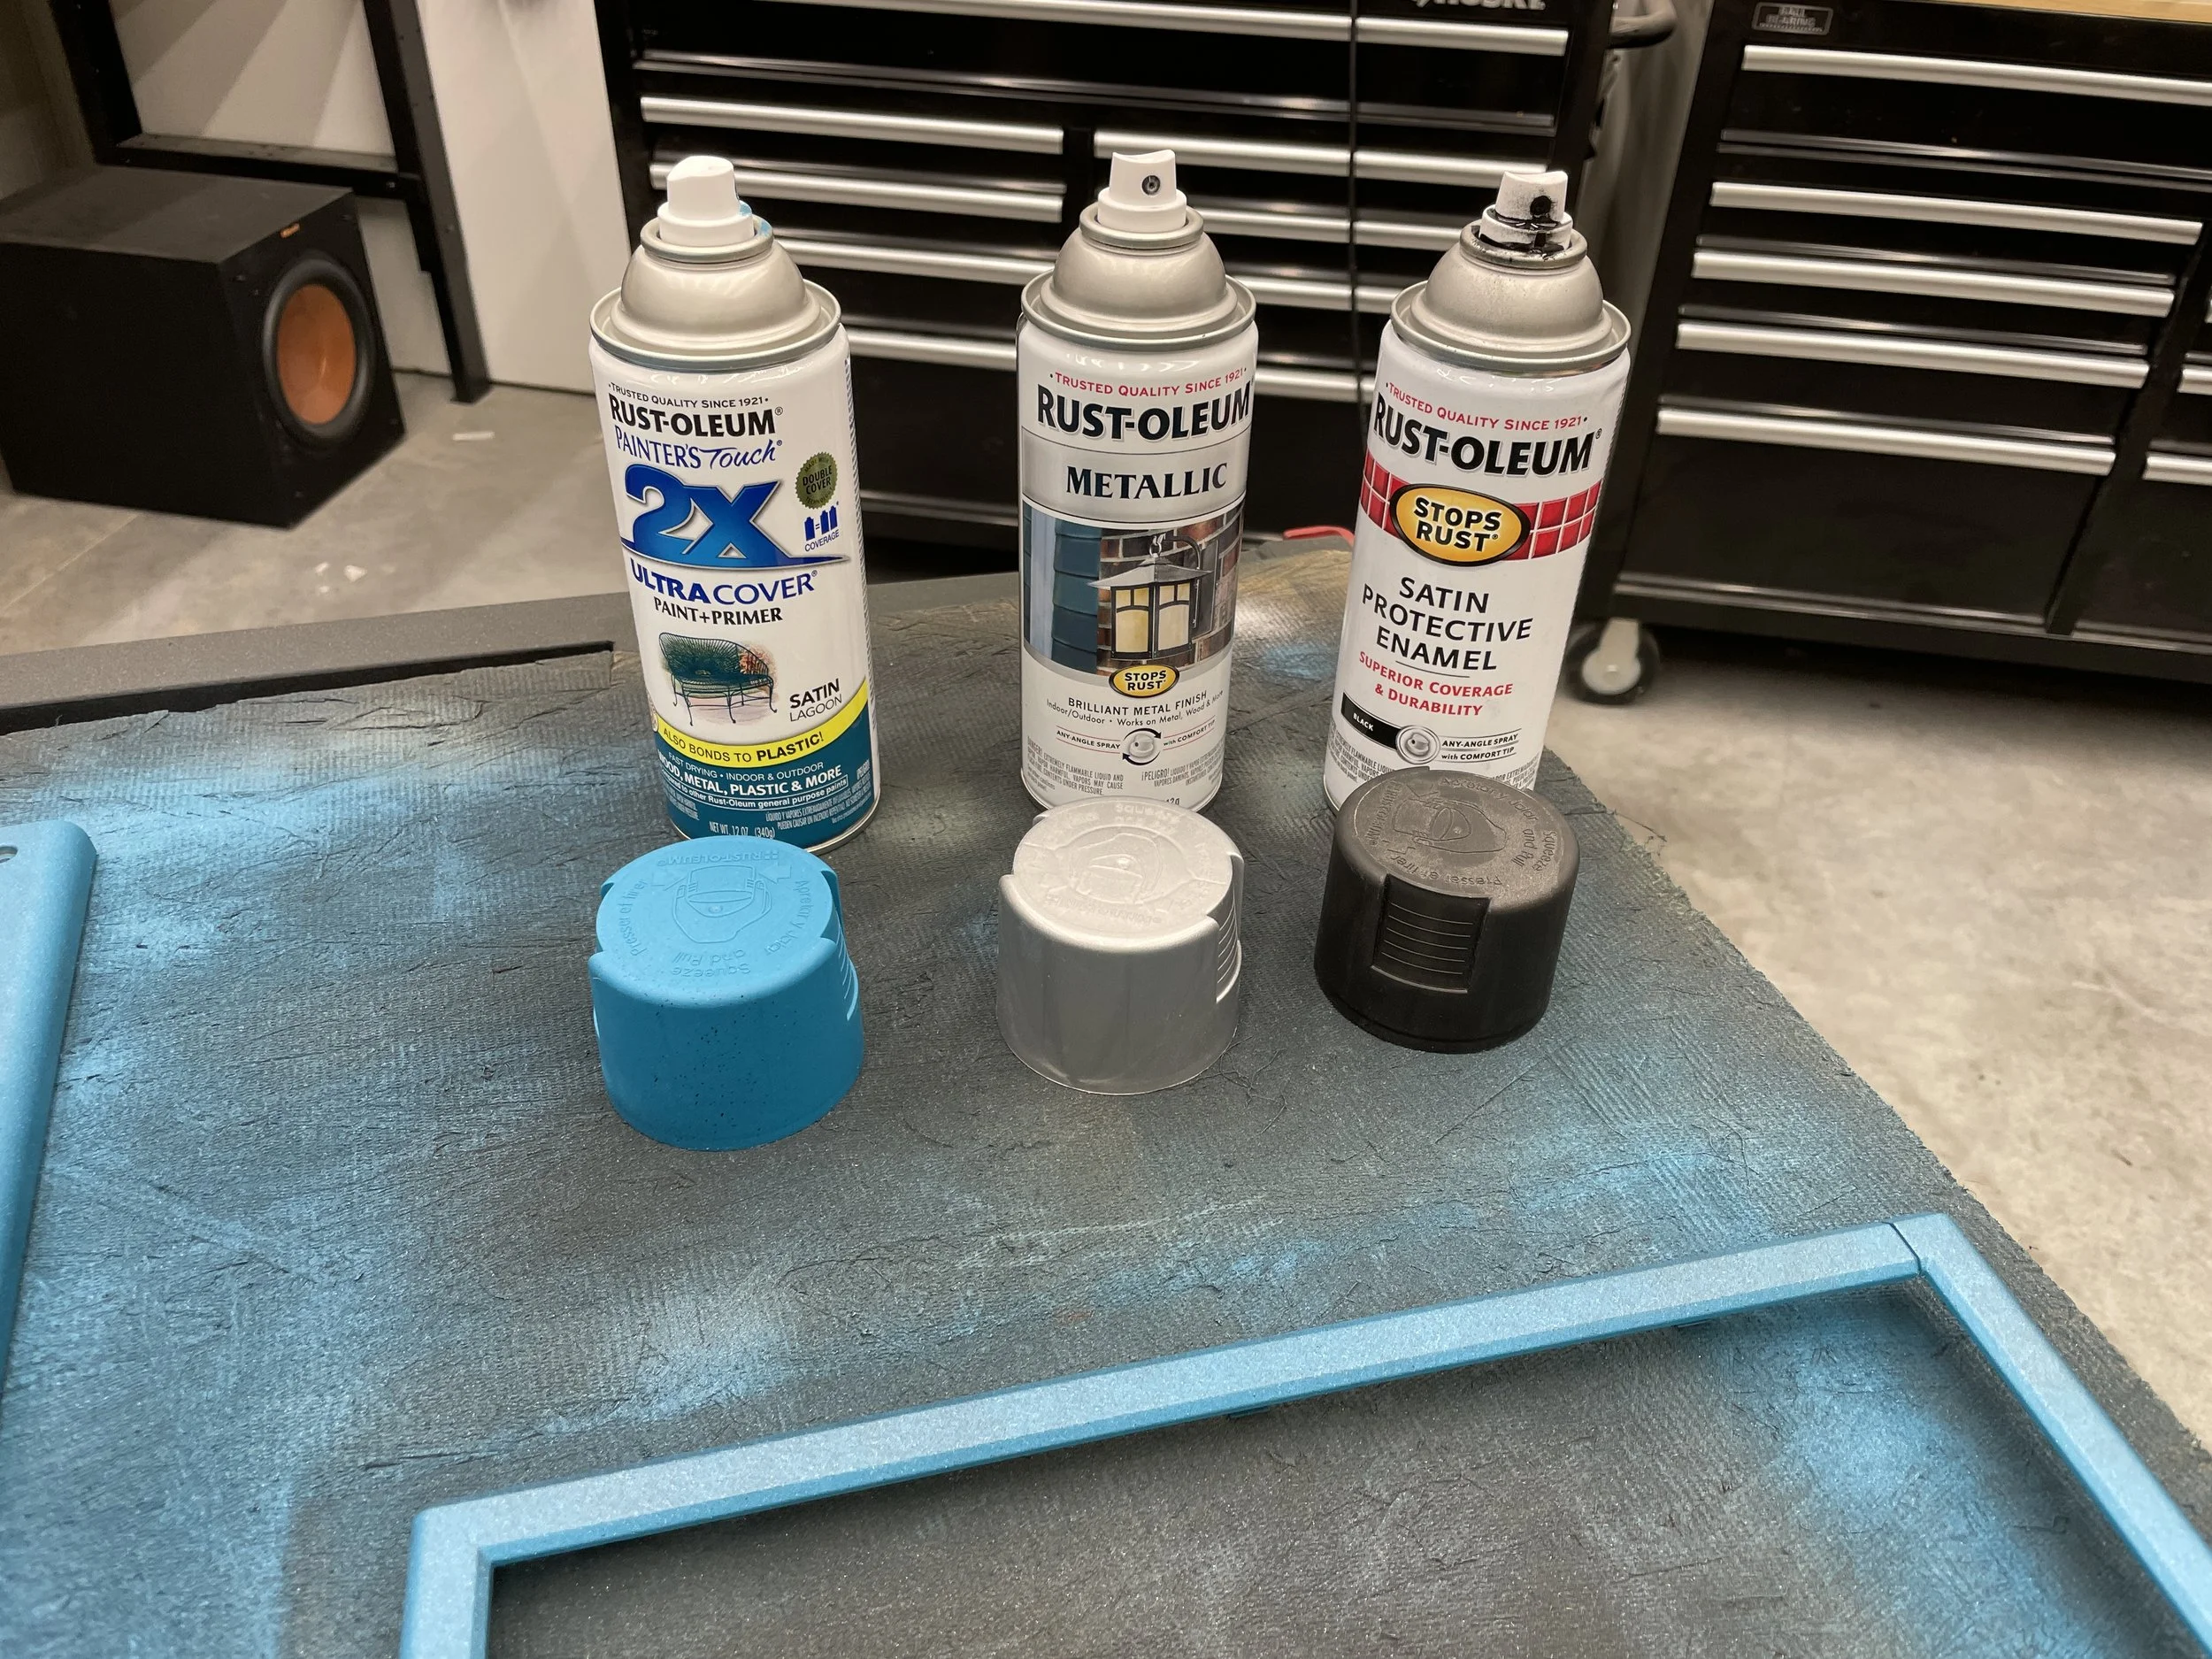
A surprisingly small set of paints does the heavy lifting:
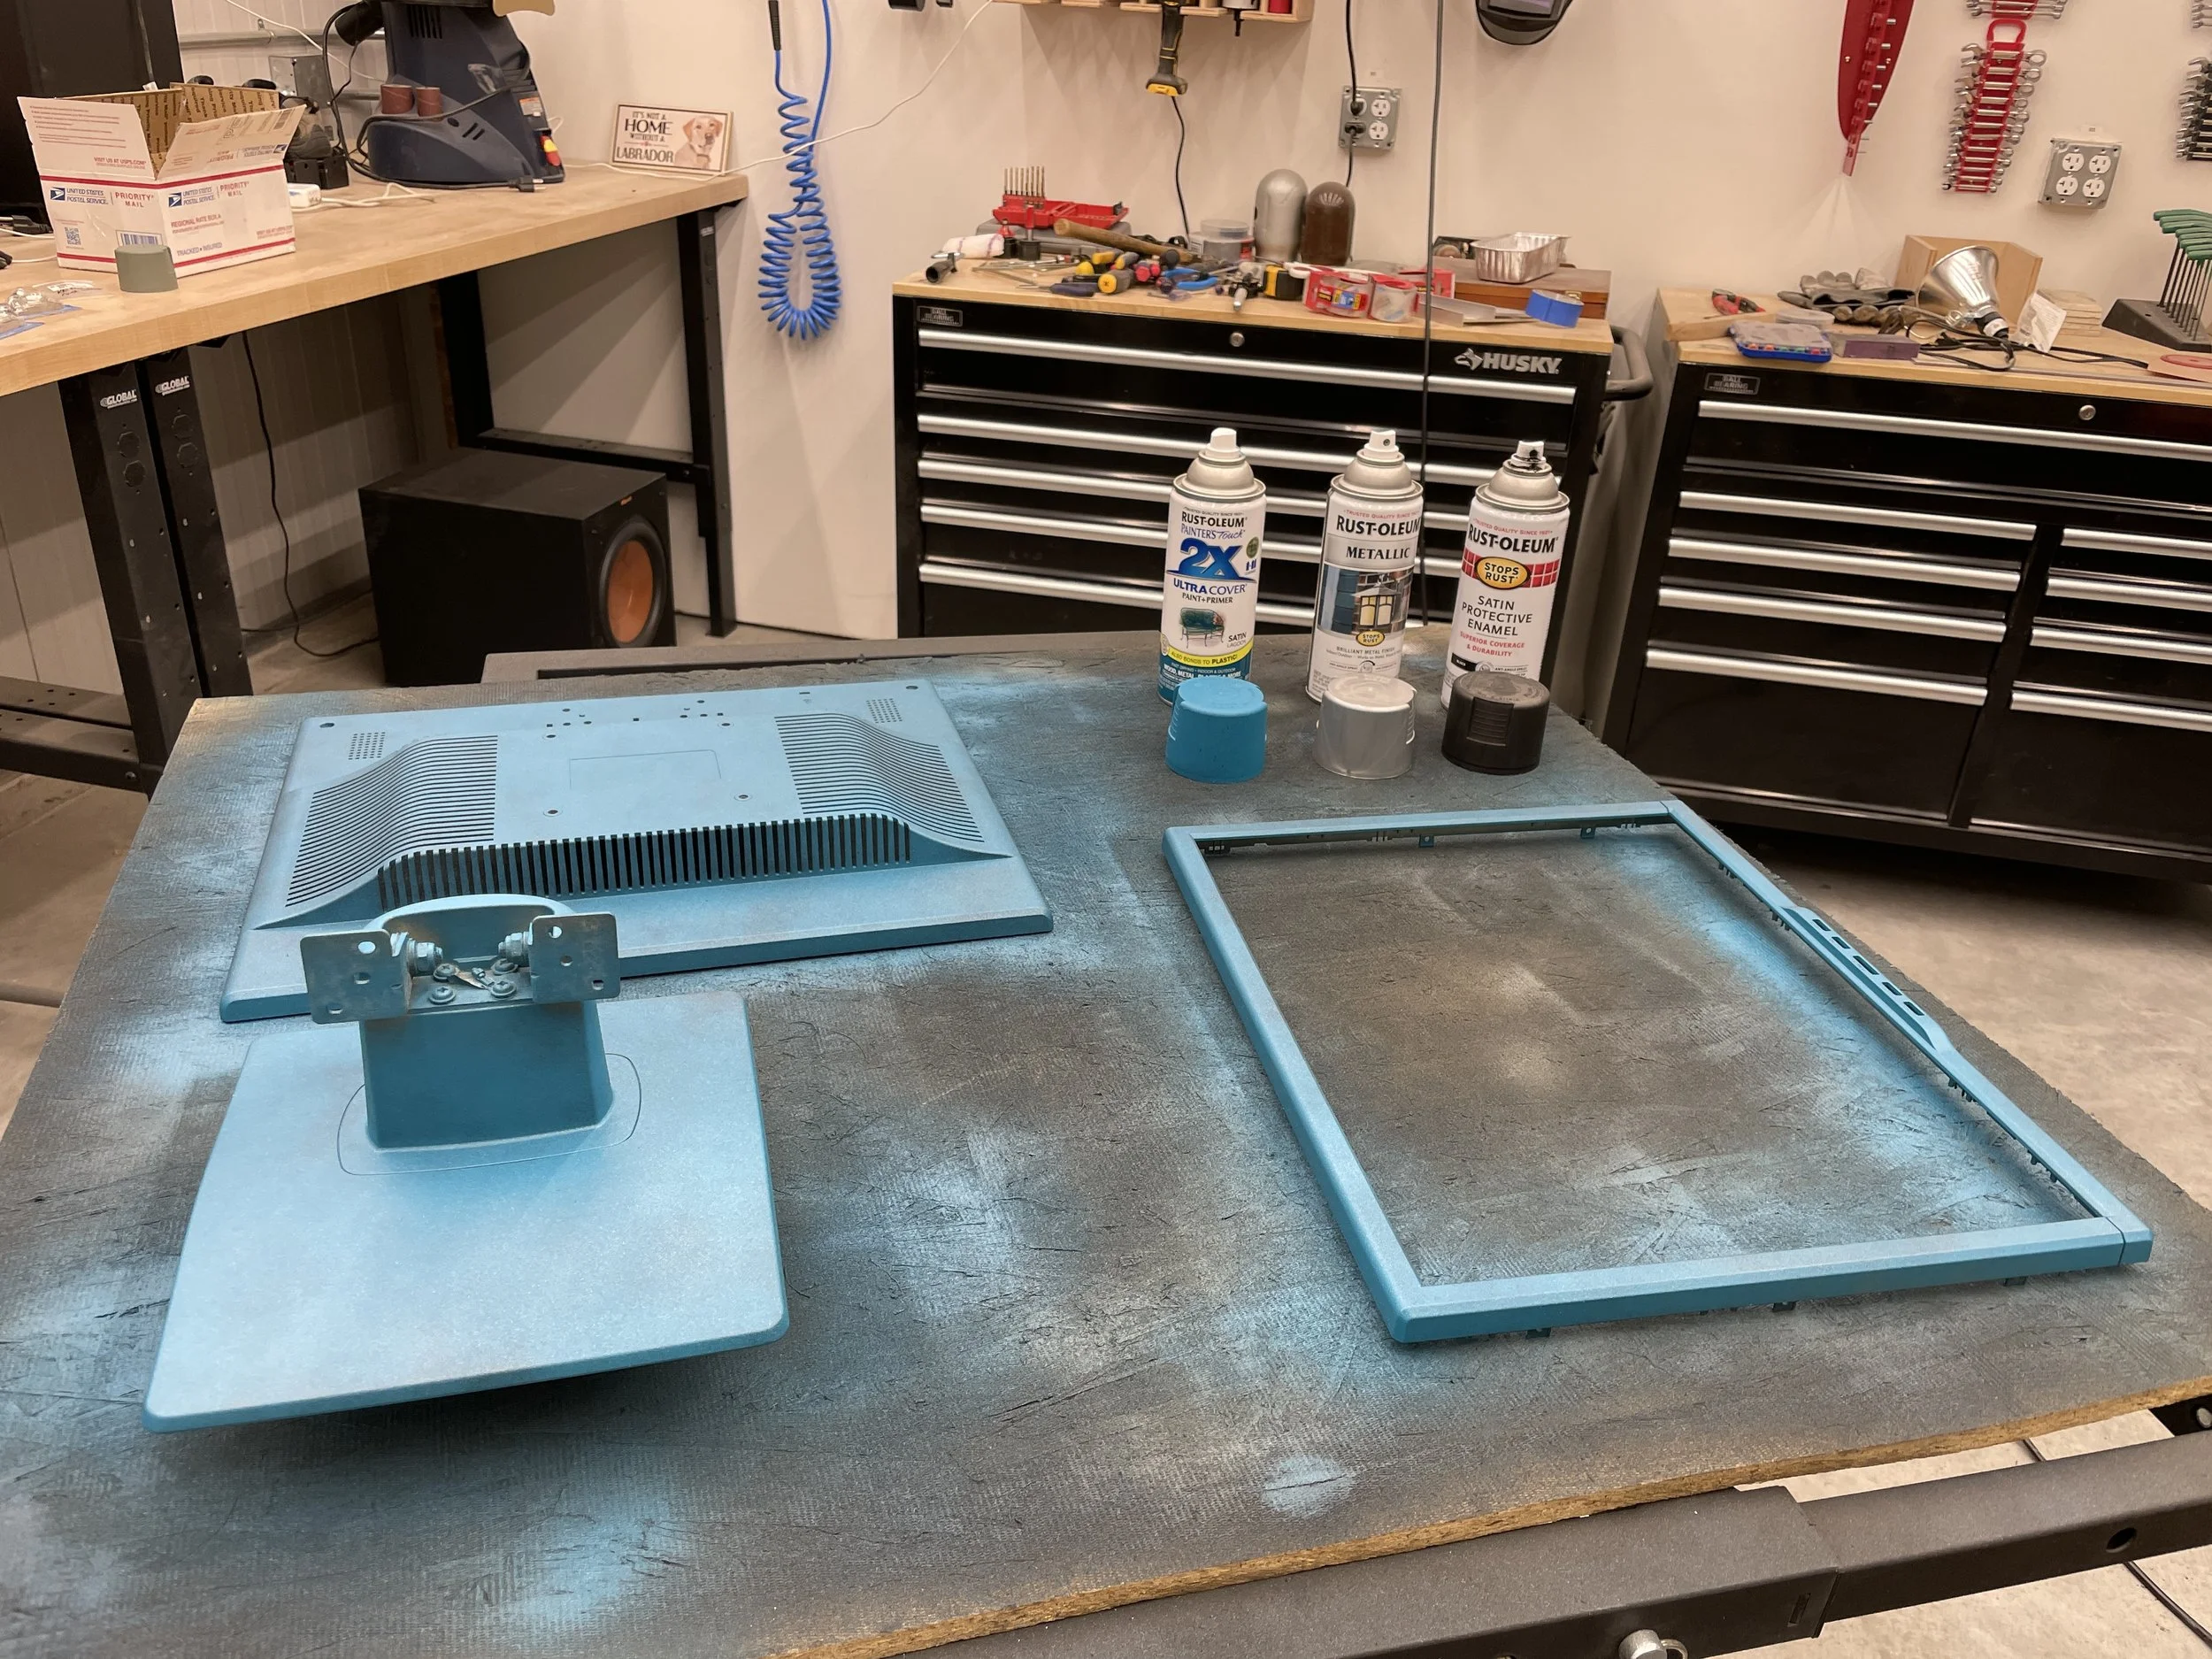
- Rust-oleum “Lagoon” (2X Painter’s Touch) — the base layer.
- Rust-oleum Metallic — a silver/metallic finish used sparingly to give the final color a little life under overhead light.
- Rust-oleum Satin Protective Enamel (satin black) — used thin to knock back the brightness of the base.
- Matte Clear Enamel — the final topcoat.
On its own, Lagoon is too bright and doesn’t have quite enough green to match the Indy’s teal, but it serves as an excellent starting point. The magic happens in the layering.
The “Puff” Technique
Rather than spraying continuously, I use a “puff” method from four to five feet away: quick, short bursts of paint that let gravity distribute the color naturally as it falls. Building the color up in thin, even layers this way avoids runs and drips entirely, and the increased distance means the paint hits the surface already partially dry, which gives a uniform matte texture without the glossy-wet patches that tend to form with close spraying.
Color Layering
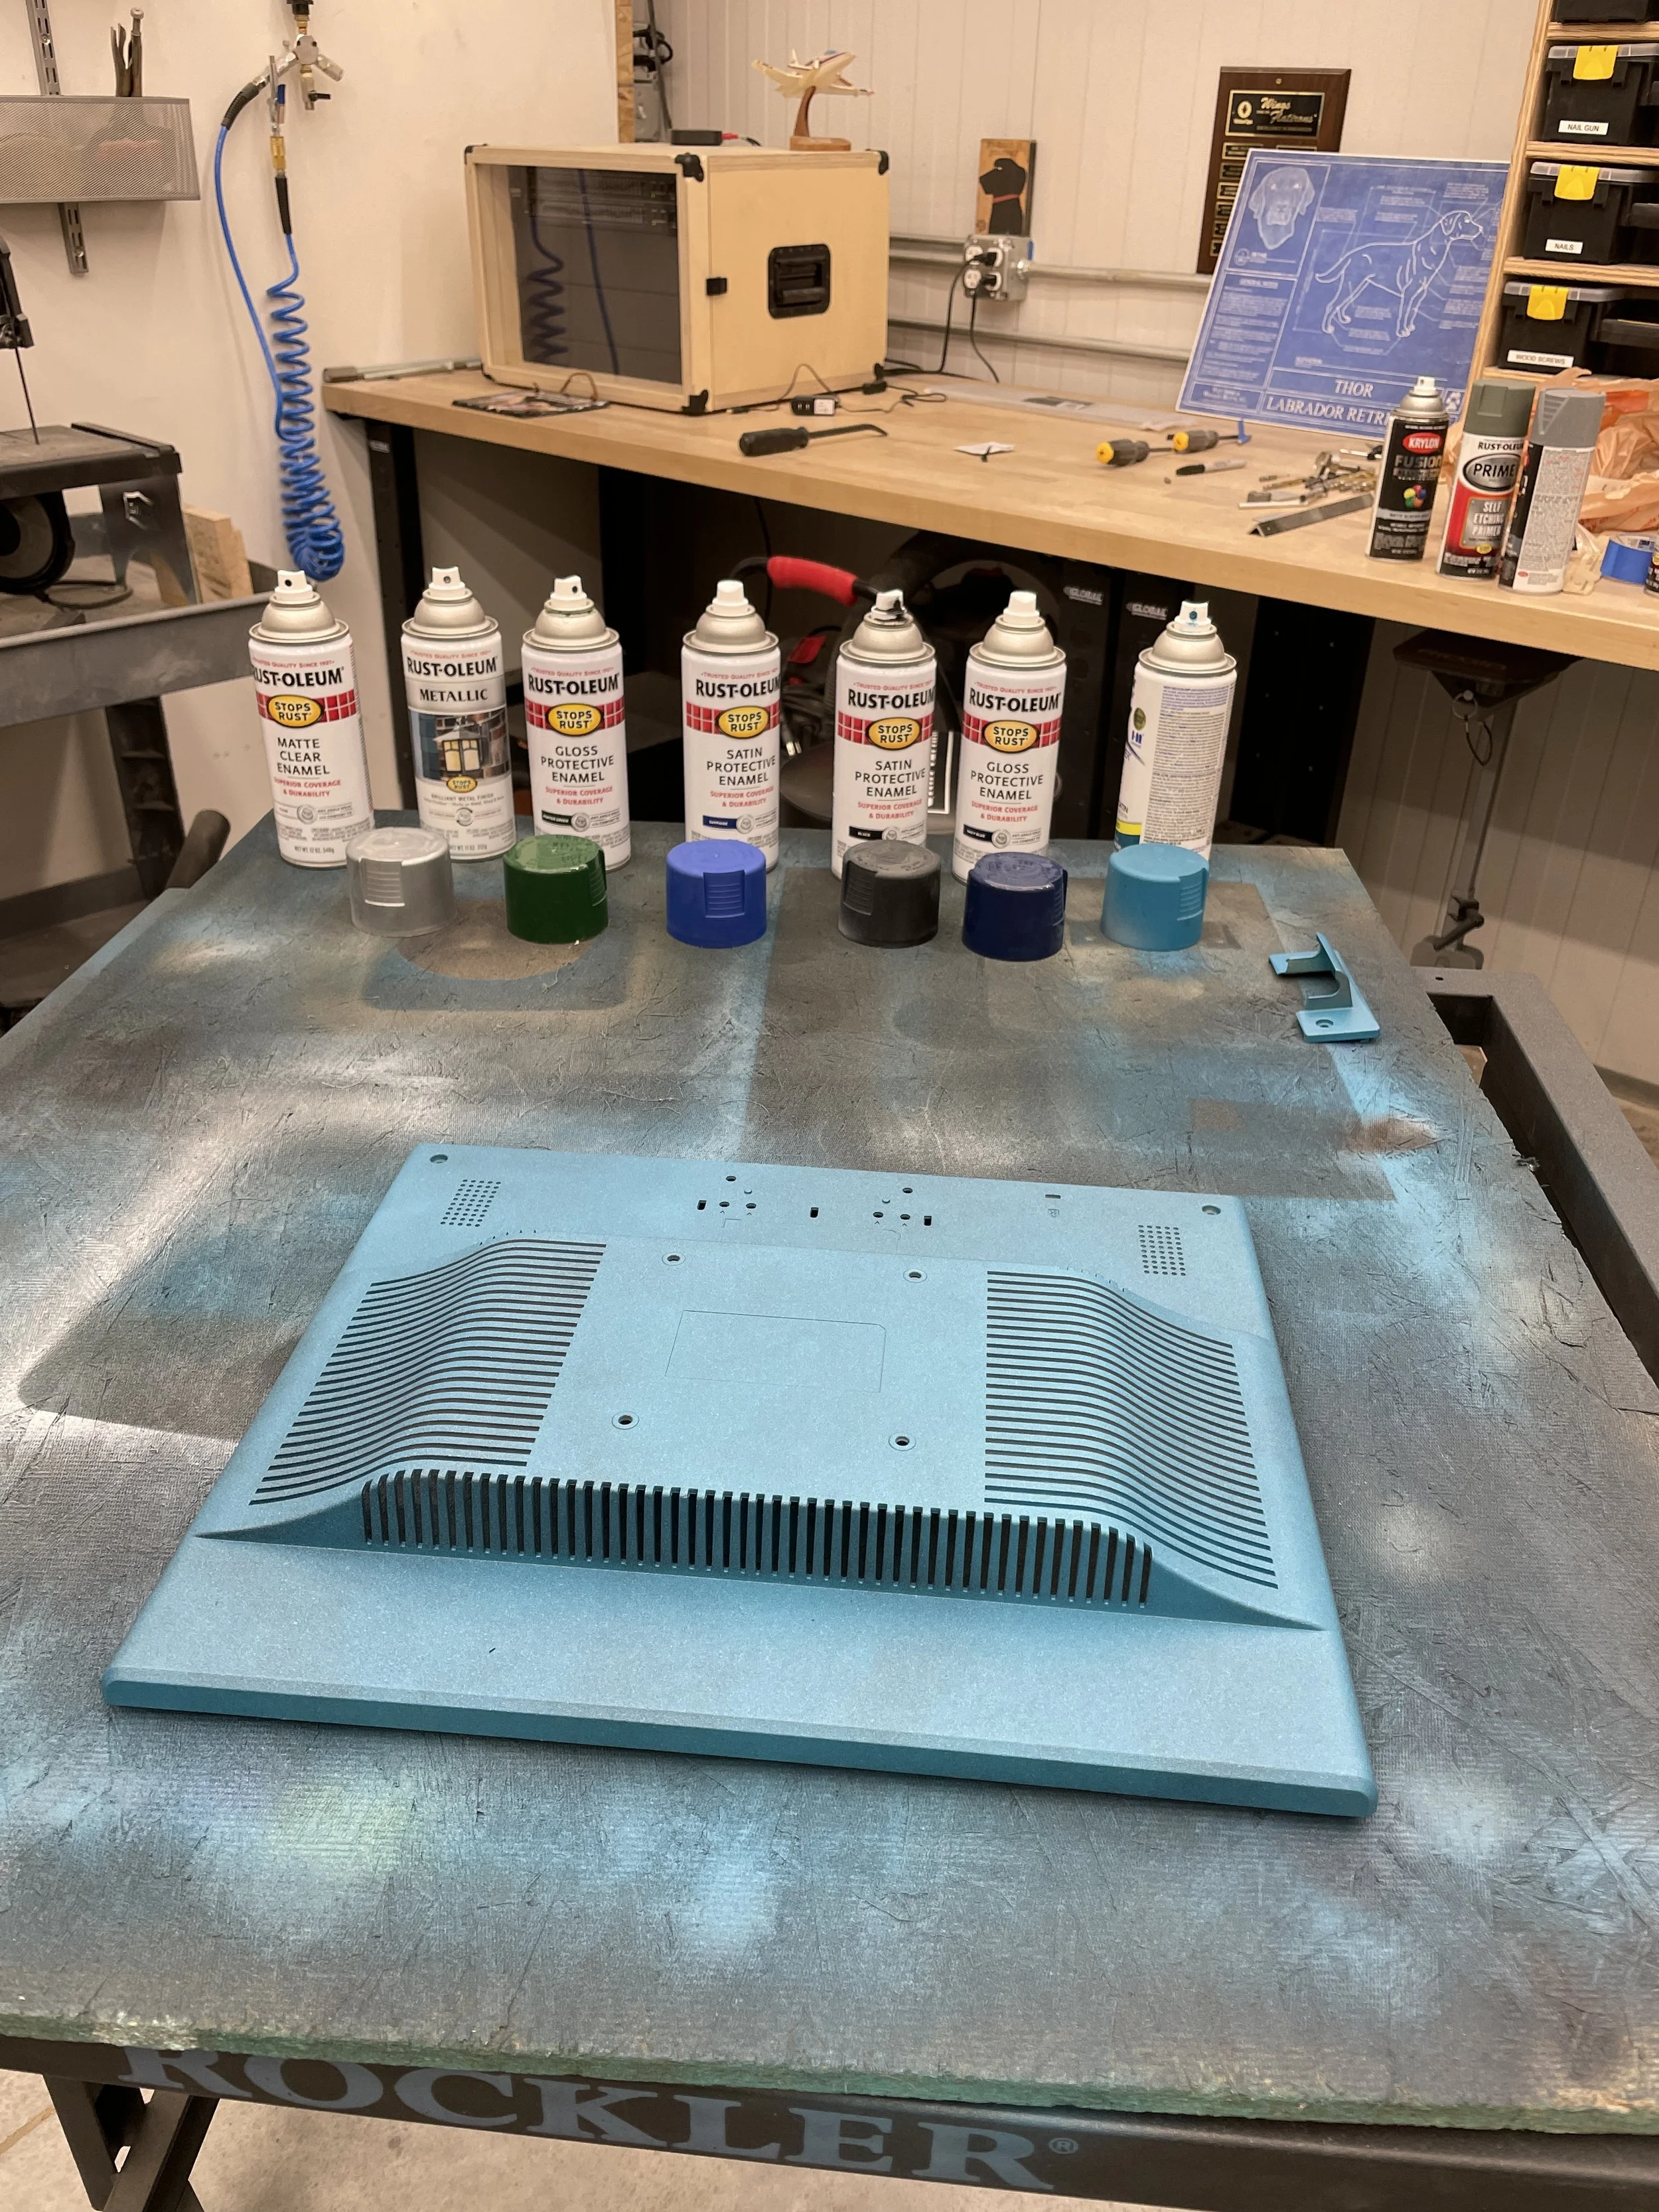
Achieving the perfect Indy teal required multiple layers applied in order:
- Lagoon — the foundation blue-green.
- Metallic — a light pass, just enough to read as a subtle sheen under room lighting without turning the finish obviously silver.
- Satin Black — thin pass, tones down the brightness of the Lagoon base.
- Navy — adds depth to the blue tones.
- Hunter Green — fine-tunes the blue-green balance.
- Matte Clear Enamel — protective topcoat.
The entire color-matching process took three days of careful refinement, applying thin layers and evaluating the result against the actual Indy computer body under different lighting. I was genuinely surprised how much the Metallic and Satin Black layers contributed to the final look — without them the finish reads as just “teal,” but with them it takes on the slightly irregular, almost granular quality of the molded Indy plastic.
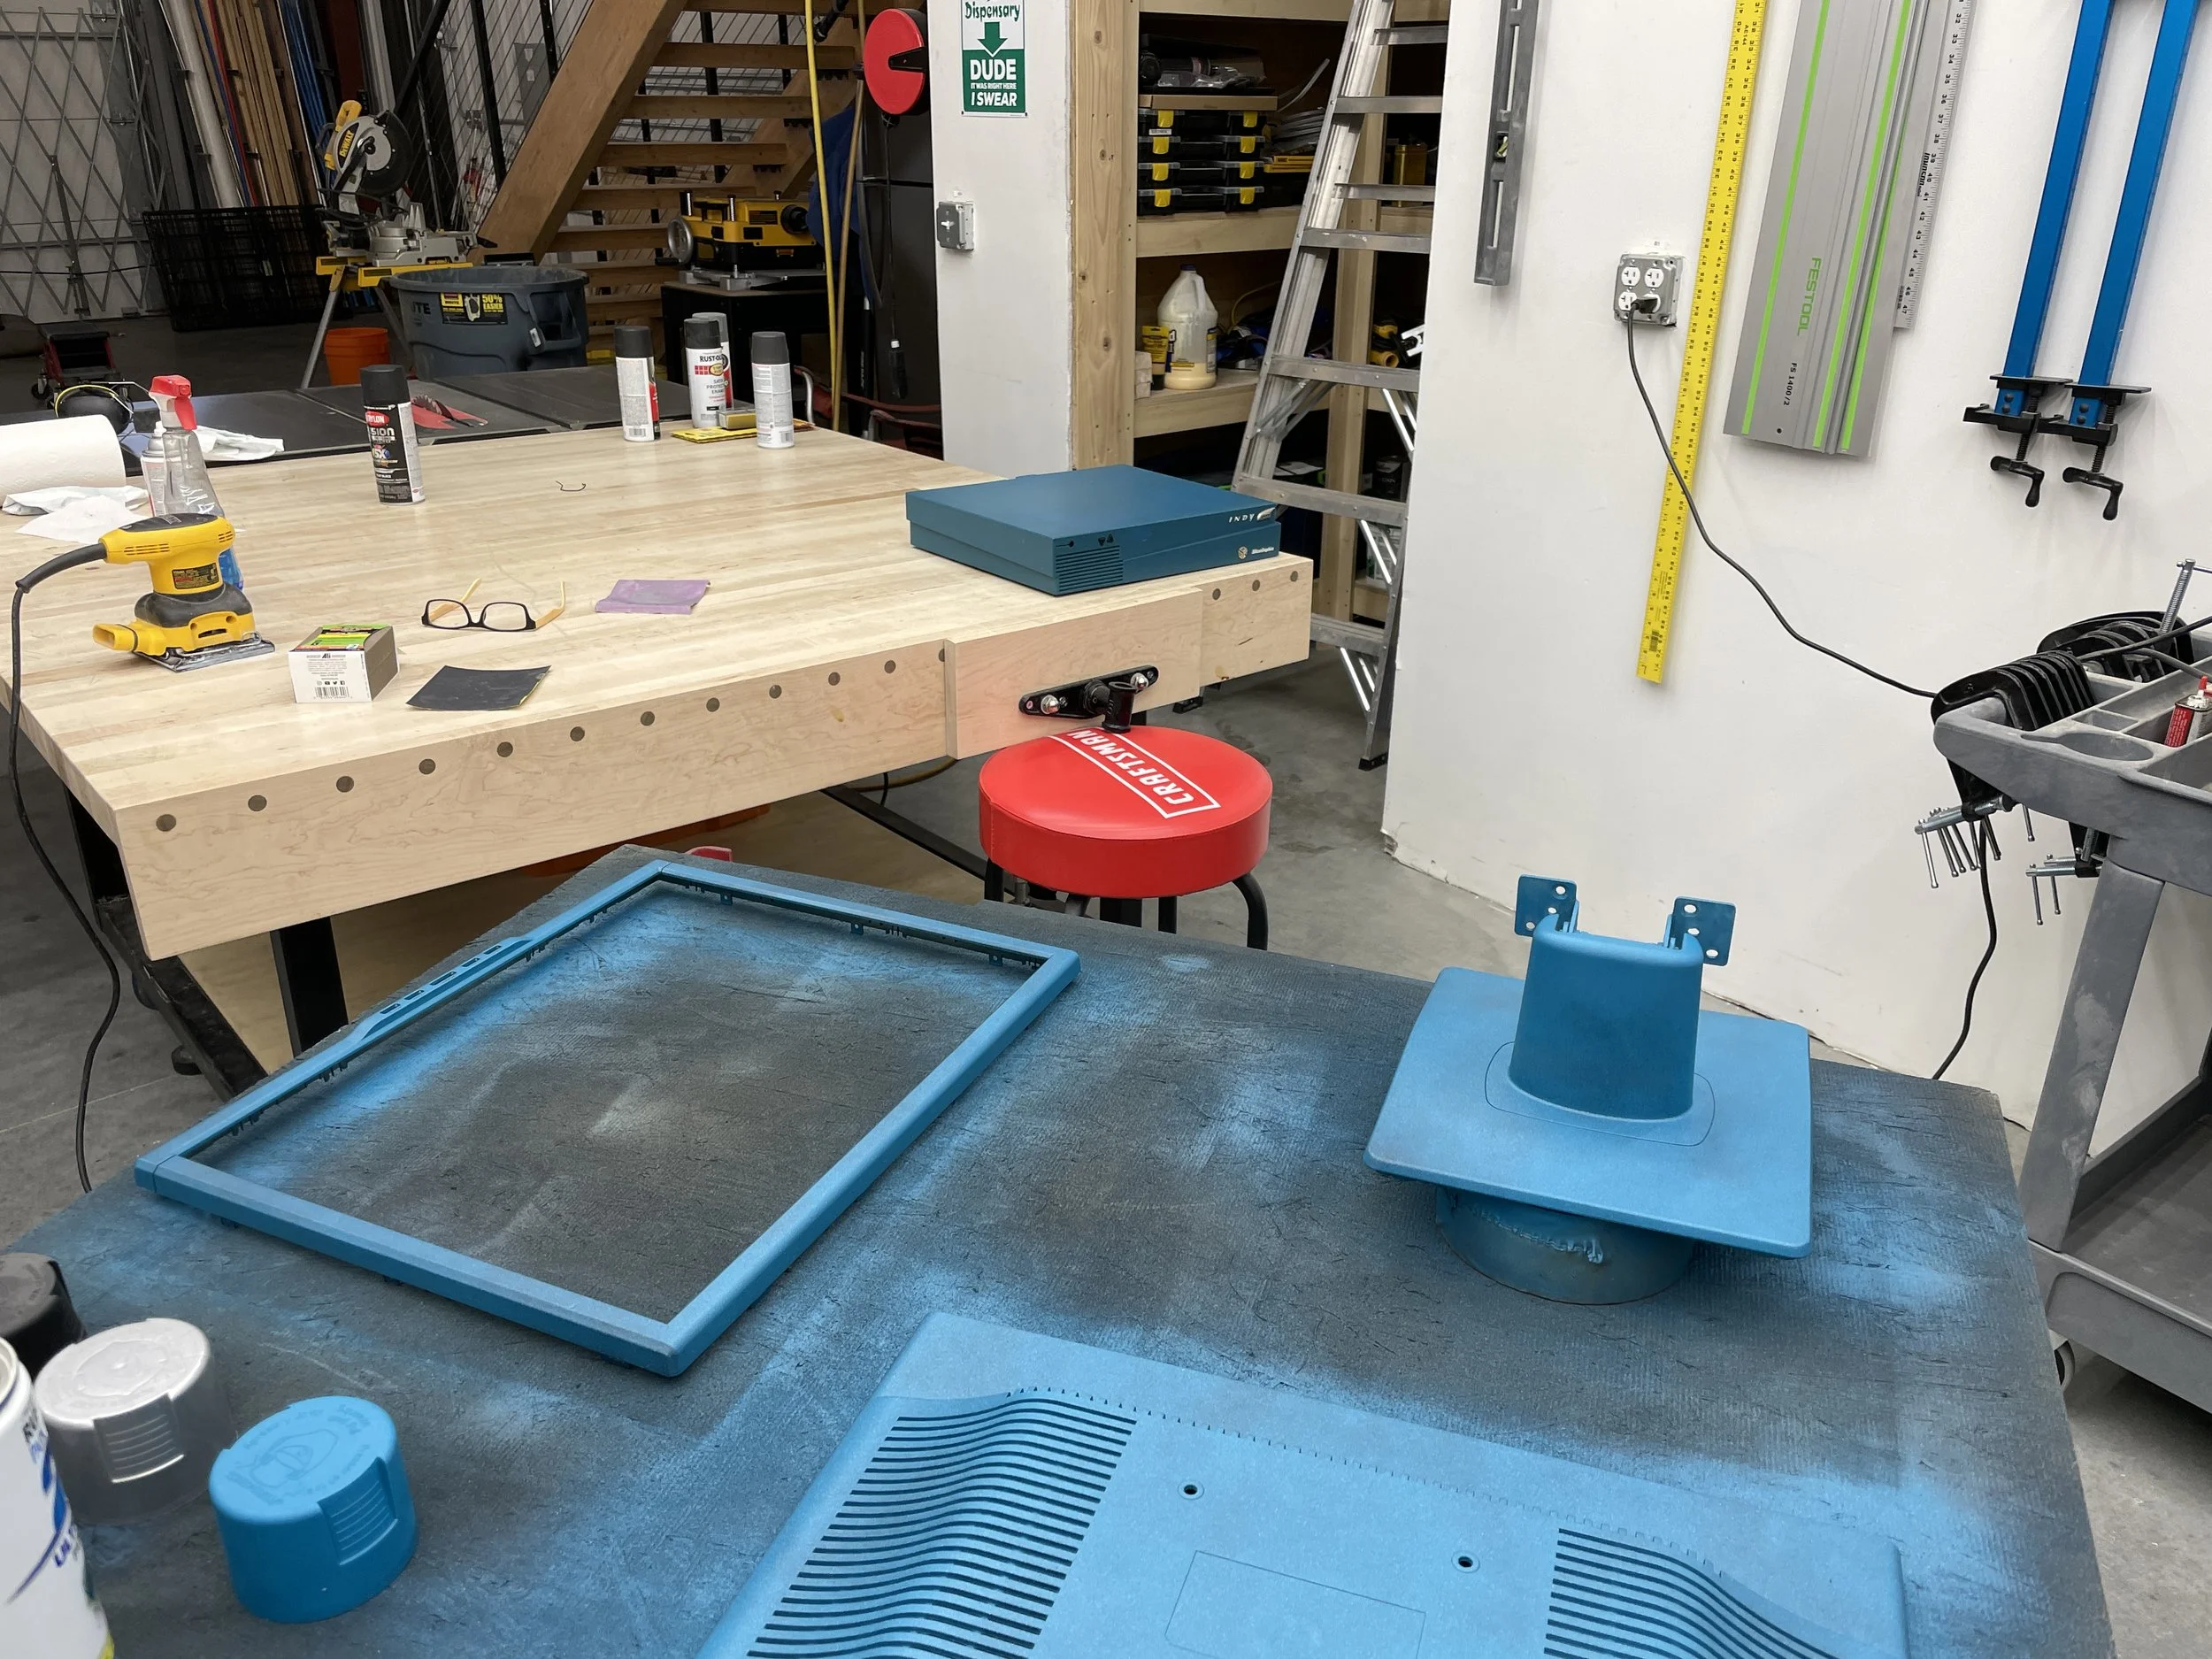
Final Assembly
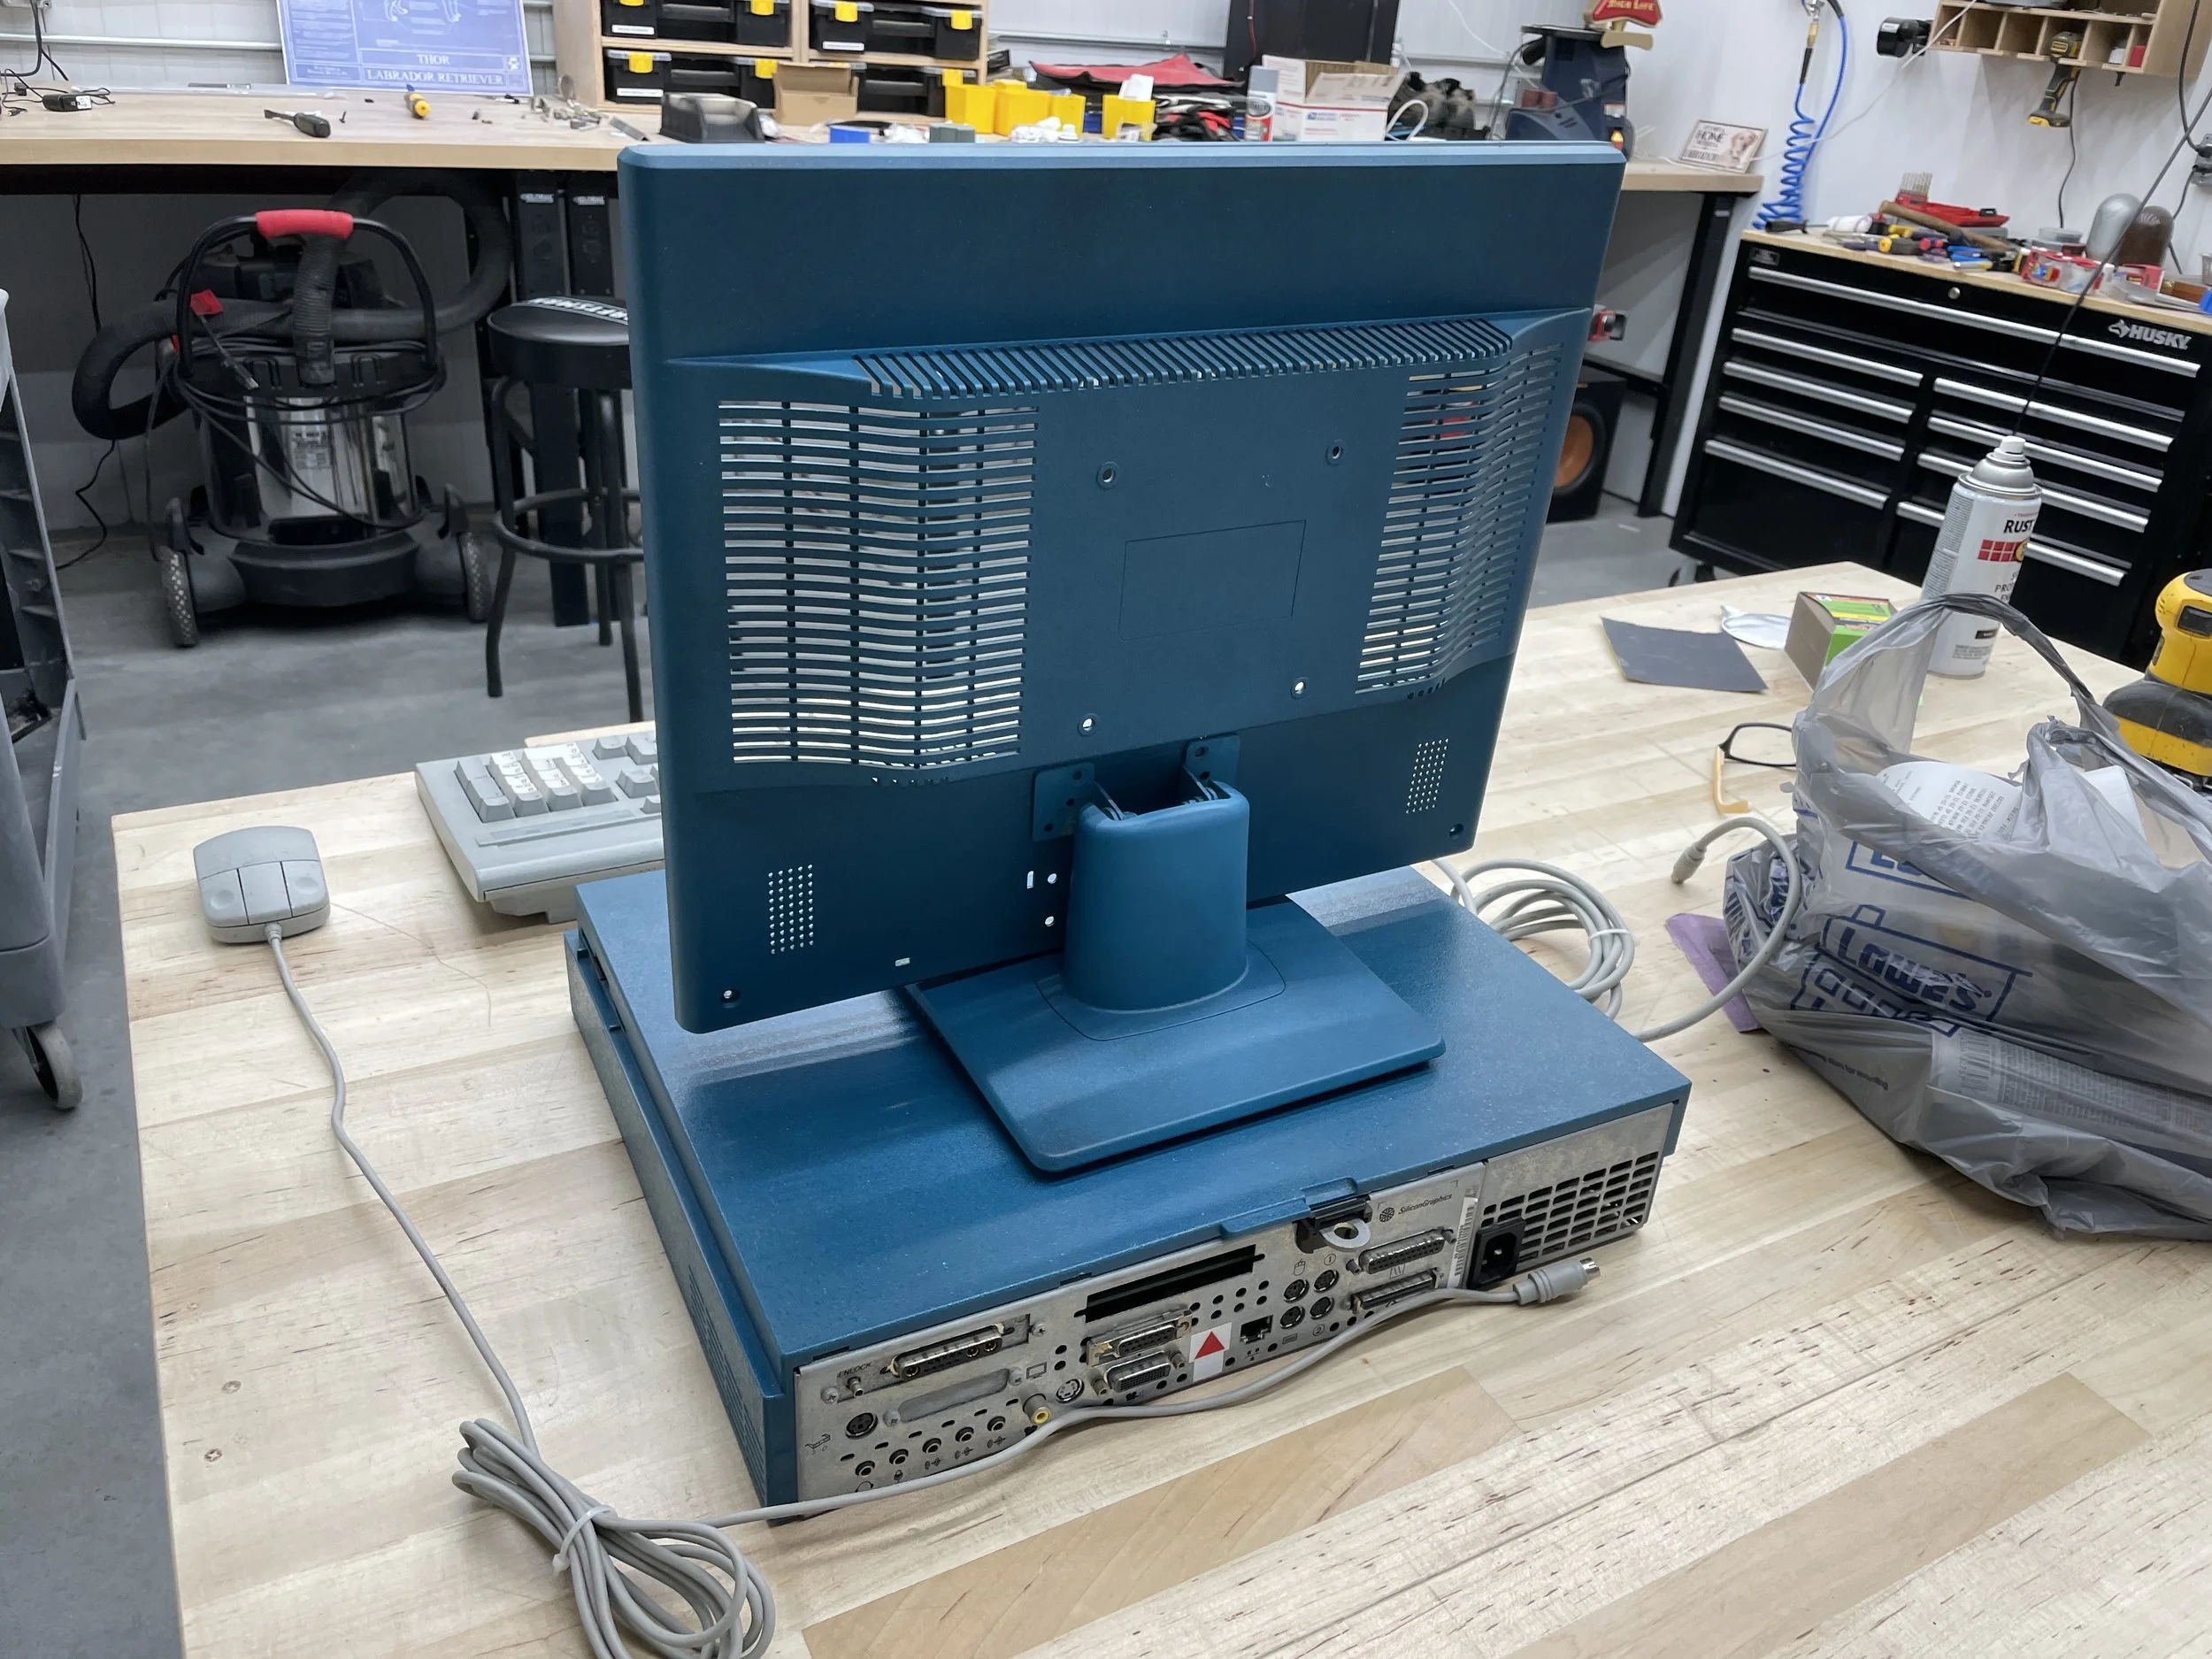
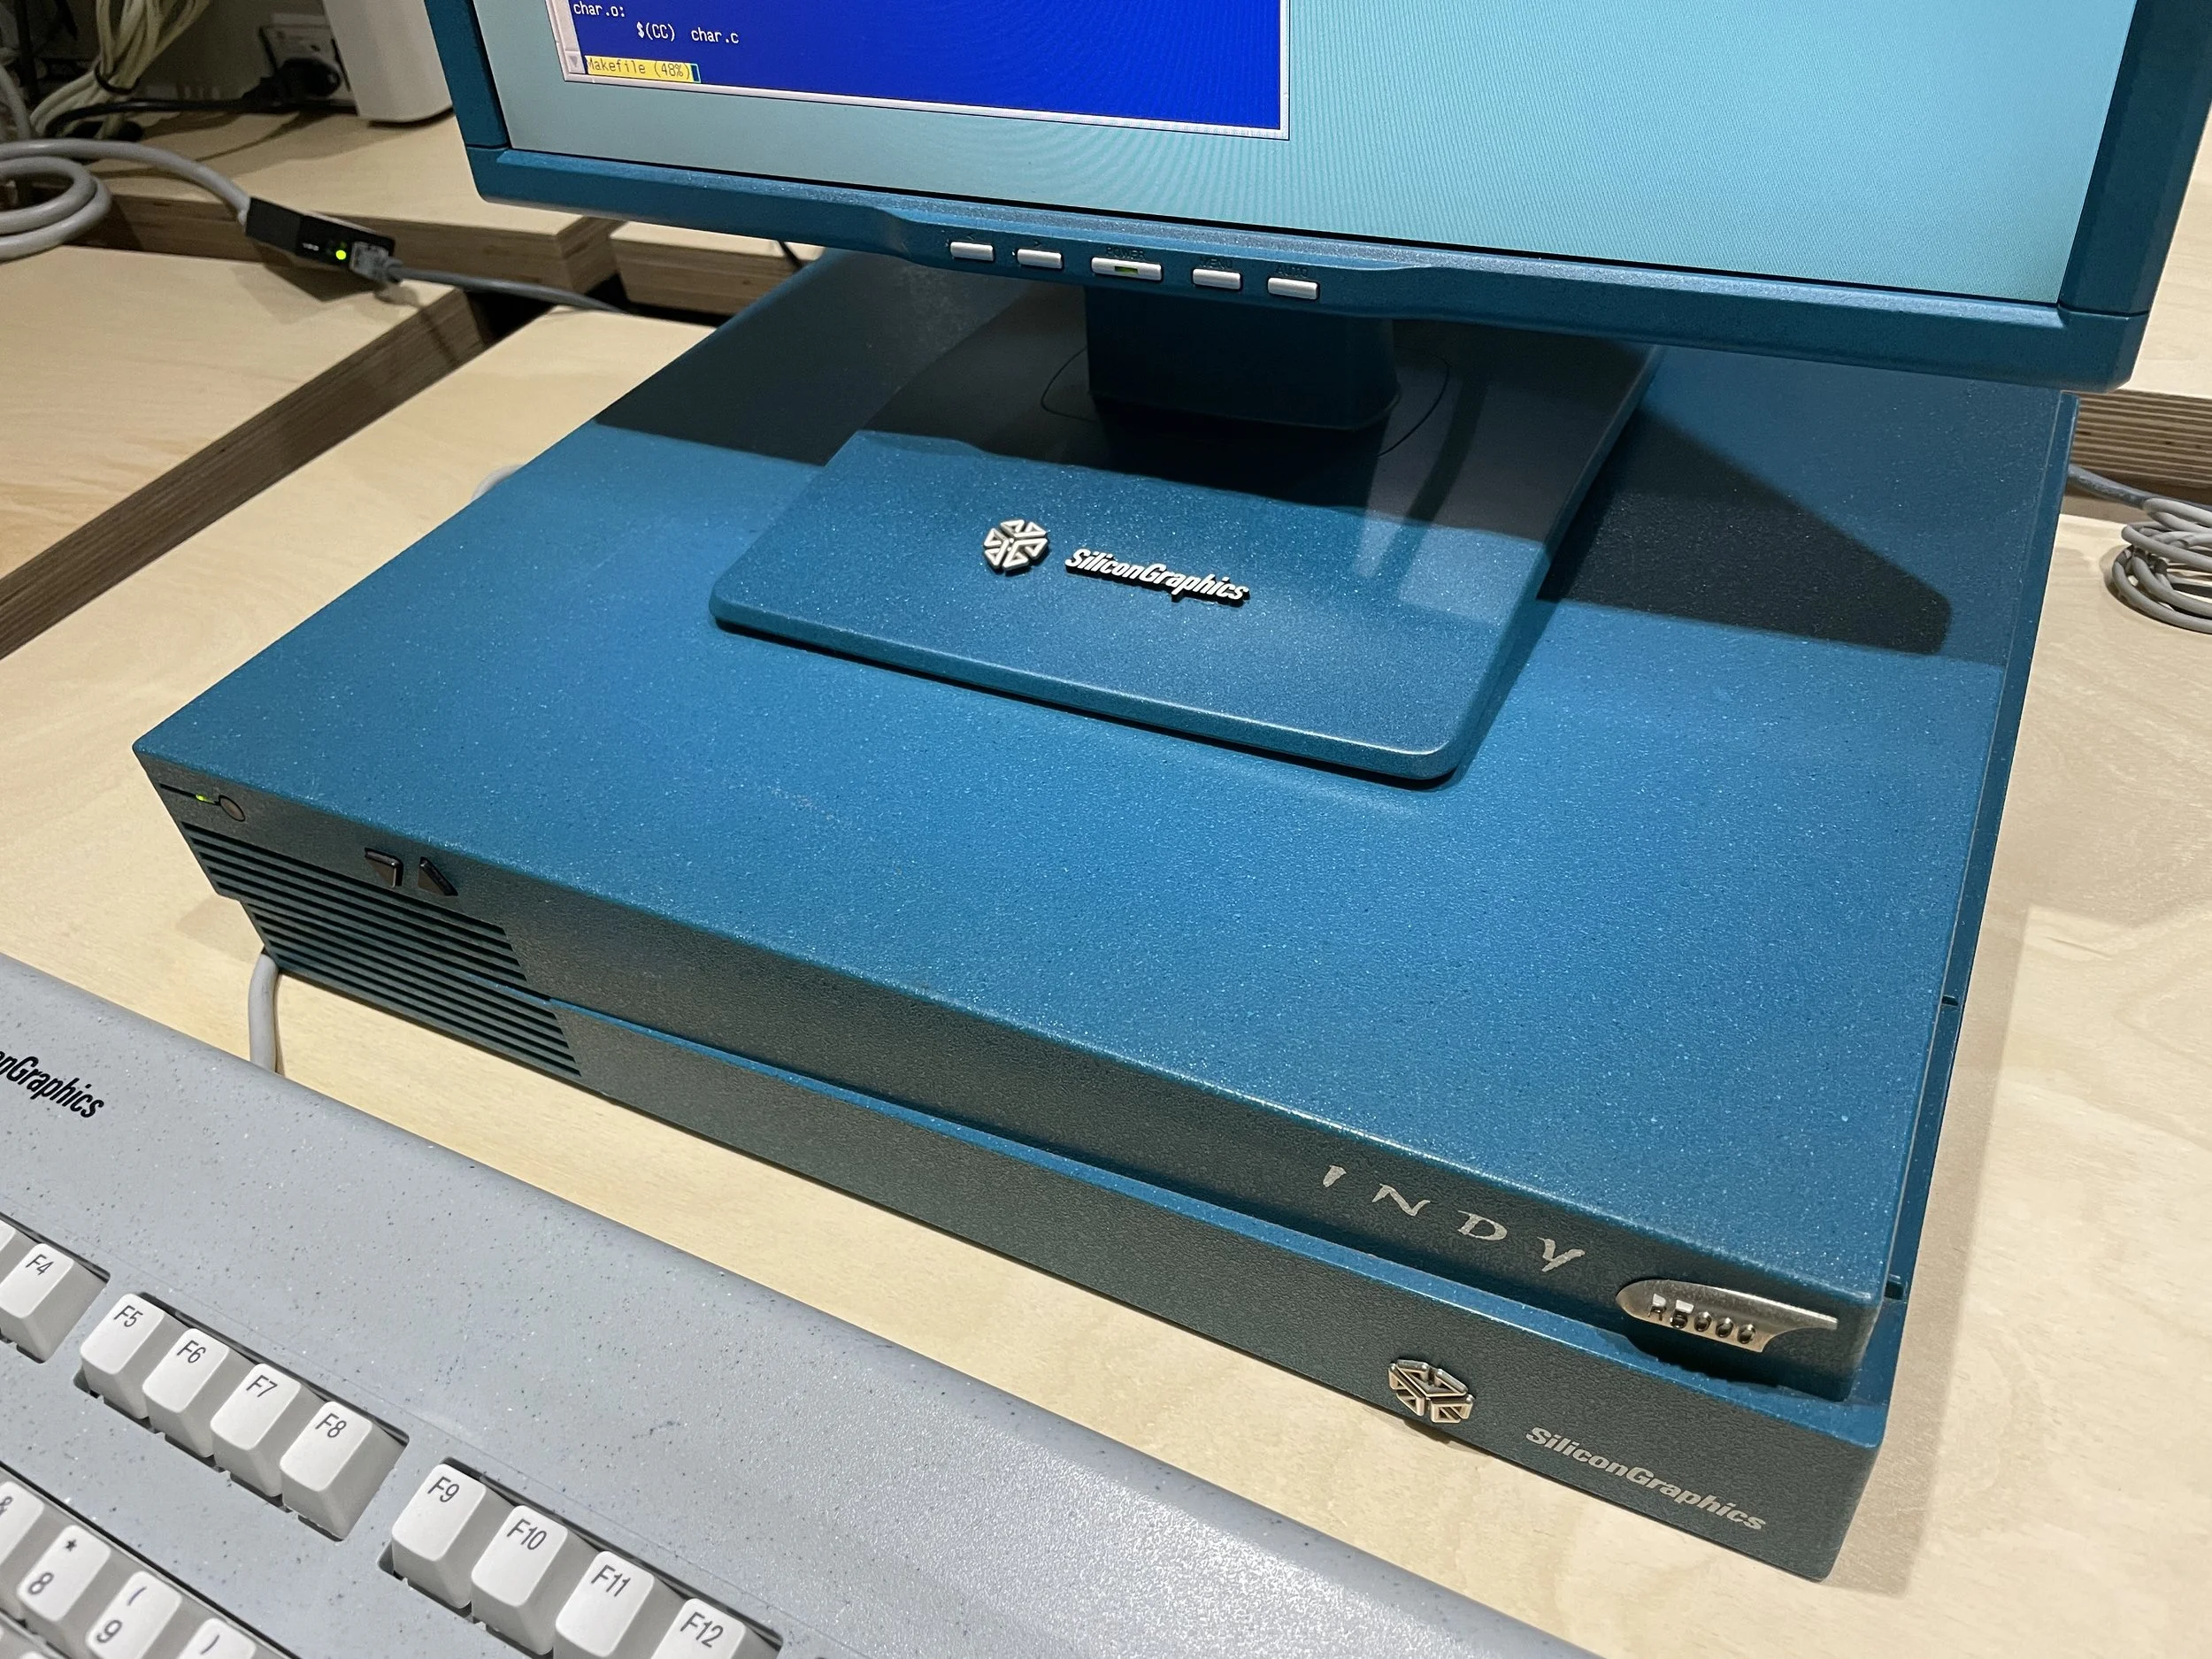
After the paint fully cured (a full week before reassembly, to be safe), I added an authentic SGI badge to the monitor bezel and reassembled the chassis. Paired with an Indy-teal desktop background on the display itself, the result is startlingly close to something that could have shipped from Silicon Graphics in 1993. The proportions aren’t quite Indy-perfect — no Sun bezel is going to have the exact blocky-rounded geometry that SGI used — but on a shelf, next to an actual Indy, at arm’s length, the family resemblance does all the work.
Related Articles
- SGI Indy (R4400) - The workstation this display was built to pair with.
Gallery


